Preparing for a Landscape Photography Trip: From Research to Ready‑for‑Anything Gear
Explore Landscapes #99
In this article I outline what I believe are the three pillars for a successful photography trip: location research, gear packing, and condition readiness.
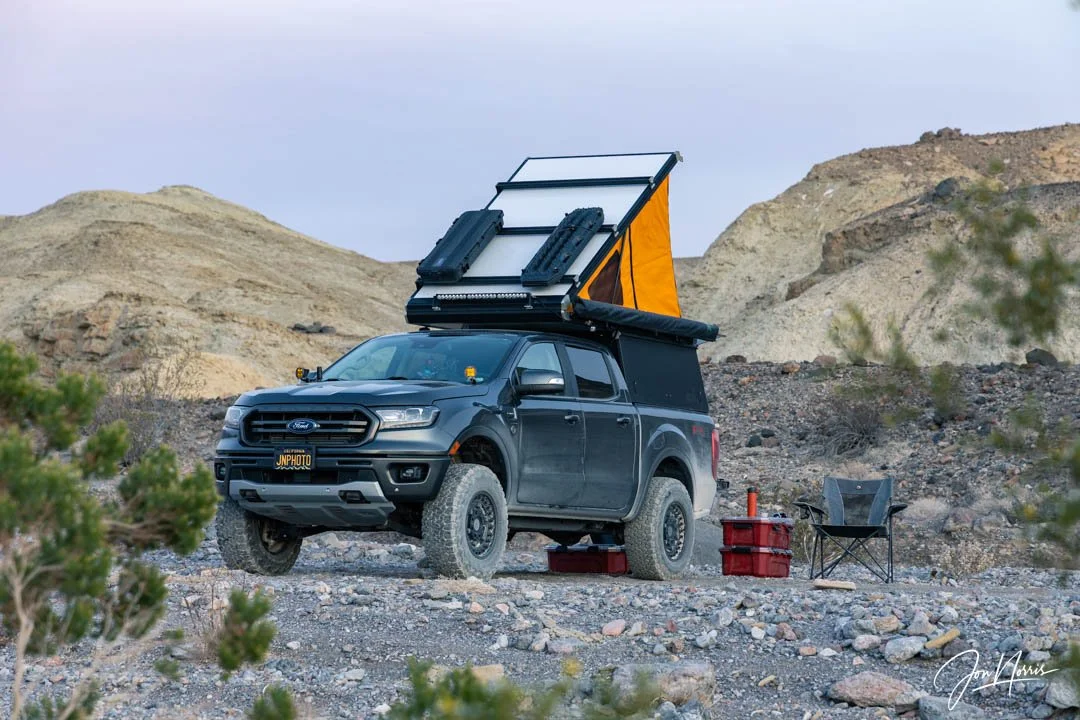
Rufus (the Ranger) in Death Valley National Park | © 2022 Jon Norris
Introduction
If you want to make the most of your time while away on a photography trip, doing some preparation in advance of your trip is essential.
This ensures that you can be a lot more specific about where you head during the trip, and when. This saves you time and decision-fatigue if you turn up somewhere new unprepared.
Scouting locations ahead of time can make all the difference in terms of being able to capture better (and dare I say more) landscape images that reflect your photographic intent and lead to a memorable series of images.
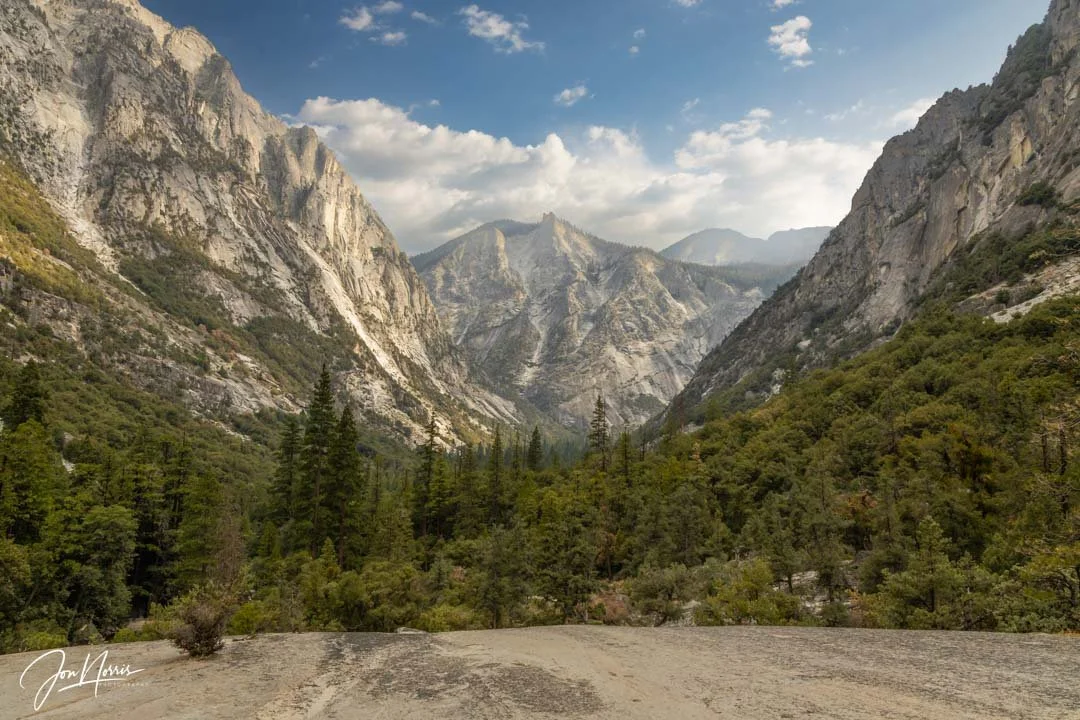
A discovered viewpoint in Kings Canyon National Park | © 2021 Jon Norris
It also cuts down on the frustration-factor that often occurs if you only get to photograph a few times per year due to other commitments. I know. I’ve been that photographer in the past.
I have to admit that I’m not someone who spends endless hours and days researching potential photography locations in great detail prior to visiting them for the first time.
I don’t spend hours on Google Earth, or scouring Google to see what all the best locations are and how they’ve been shot before so that I can replicate them. I try not to saturate myself with other’s images that may lead to unrealistic expectations and putting undue pressure on myself.
My approach is to do some limited research on say a (new to me) National (or State Park), typically flicking through a hiking guidebook or a few blog posts, to create a short list of which trails I’d like to hike and which campsite(s) I’m going to stay at.
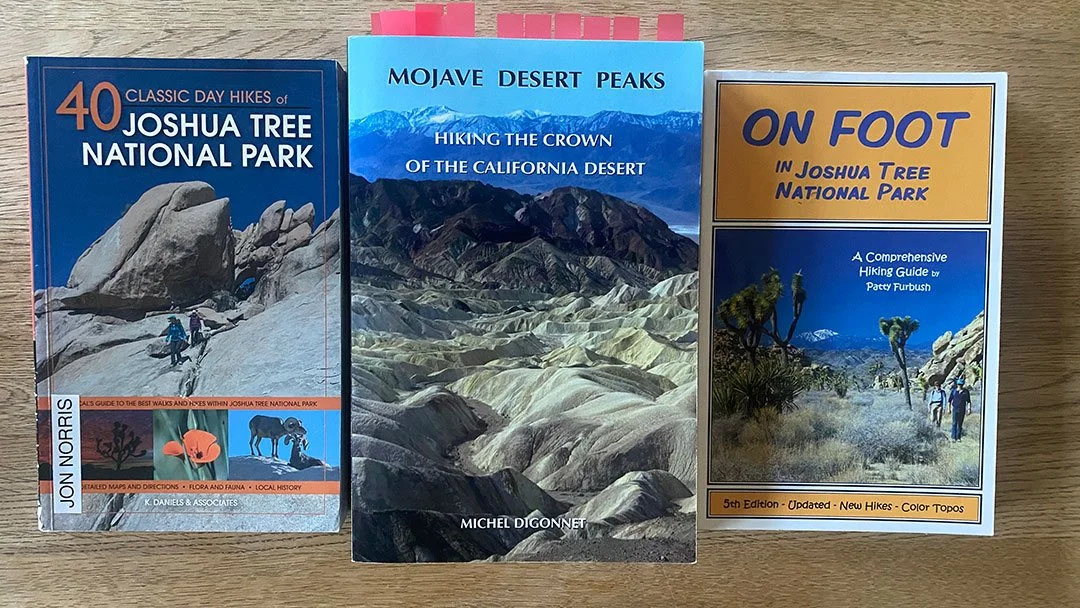
Some of my favorite guide books | © 2025 Jon Norris
I like to ‘discover’ scenes that I may want to photograph as I’m out hiking and enjoying nature. I don’t like to be overly regimental in my planning, and I always leave room for some flexibility, depending on what I discover while hiking.
Many of my favorite photographs haven’t been planned, rather, I’ve discovered the scene, while exploring and experiencing the great outdoors.
Some time ago I wrote about my approach to getting into my photography flow state, ‘Explore, Experience, Create’.
In this article I outline what I believe are the three pillars for a successful photography trip: location research, gear packing, and condition readiness.
Don’t let my bias for planning impact your approach. I leave it up to you how much time you want to give to each of these areas. Further on in the article I have some planning sheets that you’re free to download and use for your next trip.
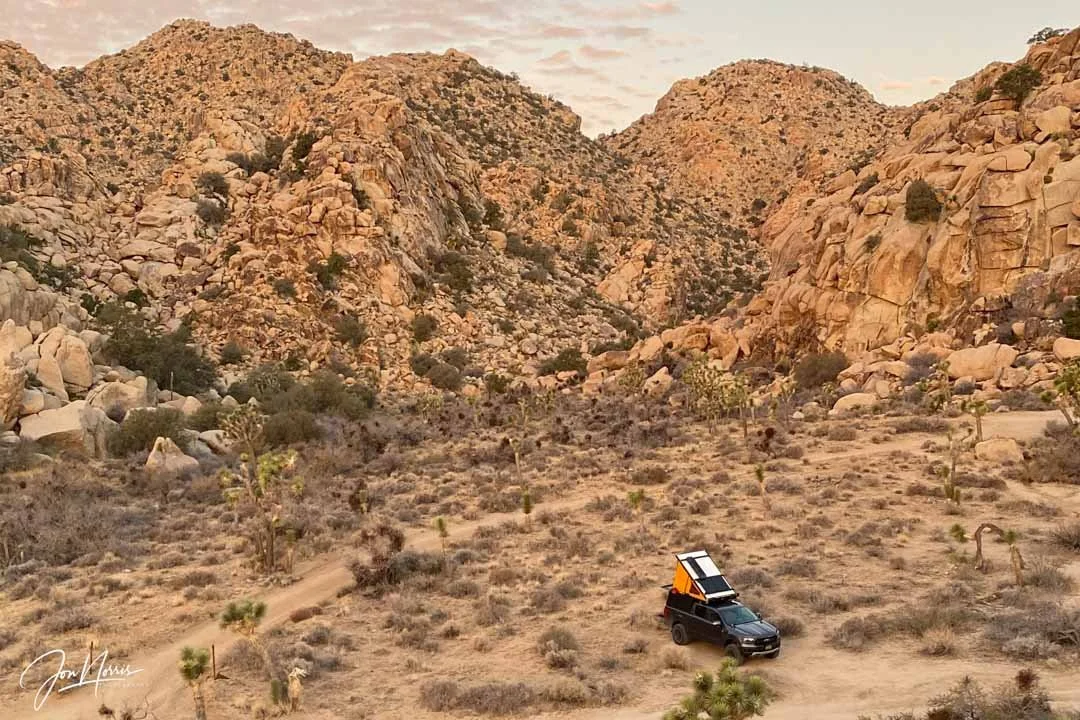
Rufus at Lost Horse Campground, Joshua Tree National Park | © 2024 Jon Norris
Defining Your Vision & Goals
Before you jump into finding specific locations have a think about what your vision and goals are for this photography trip, and make a few notes to shape your location scouting.
Identify the type of landscape(s) you want to photograph: mountains, deserts, coastlines, seascapes, urban‑nature etc.
How would you like to shoot those landscape(s), e.g. grand vistas, medium scenes, small intimate scenes, or a mixture of all three.
Set photographic goals, e.g. shoot during sunrise, sunset, golden hour, blue hour; shoot the Milky Way, star trails, long exposures, panoramas, HDR etc.
With these goals in mind, you can then start to think about potential locations, for example, a state or national park. I don’t know about you, but I always have at least five national parks that I want to visit when I start thinking about trip planning.
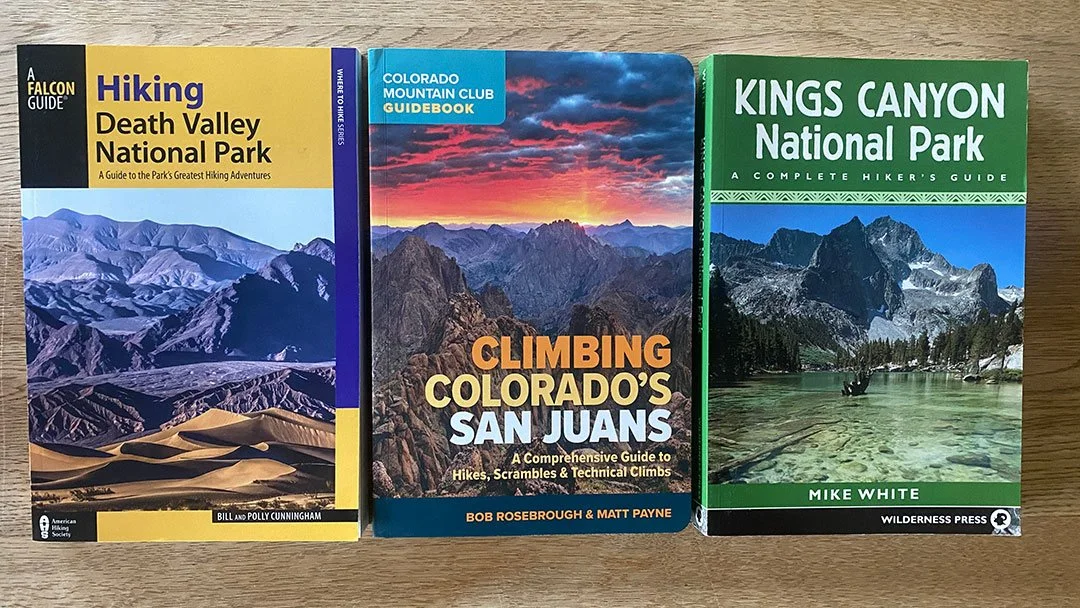
More of my favorite guide books | © 2025 Jon Norris
Location Research
Thanks to the Internet there are a wide range of sources that you can use to scout for, and research, potential photographic locations. Here are just a few (non-exhaustive) ideas:
Online photo communities, magazines, and social media, such as Nature Photographers Network (NPN), OnLandscape, Landscape Photographers Worldwide (on Discord), Instagram, Blue Sky, Mastodon etc, which can give you ideas about locations, scenes, composition ideas, and more.
Mapping and terrain data which can provide 3D maps, elevation, contour lines, and trail difficulty. Examples to try are Gaia GPS, The Photographers Ephemeris, AllTrails, and Google Earth.
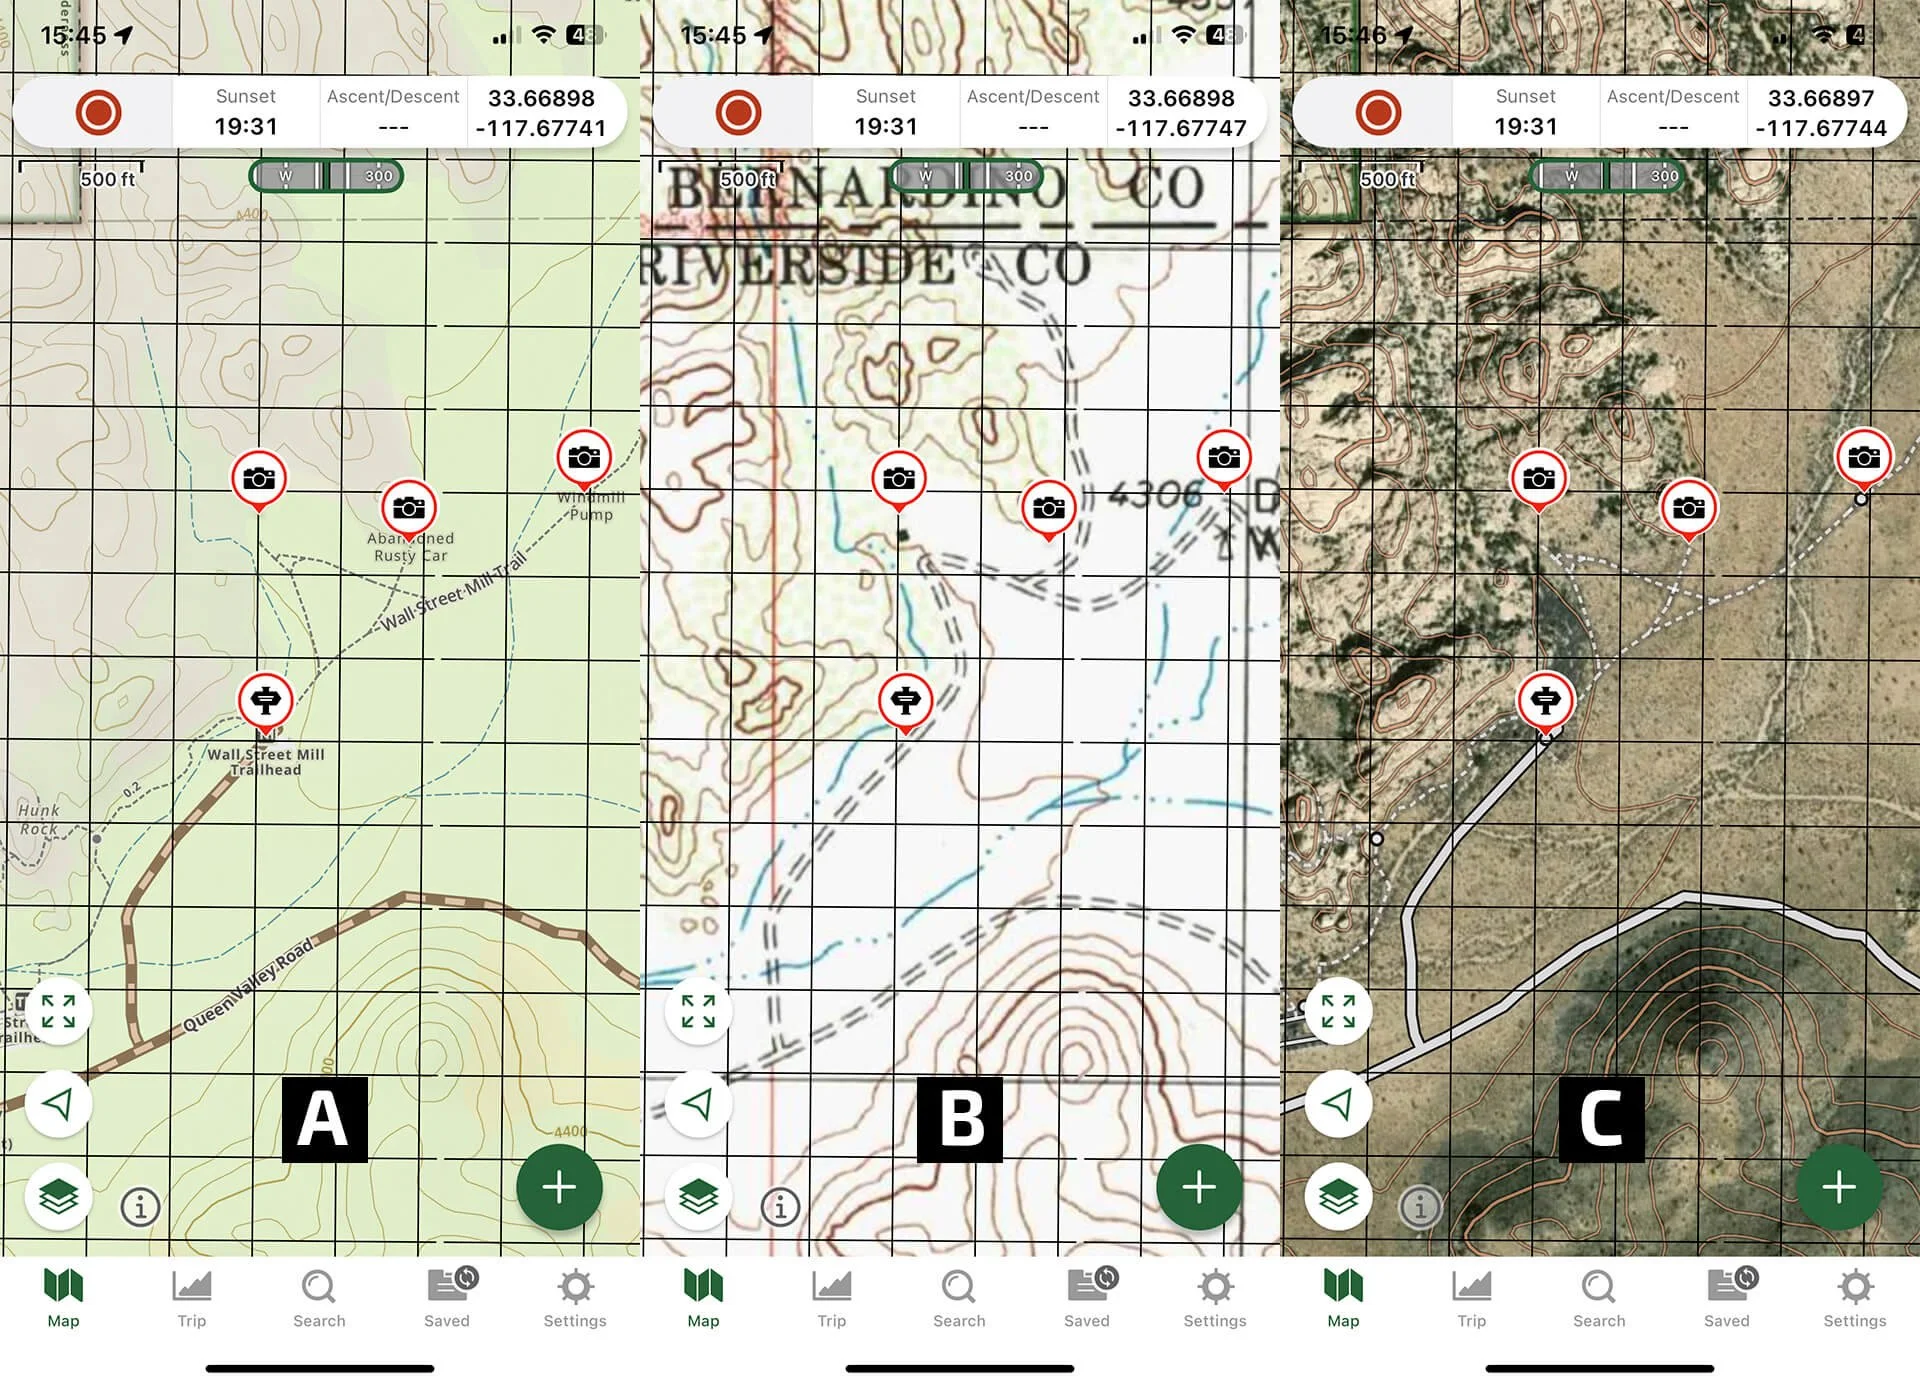
Gaia GPS screen shots showing different map layers | © 2025 Jon Norris
Weather and climate archives which can give you an idea of typical weather patterns, best seasons to visit, etc. Examples to try are Astropheric, Meteoblue, Windy, and Weather Underground.

Astropheric screen shots showing different weather and astronomical information | © 2025 Jon Norris
Local tourism boards, national and state park websites, eg. Joshua Tree National Park and Anza-Borrego Desert State Park. These can provide you with information on permit requirement, regulations, as well as hiking trails, accommodation options, etc. NOTE: now, more than ever, if you do choose to visit our public lands, please follow Leave No Trace and Nature First principles, and ‘pack out’ whatever you ‘pack in’.
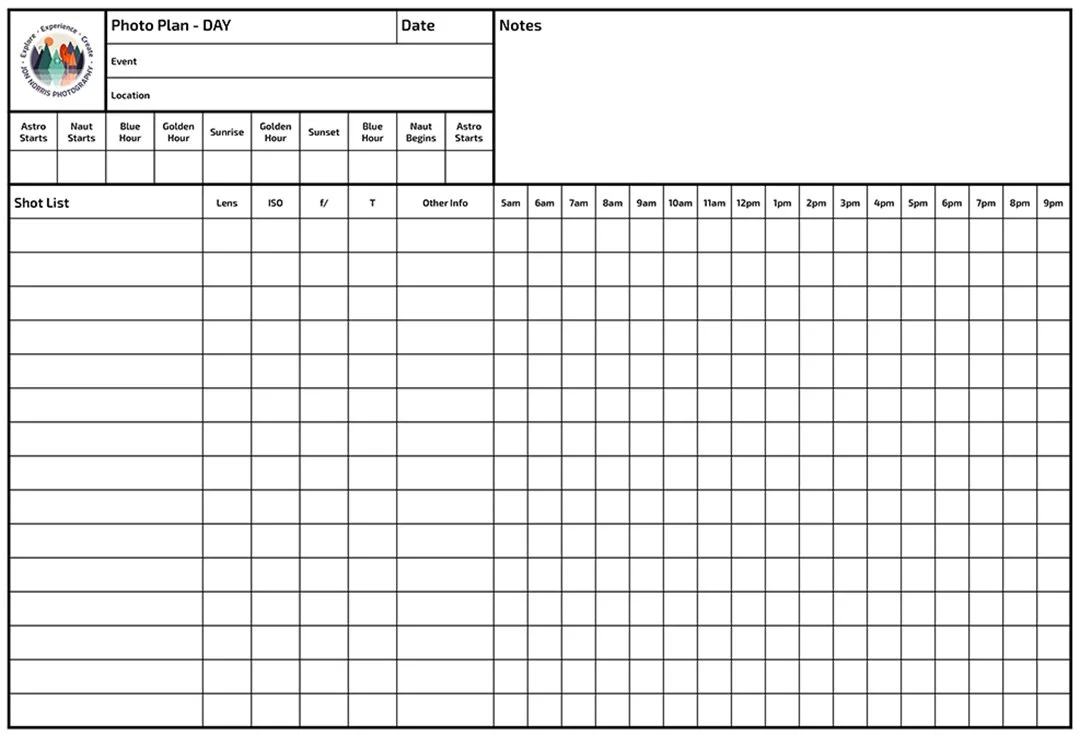
My daytime photo planning sheet (which you can download using the link in the text below) | © 2025 Jon Norris
Building a Location Shot List
I like to create a location shoot list for each day of my trip. Overtime I’ve tried various spreadsheets, note-taking software, apps, and eventually settled on a good-old fashioned printed table that I can write on and amend as I go.
If you’d like to use one of my photo plan and shot list templates you can download them here:
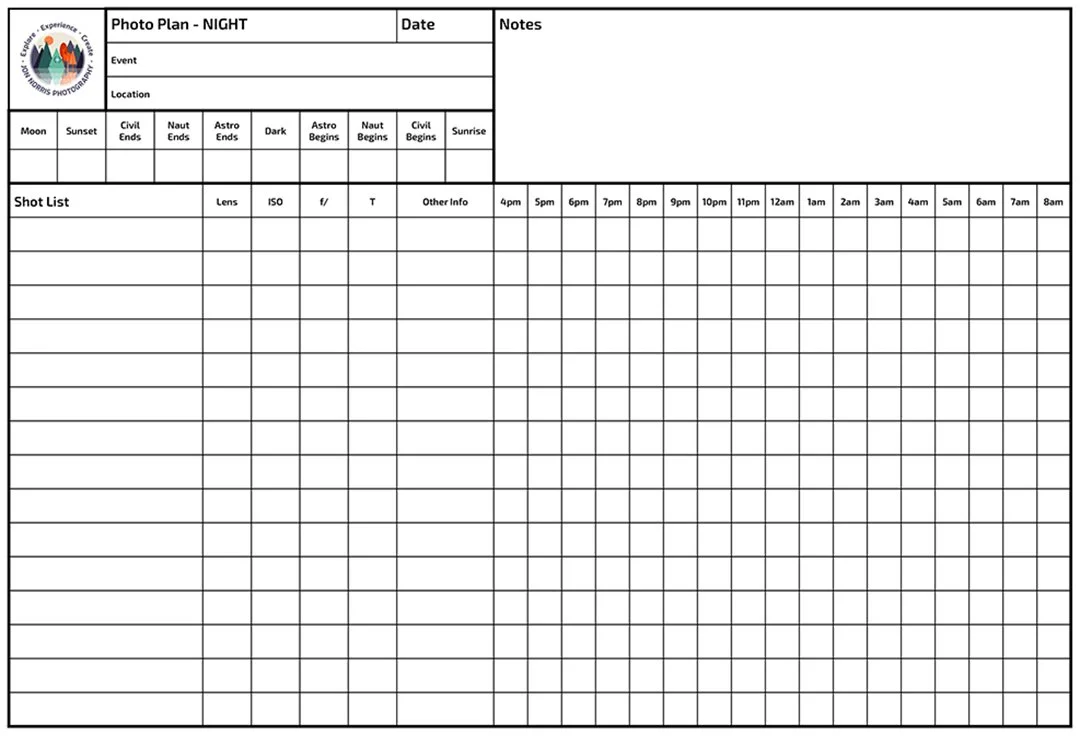
My nighttime photo planning sheet (which you can download using the link in the text above) | © 2025 Jon Norris
Logistics & Permissions
As part of your preparation don’t forget to check road conditions and/or closures, entrance fees, parking fees, campsite availability etc. Also, secure any required photography permits well in advance as sometimes these may take a few weeks (or more) to process.

My trip planner which includes gear and food/meal checklists (which you can download using the link in the text below) | © 2025 Jon Norris
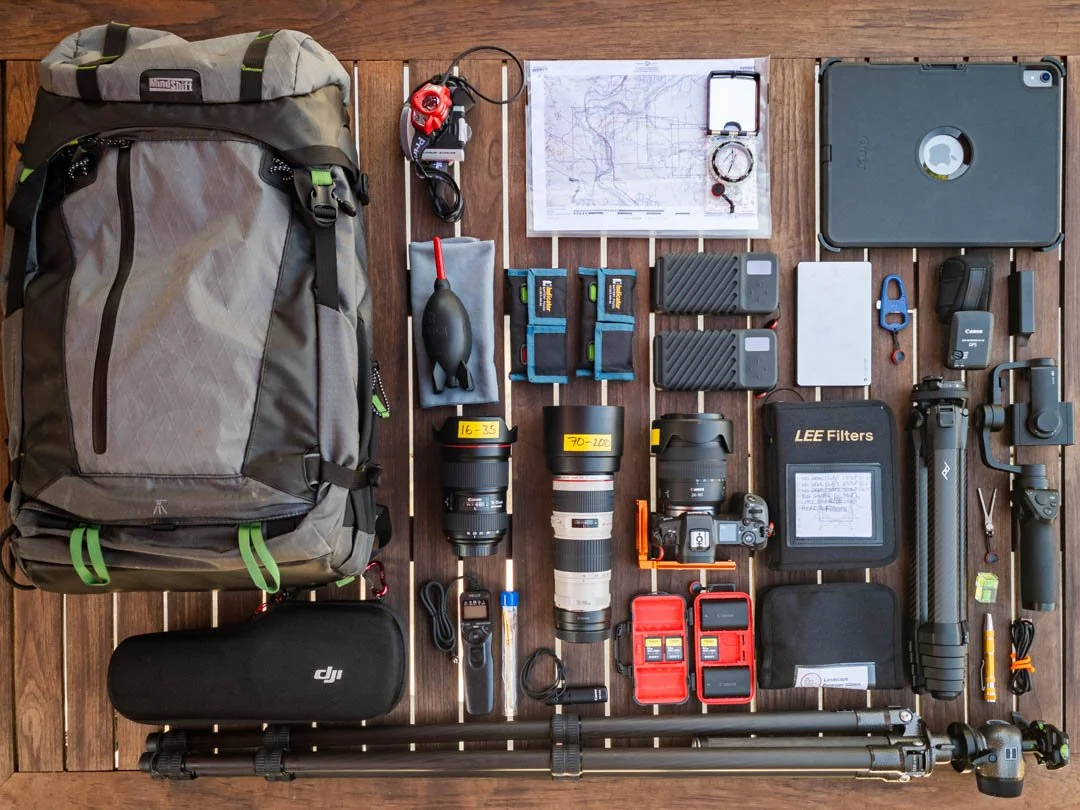
Gear (what I used to carry in my backpack) | © 2020 Jon Norris
Packing Essential Gear
I’m a big fan of checklists. Did I mention that I’m a recovering engineer who may have some OCD tendencies?
I develop this trip planner initially for my offroad overlanding trips - where good planning is essential for your own (and your group’s) safety - and not just comfort.
If you’d like to use one of my trip planning templates you can download them here:
You can adjust the number of days that the planner will cover by duplicating pages 4 to 7.
Over time, I’ve expanded the trip planner so that it now covers most things required to plan for a trip:
Trip dates, travelers, expected weather, distance, route notes, amount of water and fuel required
Vehicle pre-trip checks
Vehicle notes / to-do
Gear required, split by category: sleep system, personal, medical, photo/videography, recovery gear, tools, in camp, kitchen, navigation/comms, daypack, other.
Meals and beverages, with a daily meal planner (which I find essential to make sure that the assorted food I bring can be assembled into the right number of meals).
Daytime and nighttime photo plans and shot lists
Notes and observations
Post-trip notes, what do I need to restock, what I needed and didn’t have, what I had and could have done without, and what did I learn (which I find essential to optimize what I will take next trip).
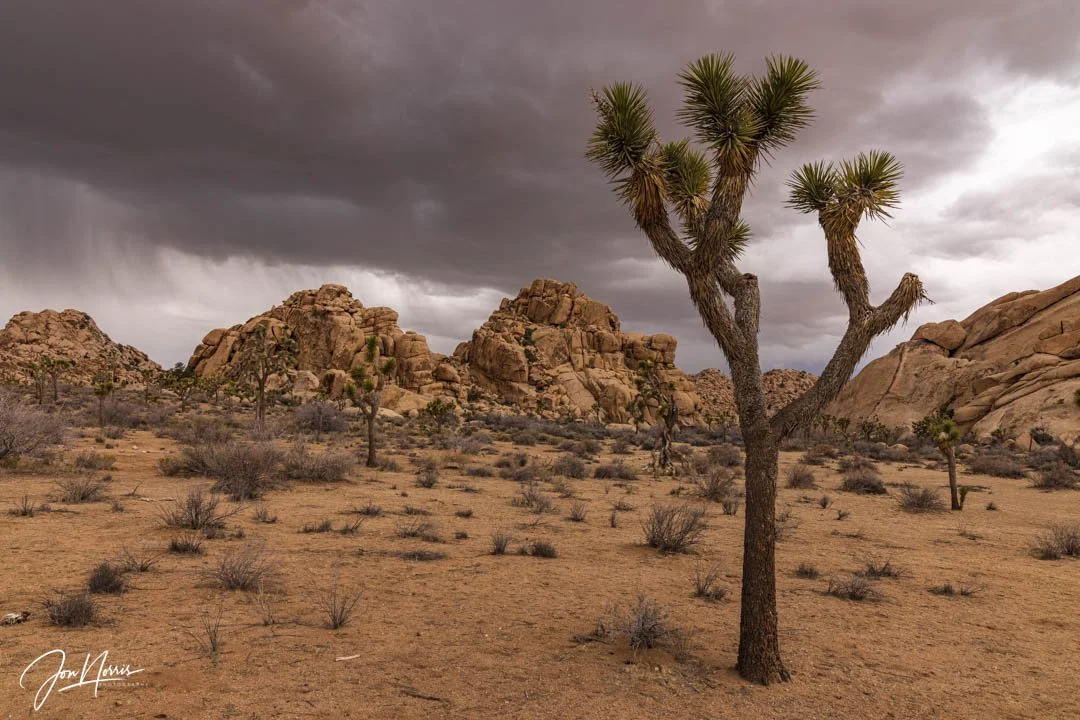
Storm clouds and rain incoming | © 2025 Jon Norris
Condition Readiness
Weather Preparedness
Check short‑term forecasts nightly via Windy or Astropheric (if you have a phone signal).
I always carry a Garmin inReach GPS personal locator beacon (PLB). This lets me download a weather report while I’m off the grid. It also lets me stay in touch with friends and family with global two-way messaging via satellite (when there’s no cellular service available). If necessary, I can also trigger an interactive SOS message with my GPS coordinates to a 24/7-staffed emergency response coordination center.
Pack a range of clothing for different conditions - even if the forecast says you won’t need them.
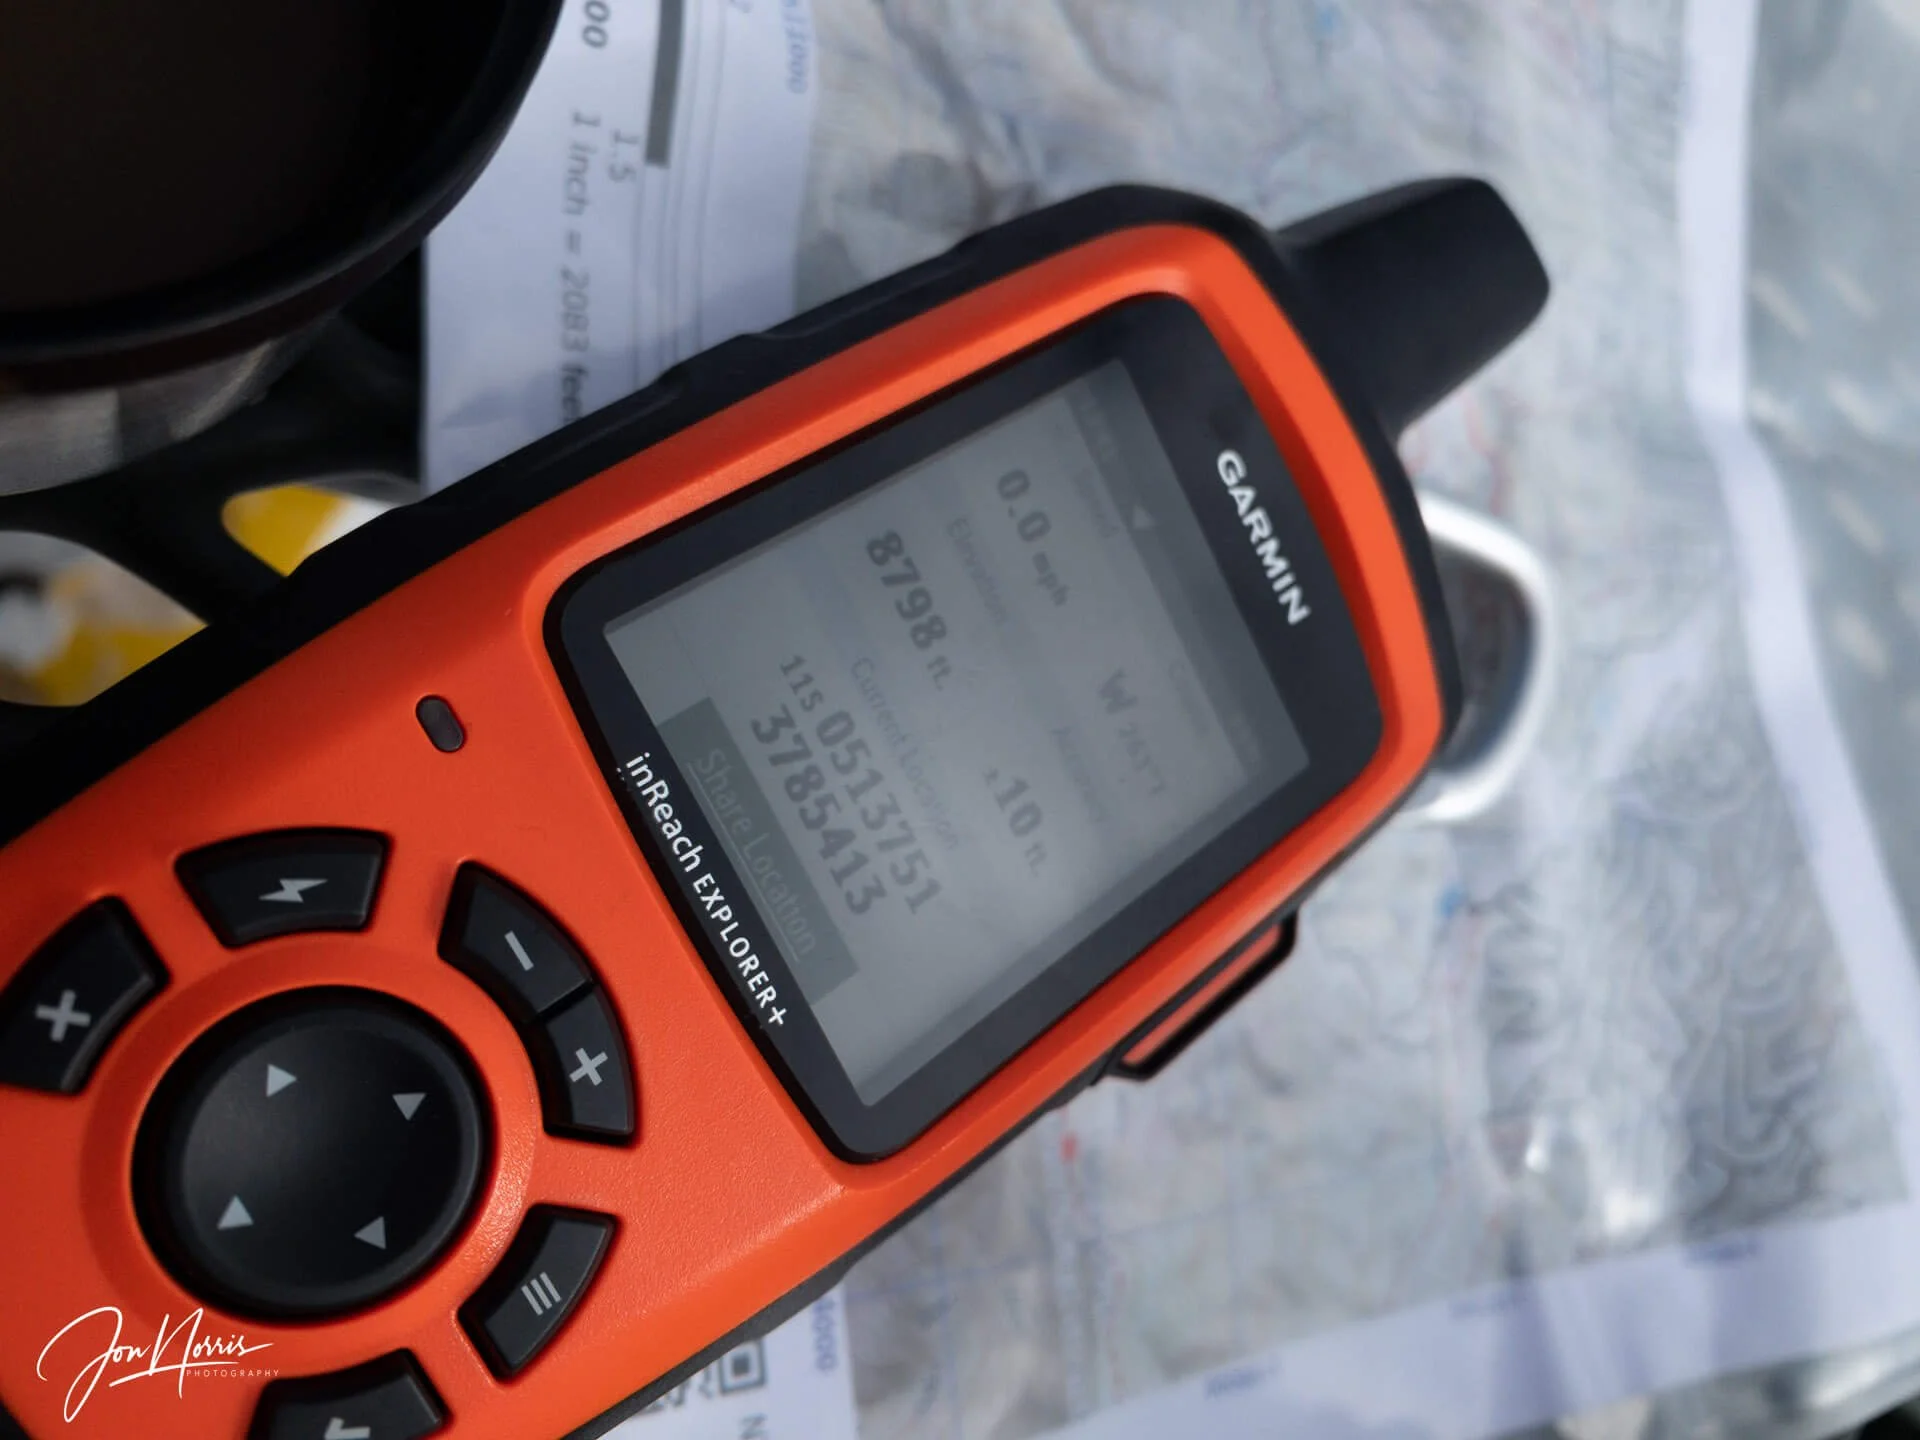
Garmin inReach GPS personal locator beacon (PLB) | © 2019 Jon Norris
Light & Timing Strategies
Use apps like PhotoPills or The Photographer’s Ephemeris (TPE) to calculate golden hour, blue hour, twilight times etc. for each location you plan to shoot.
Plan “backup” shots for overcast or twilight conditions.
Safety & Navigation
Load GPS tracks (e.g. GPX files) onto GaiaGPS (or other digital map), plus carry a physical map and compass as fallback.
Share your itinerary with a friend/family member; set check‑in reminders.
Know the emergency numbers for the region; and (preferably) carry a GPS personal locator beacon (PLB), e.g., Garmin inReach if out of cell range.
Backup & Redundancy
Duplicate your photo files on a portable SSD (e.g., SanDisk Extreme Go SSD) each evening.
If your camera has two memory card slots, save image files to both memory cards.
Keep spare memory cards formatted and ready.
Test all equipment before leaving for the trip (battery health, firmware updates).

Primitive campground in Anza-Borrego Desert State Park | © 2025 Jon Norris
Summary and Wrap-Up
I hope that you found this article useful and that you’ll find that thorough preparation amplifies your creativity and reduces stress.
As my approach may not suit your needs, please go ahead and personalize the planning workflow for yourself, and iterate after each trip. I’d love to hear from you in the comments on what your preferred/personal checklists are, and/or your favorite planning apps.