My First Roll of 120 ...
Explore Landscapes #102
It's been a long time since I shot black and white negative film, and back then it was 35mm. Forty (plus) years later, I shot my first roll of 120 film.
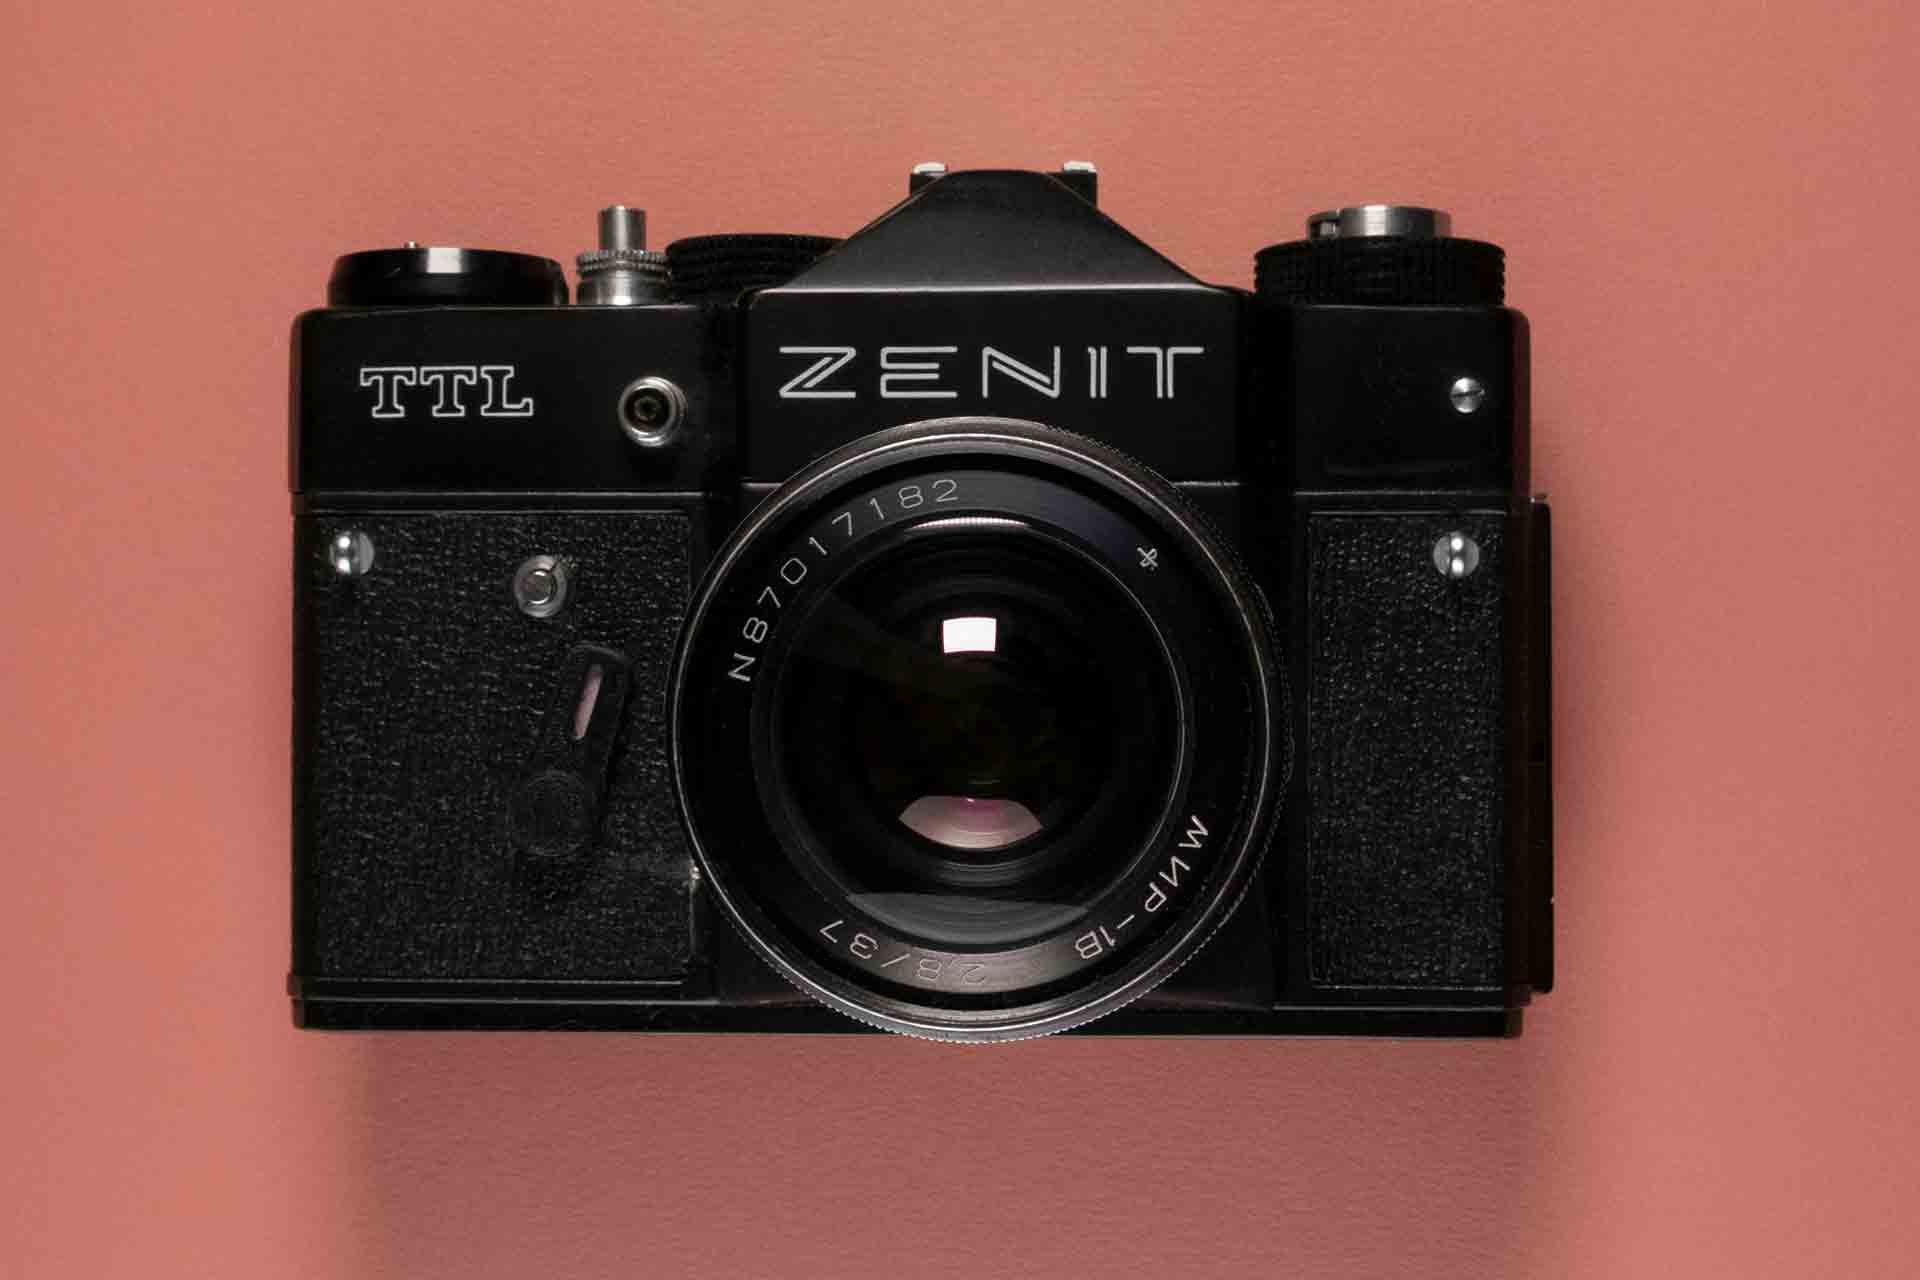
Zenit-TTL SLR Camera | © Bo Ponomari
My fascination with photography started when I was 14, when I bought my first camera, a Russian Zenit-TTL SLR. At the time, I worked each Saturday on a vegetable stall at the local market and got paid £30 for 12 hours work. I saved up for six weeks straight and ‘splurged’ on the Zenit-TTL which came with a Helios f2/58mm lens. That was 1982.
Over the next few years, I taught myself the fundamentals of photography via countless rolls of poorly exposed 35mm film (normally Ilford FP4 or HP5).
Then, in about 1985, I upgraded to a Pentax P30 SLR, and discovered Kodachrome. “They give us those nice bright colors. They give us the greens of summers. Makes you think all the world’s a sunny day.”
Unlike Paul Simon, I didn’t have a Nikon Camera. I did however, shoot a lot of Kodachrome throughout the 90s, and those yellow boxes of colorful happiness eclipsed my early foray into black and white film photography.
In 2000, I entered the digital photography world with an Olympus C-3000Z, a compact digital camera (released that year), featuring a 3.34 megapixel sensor with a resolution of just 2048 x 1536 pixels.
In 2004, I made the move to Canon, who’d recently launched the EOS 300D—as it was called in the UK. In the US, it was called the Digital Rebel. I’ve been shooting with Canon cameras for over 20 years now (EOS 300D, EOS 50D, EOS 5D Mark II, EOS 5D Mark III, EOS R, and now the EOS R5).
Anyway, after that trip down memory lane, let’s get back to the subject of this post—shooting film.
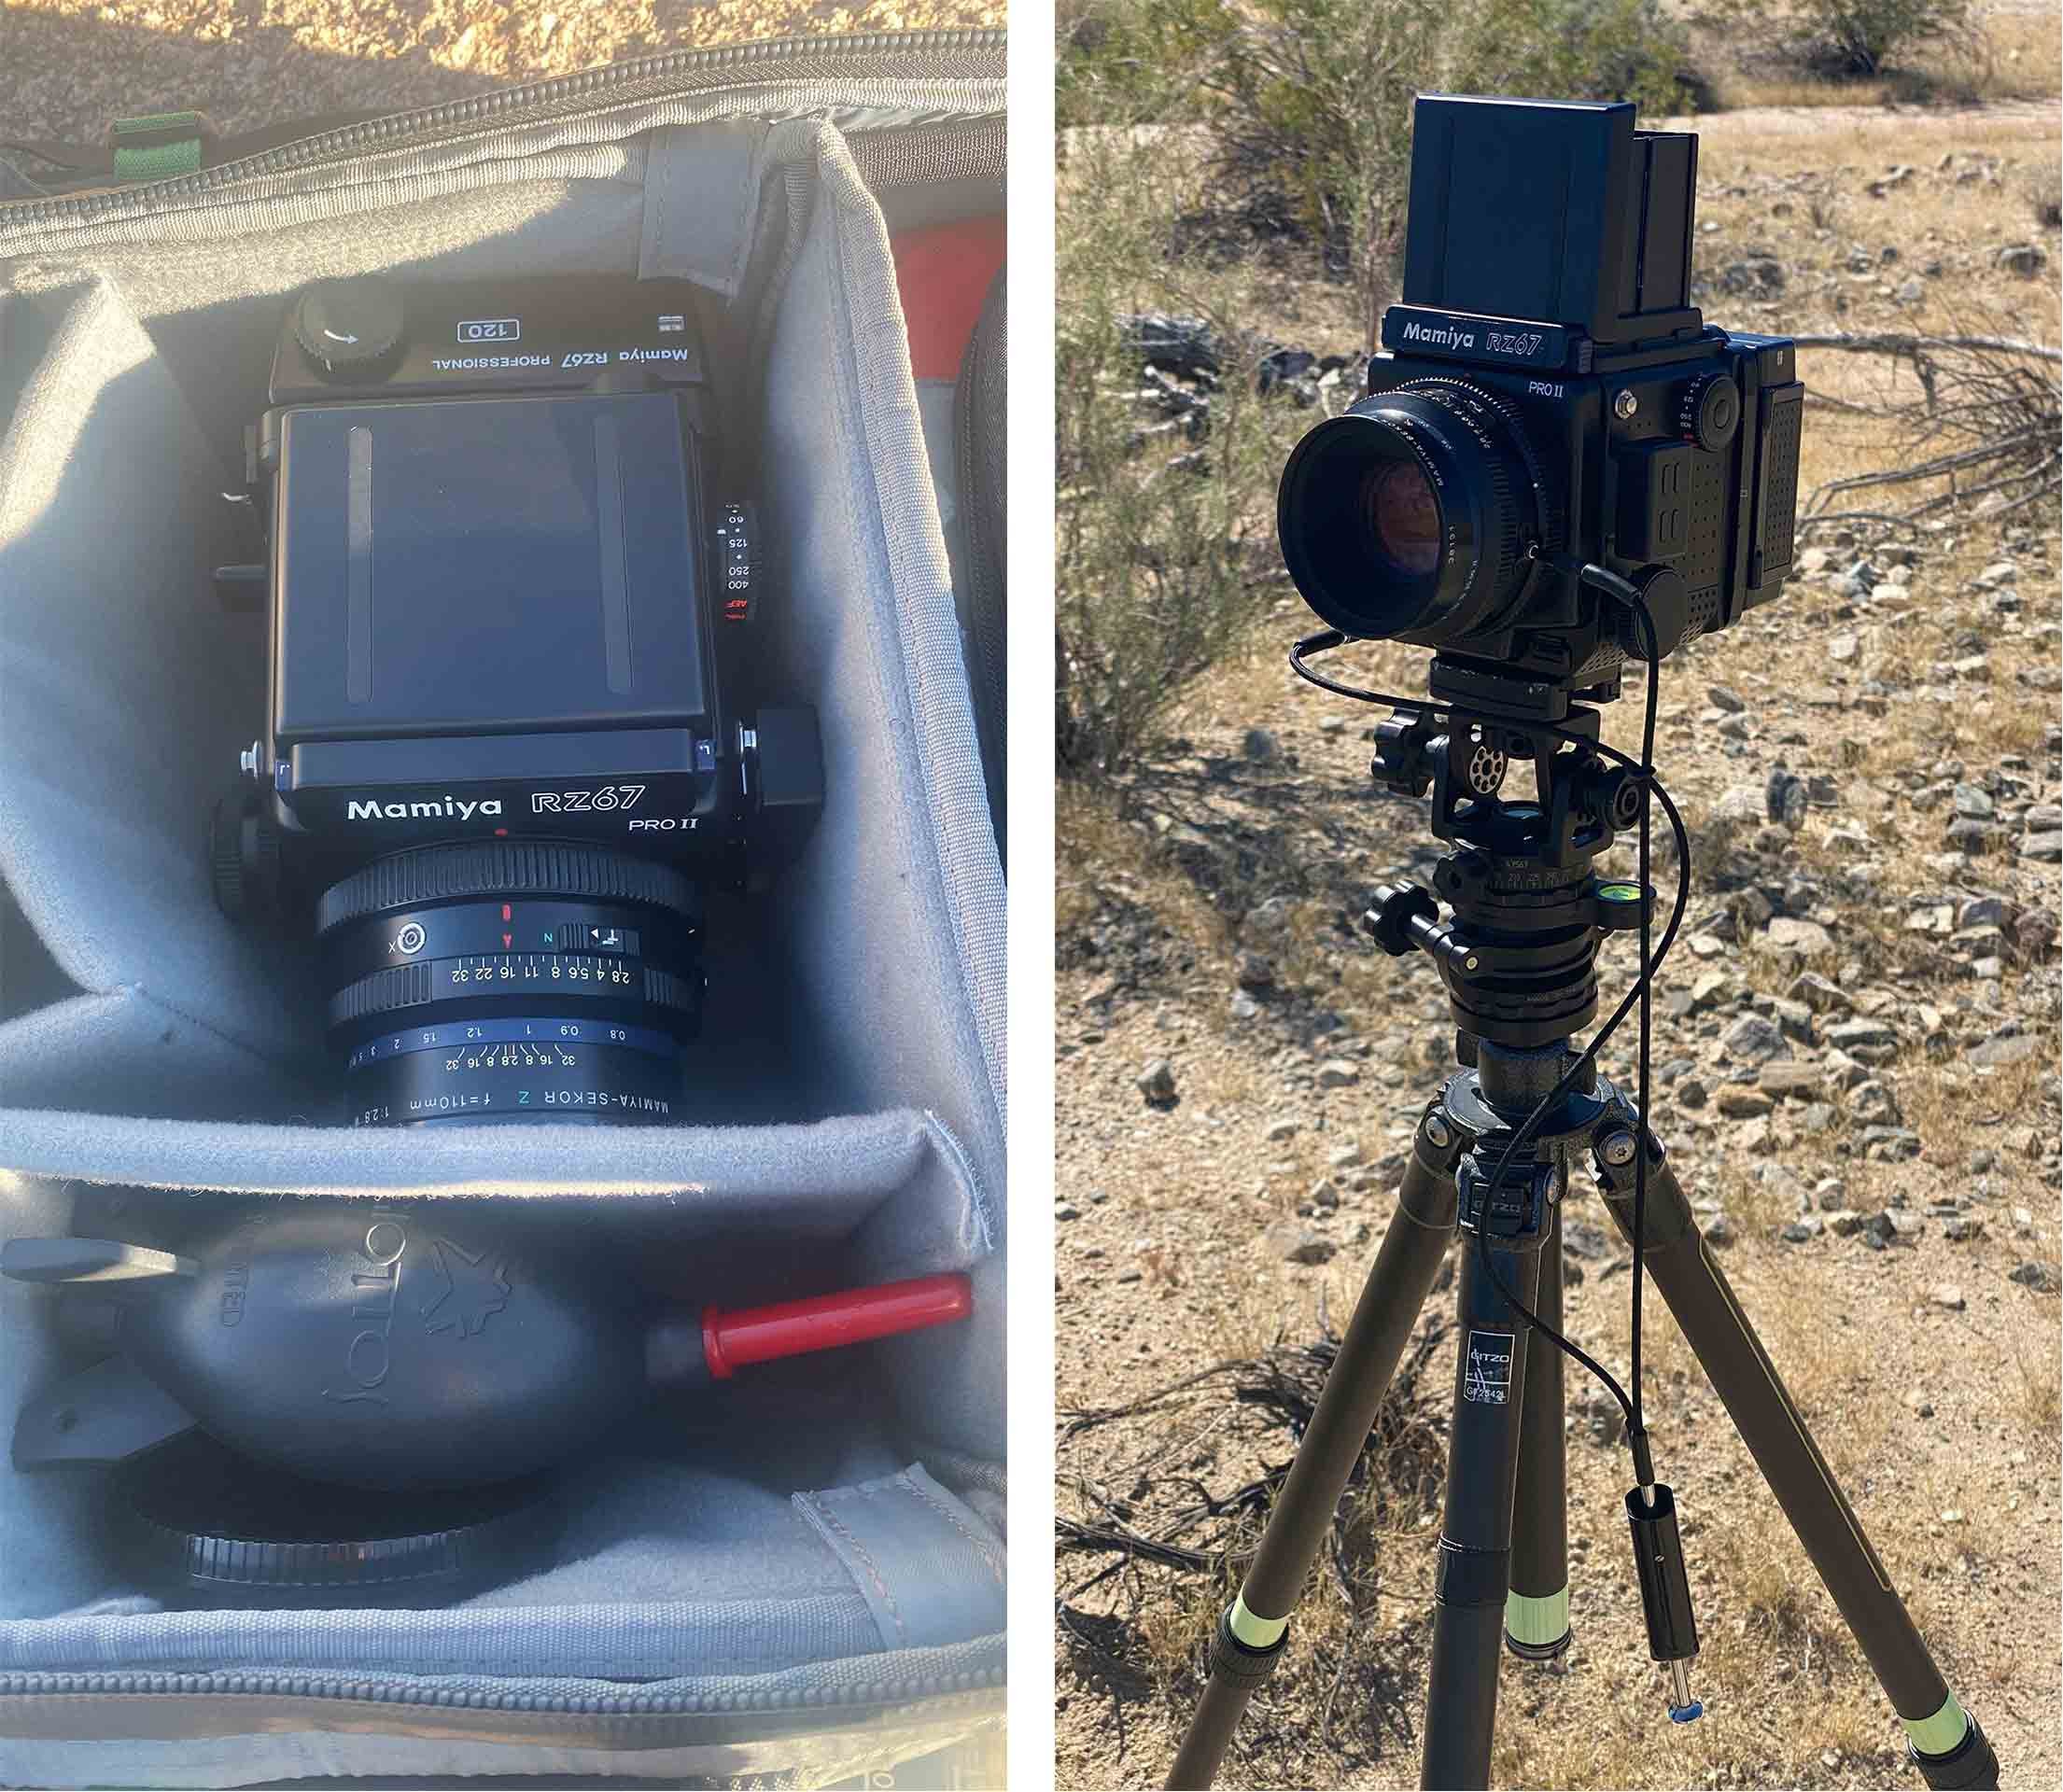
(Left) The Mamiya RZ67 Pro II taking up most of the room in my camera backpack | (Right) Setup and ready to take my first image | © 2025 Jon Norris
The Mamiya RZ67 Pro II Medium Format Camera
When I was gifted this camera, there wasn’t an instruction booklet, and I was a little stuck not knowing where to start with shooting with it. Thankfully I found some excellent resources online. I’d like to give a huge thank-you to Pierre-gilles Lucain for his excellent series of articles that give a deep system overview of the Mamiya RZ67. I would have been lost without his help.
I read, and re-read, his articles over and over again, until I felt I was ready to shoot some film.
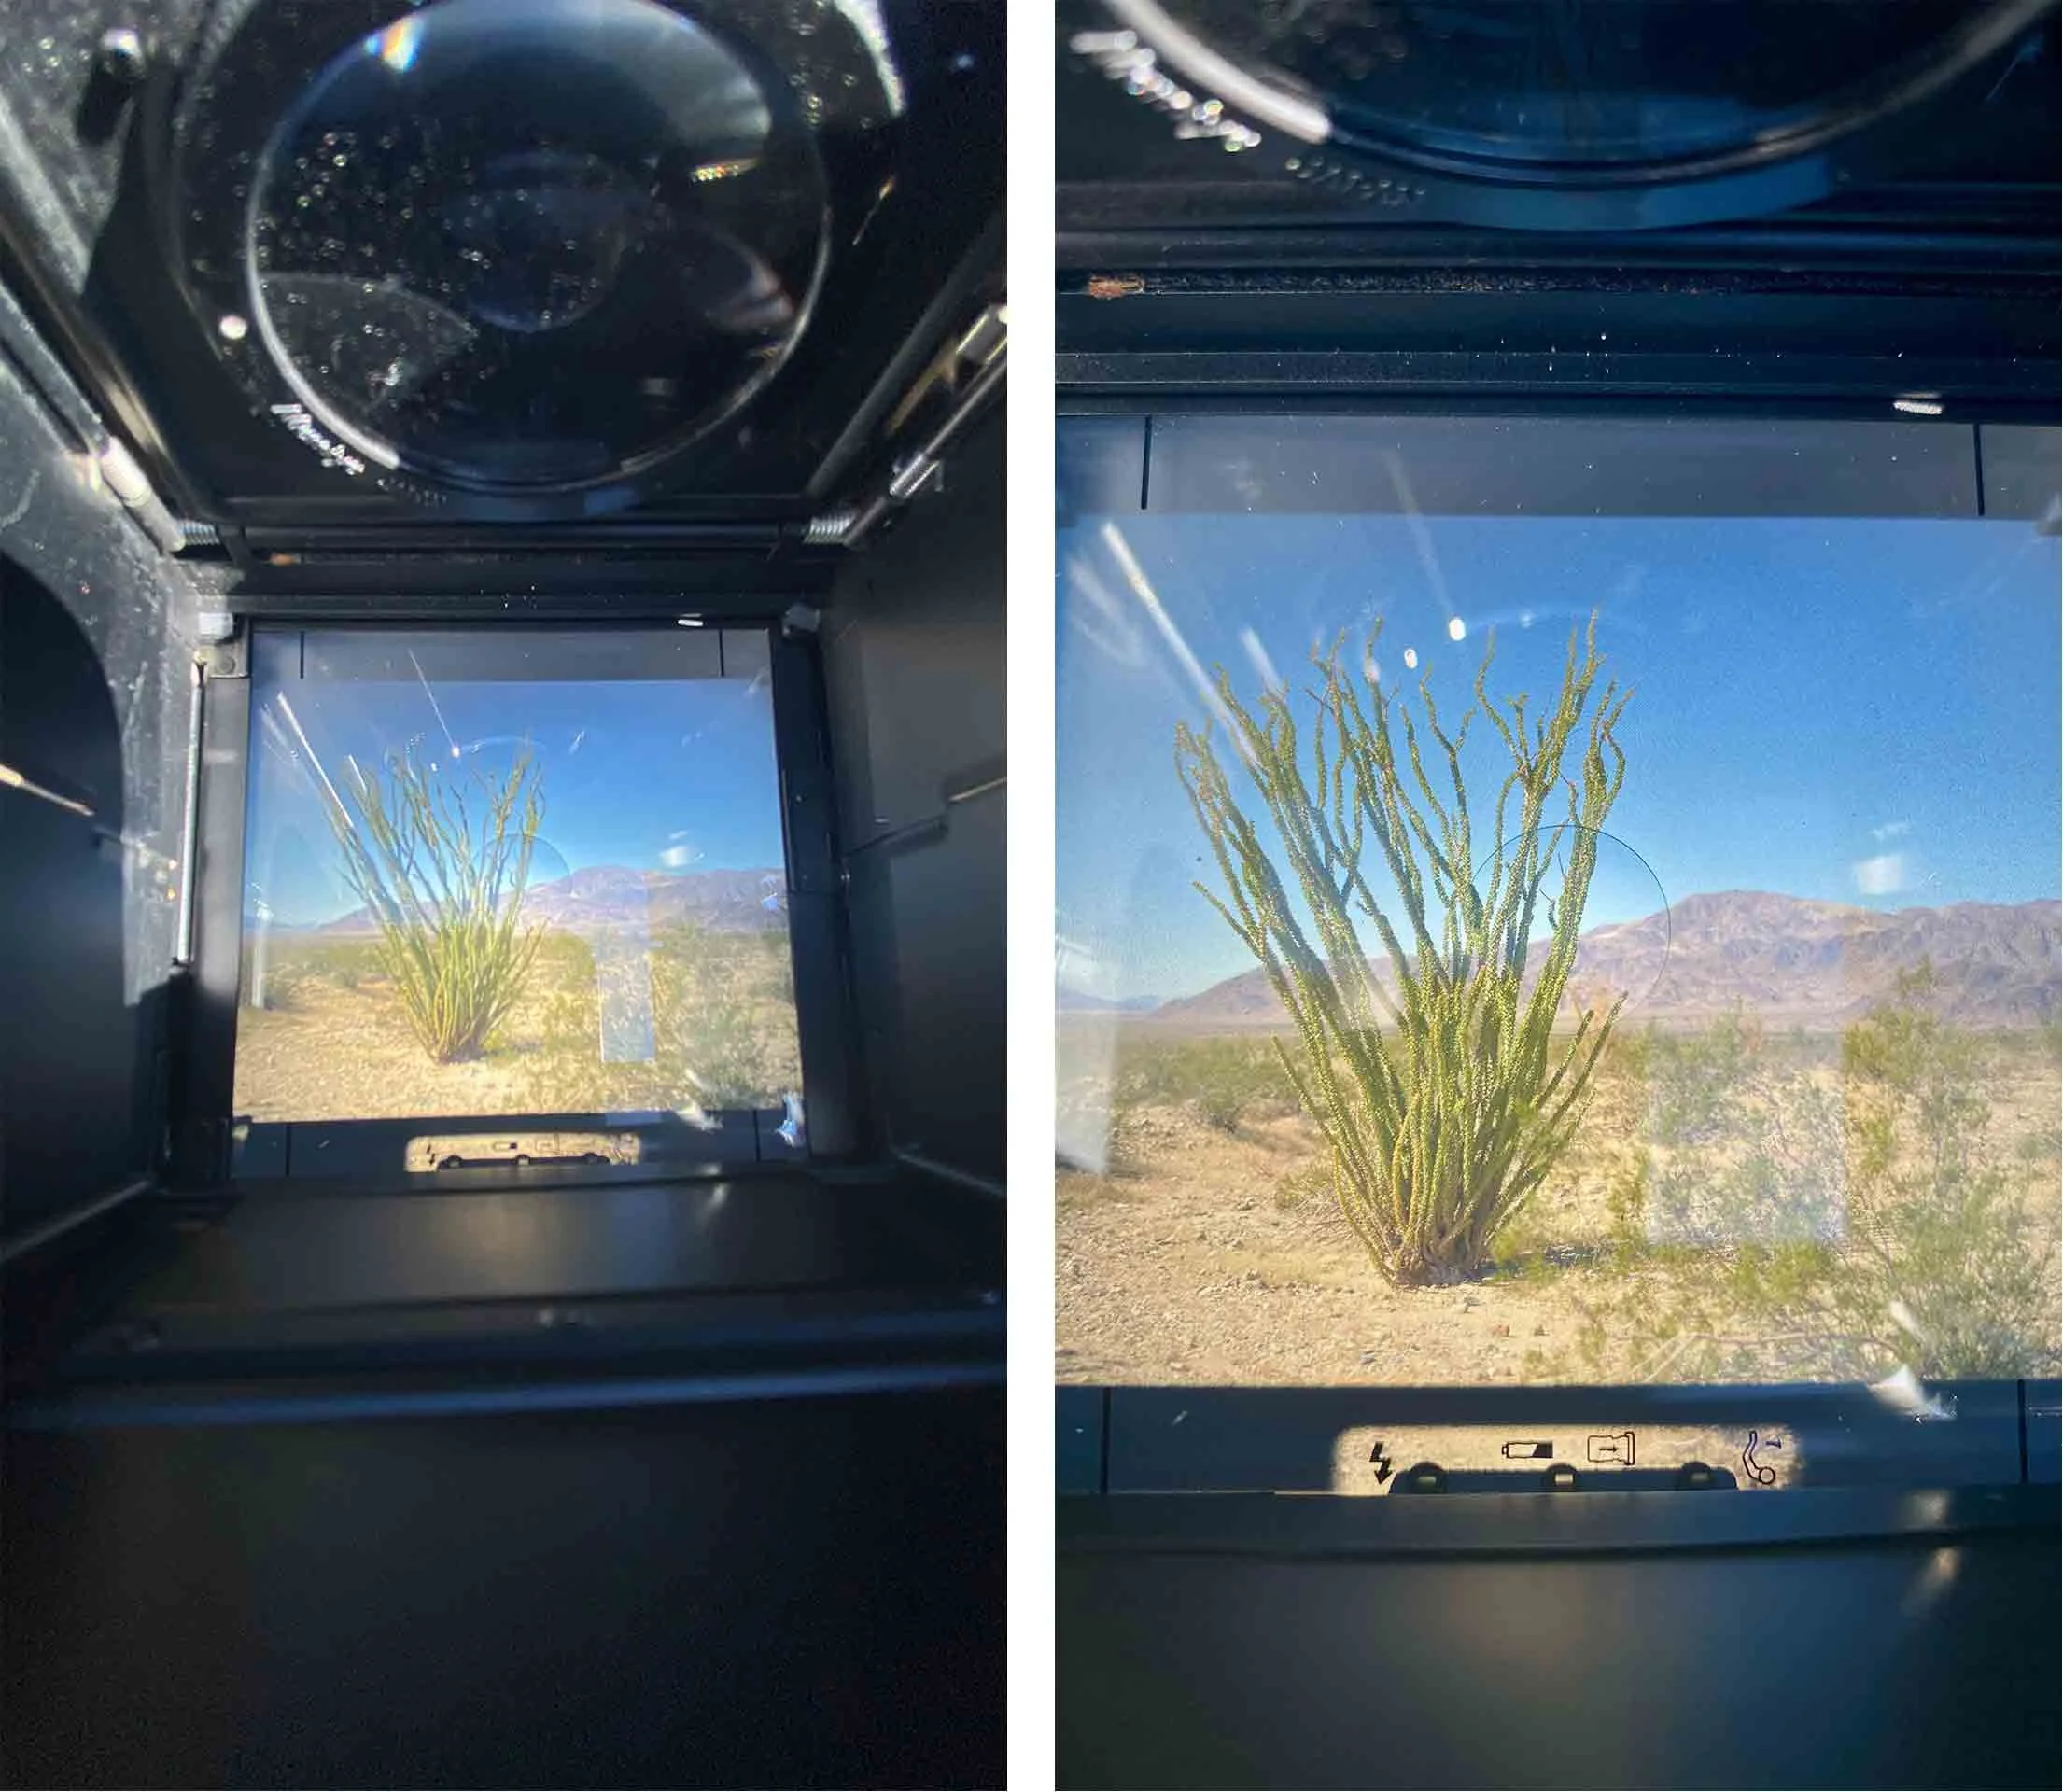
Looking down into the waist-level viewfinder and seeing the reversed image of my scene | © 2025 Jon Norris
The RZ67 is a big heavy camera, weighing around 7.7 lbs (3.5 kg), which makes it less suitable for handheld shooting—but for landscape photography works really well on a tripod.
The camera uses either 120 or 220 roll film. However, 220 film is incredibly hard to come by now, so I’m limited to using 120 film, which gives me 10 exposures per roll.
The RZ67 is a 6x7 medium format camera, with the negative (or positive if shooting slide film) being 56x69mm in size. The aspect ratio is proportionally equivalent to a 8x10 large format image.
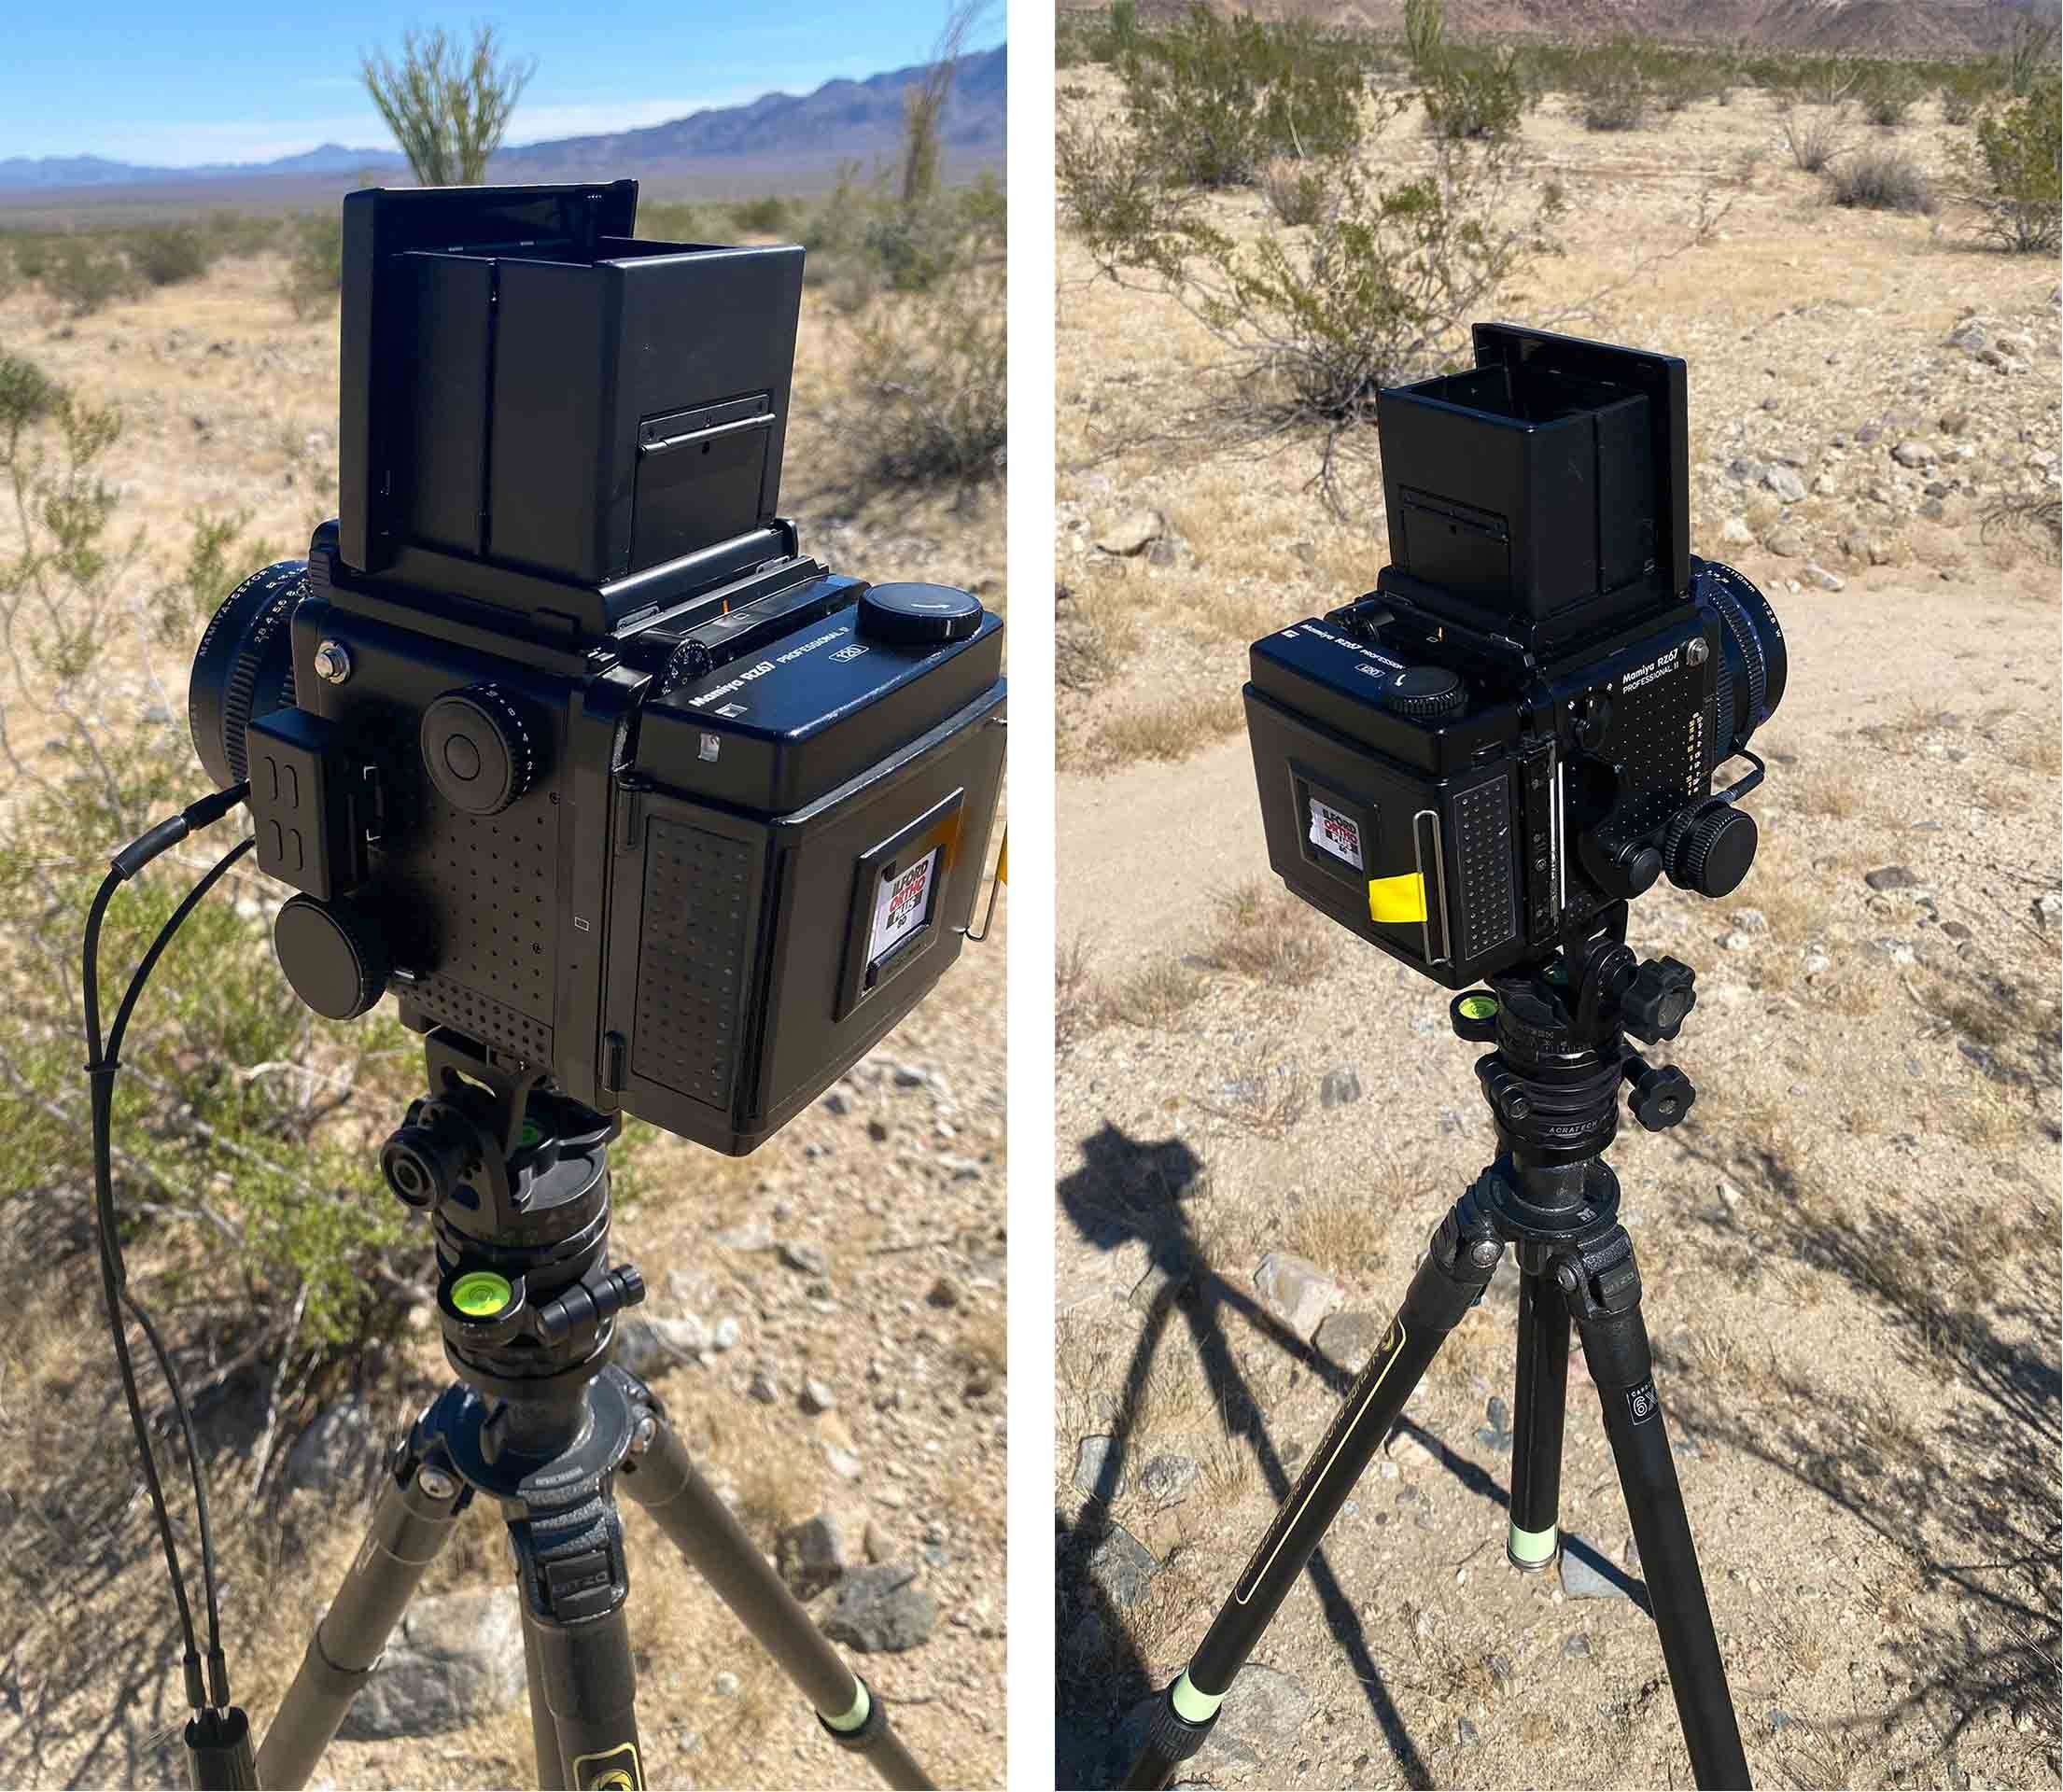
Left and right hand side view of the RZ67 Pro II | © 2025 Jon Norris
The lens is a Mamiya-Sekor Z 110mm f/2-8-f/32. On a medium format camera the 110mm lens is equivalent to a 50mm lens on a 35m camera. To allow me to use the full range of shutter speeds—without worry of camera movement—I was pleased to have the dual-cable release that synchronizes mirror lock-up just before the shutter opens.
The mechanical noise of the lock-up and shutter release is loud and purposeful. As is advancing the film ready for the next shot. It’s very satisfying to interact with the camera—and receiving the audible feedback that it provides.
The RZ67 has a rotating camera back that allows you to shoot either landscape or portrait orientation without moving the camera. Another advantage of the camera back is that there’s a dark slide (that I have added some yellow tape to make it obvious if it’s in pace or not). With the dark slide in place you can remove the camera back, for example, to replace with another camera back that contains a different film stock.
There are warning lights in the viewfinder that let you know whether you’ve forgotten to remove the dark slide, haven’t cocked the shutter, or if your battery is low.
With the waist-level viewfinder there is no built-in metering, so an external meter is required to determine your exposure settings. The viewfinder is bright and provides a clear view of the scene that you’re composing. It took me a little while to get used to the focusing, as this is achieved by rotating a knob that opens the bellows, moving the focal plane in and out.
I’d practiced loading and unloading a couple of rolls of expired film (that the camera store had given me) just to get used to that process.
The time had come. In the back of my truck, to avoid direct sunlight, I loaded a roll of Ilford Ortho Plus ISO 80 black and white film.
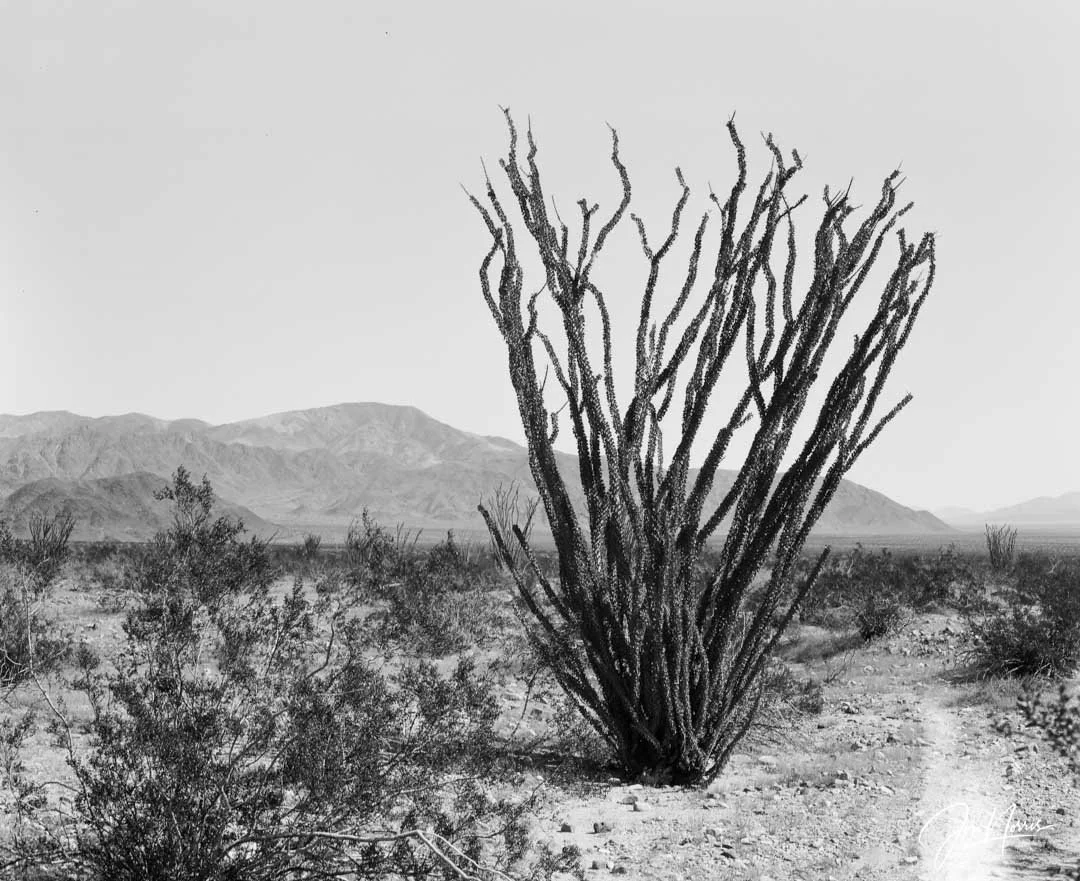
My first 6x7 image with the RZ67 Pro II medium format camera | Ocotillo and Pinto Mountain (f/32 @ 1/23s) | © 2025 Jon Norris
My First Roll of 120 ...
As I shot the first couple of images I was very aware of the finite number of images that I could capture on a roll of film. Just 10 images. This focused my mind and I was being very deliberate in checking (and double-checking) my exposure settings before firing the shutter.
I had to put my faith in the little external Keks KM02 Light Meter that had come with the camera. I wasn’t using any filters, or exposure compensation, so was using the meter reading as-is. Fortunately, my faith was deserved, and the little Keks meter did very well.

Ocotillo and Pinto Mountain (f/32 @ 1/23s) | © 2025 Jon Norris
When I first saw the negatives (and the digital scans) I was delighted. The camera was fully operational, there were no light leaks or issues with the first few images that I looked at. Plus, the external meter got the exposure settings spot on.
On this first outing with the camera I shot 2 rolls of Ilford Ortho Plus, and had them developed and scanned by The Darkroom in San Clemente, CA. I was very pleased with how quickly they turned round the negatives and scans—and the quality of their work. It’s also great that they’re local and offer a free drop-off/return service.
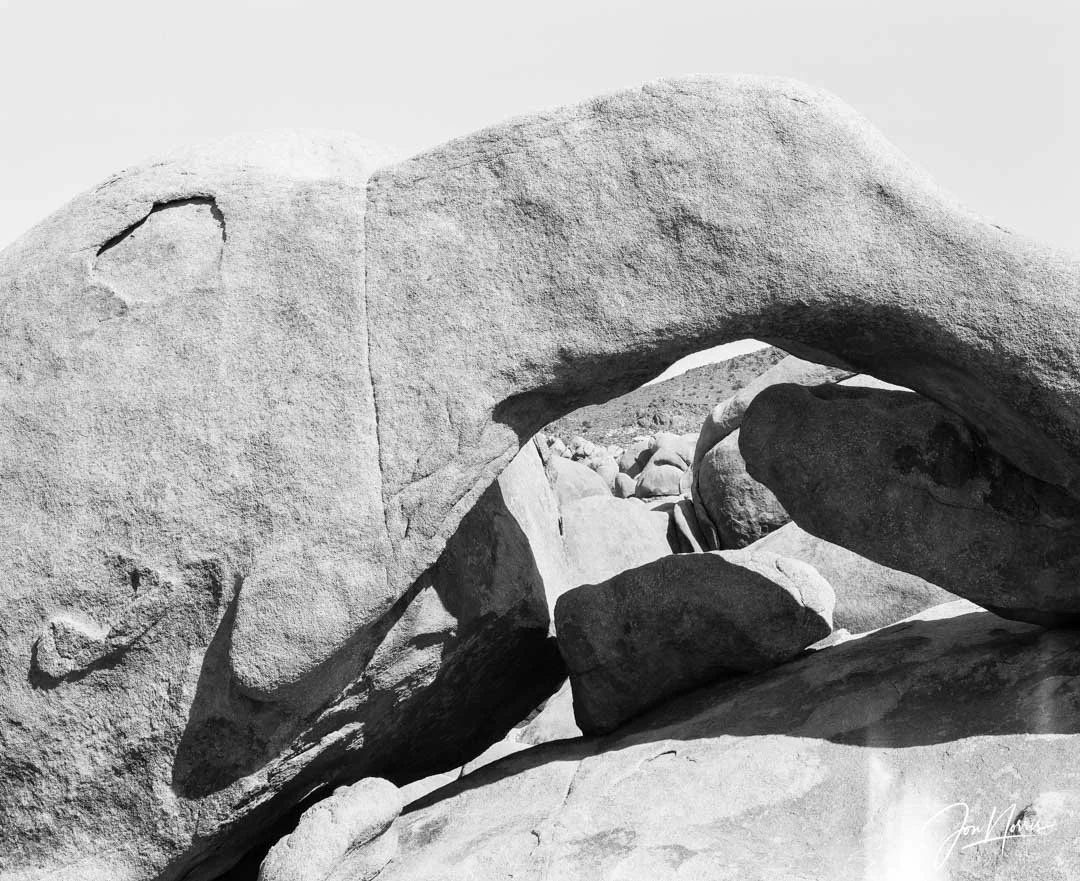
Arch Rock (f/22 @ 1/45s) | © 2025 Jon Norris
Something I do want to try next time I go and shoot is to use colored filters (yellow, green or red) to adjust the contrast. Fortunately, the 110mm lens uses 77mm filters so my existing set of Tiffen filters fit right on. I also have a circular polarizer that I want to try out.
It will be an interesting test to see how the filters affect the contrast of the images, and also what exposure compensation I’m going to have to add due to the filters.

Arch Rock ‘Back Bone’ (f22 @ 1/45s) | © 2025 Jon Norris
For this first roll of 120 film I visited some of my favorite locations in Joshua Tree where I felt the scene, textures and tones would work well in black and white.
I’m thinking of using the RZ67 as my ‘personal project’ camera, and have a few ideas on potential projects, although nothing that’s fully flushed out as yet.
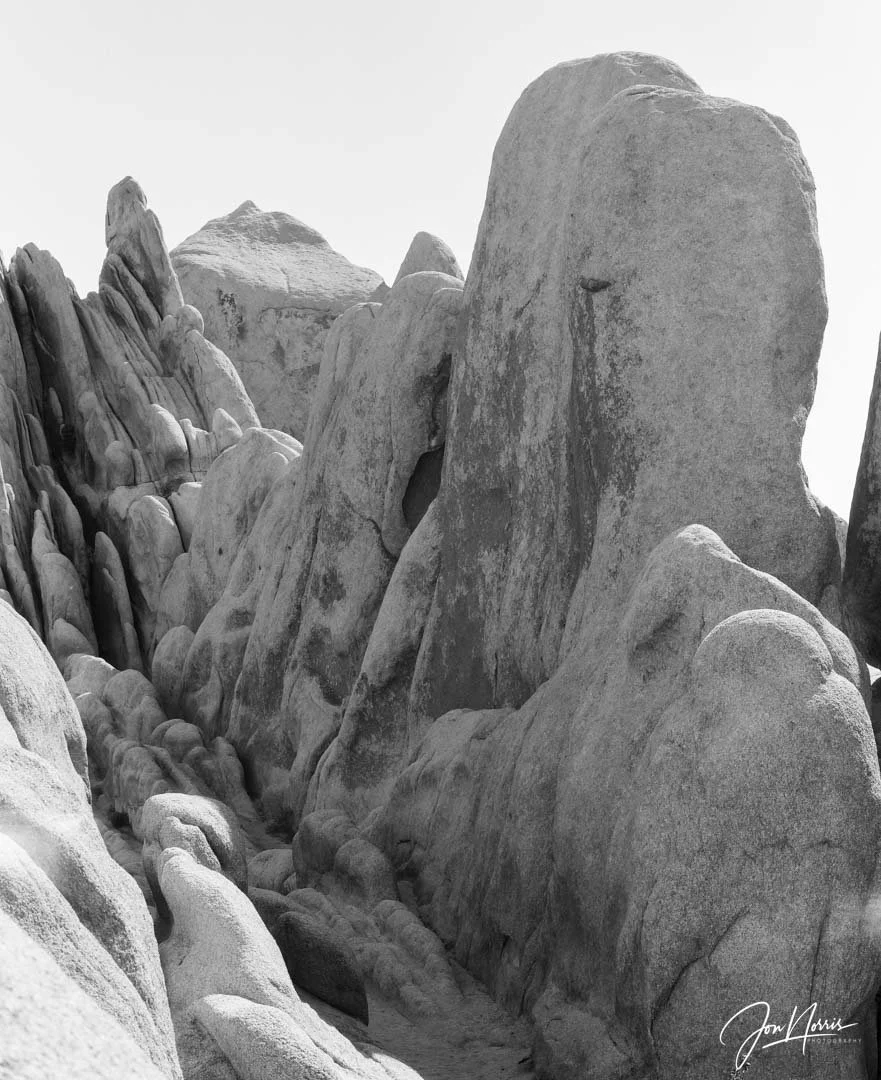
Arch Rock ‘Back Bone’ (f22 @ 1/45s) | © 2025 Jon Norris
As I worked out my exposure settings and took shots I was making notes—my analog metadata, to ensure that I could see what worked, and what may need to be tweaked next time.
It was very satisfying to manually work out exposure settings, and then add compensation based on the focus distance and aperture, in accordance with the chart exposed when the bellow open on the camera.
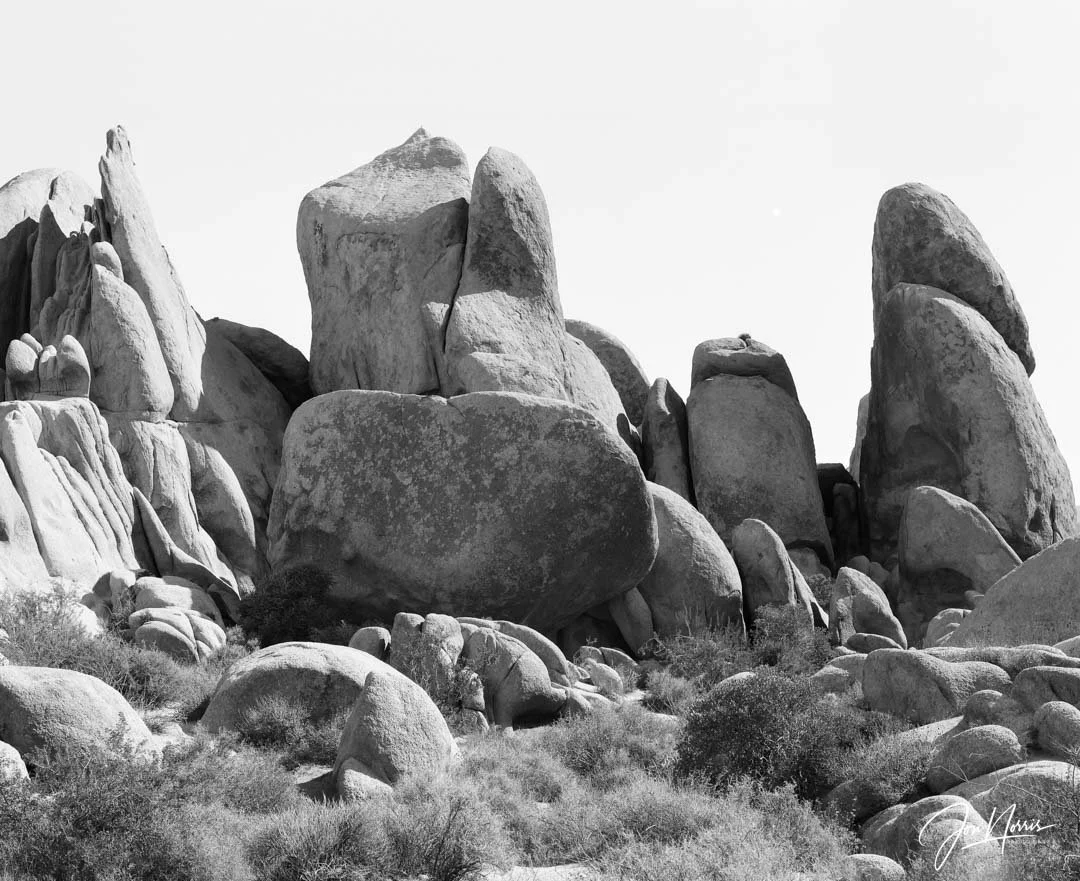
Arch Rock ‘Pillars’ (f/16 @1/90s) | © 2025 Jon Norris
The nerdy engineer in me was enjoying the process as it felt like I was conducting an experiment and noting down my findings so I could adjust for future shoots.
It was amazing how many people came over to me to chat and see what I was doing with this large old camera. It was certainly a conversation starter.
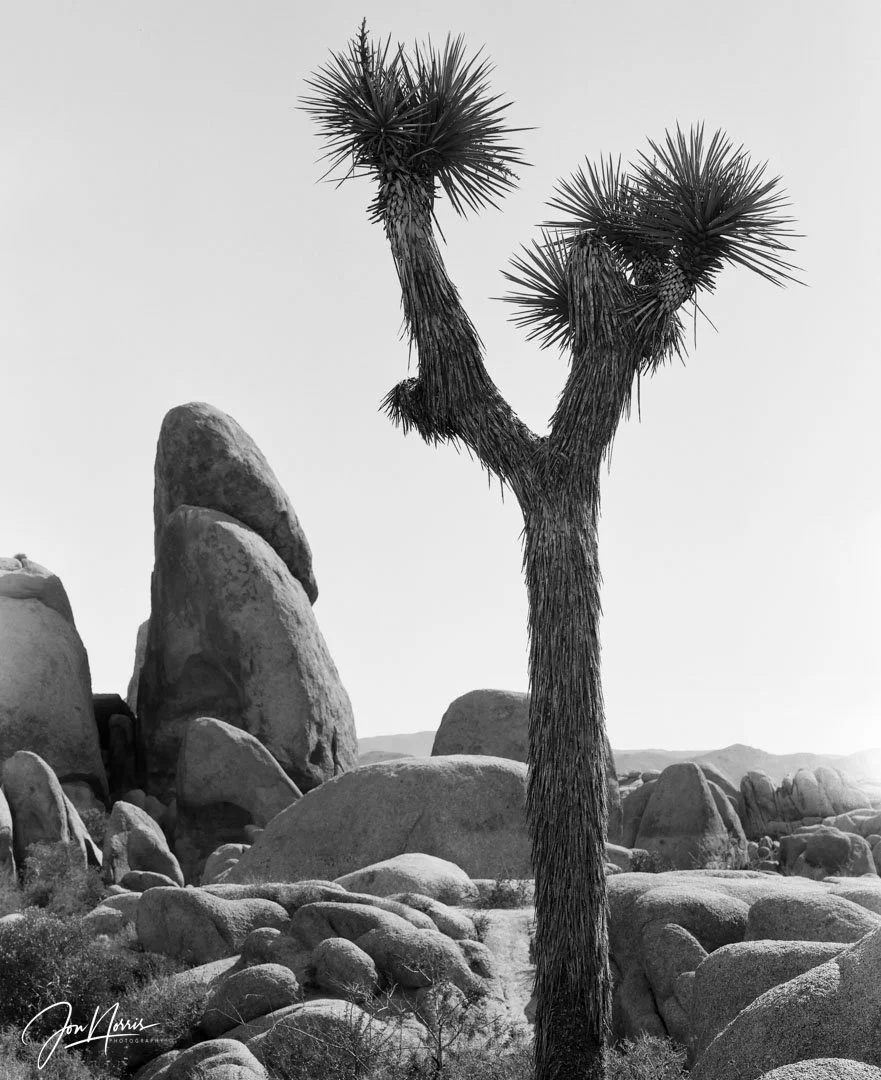
Pillar and Joshua Tree (f/16 @ 1/90s) | © 2025 Jon Norris
I shot my first 10 images at three different locations in Joshua Tree—and was very pleased with what I believed I had captured. My first roll of 120 film was done.
When it was time to change the film I fumbled the removal of the film roll from the camera back. A rookie mistake. Sadly, I inadvertently caused some light leakage onto the last 3 exposures, 2 of which you can see below.
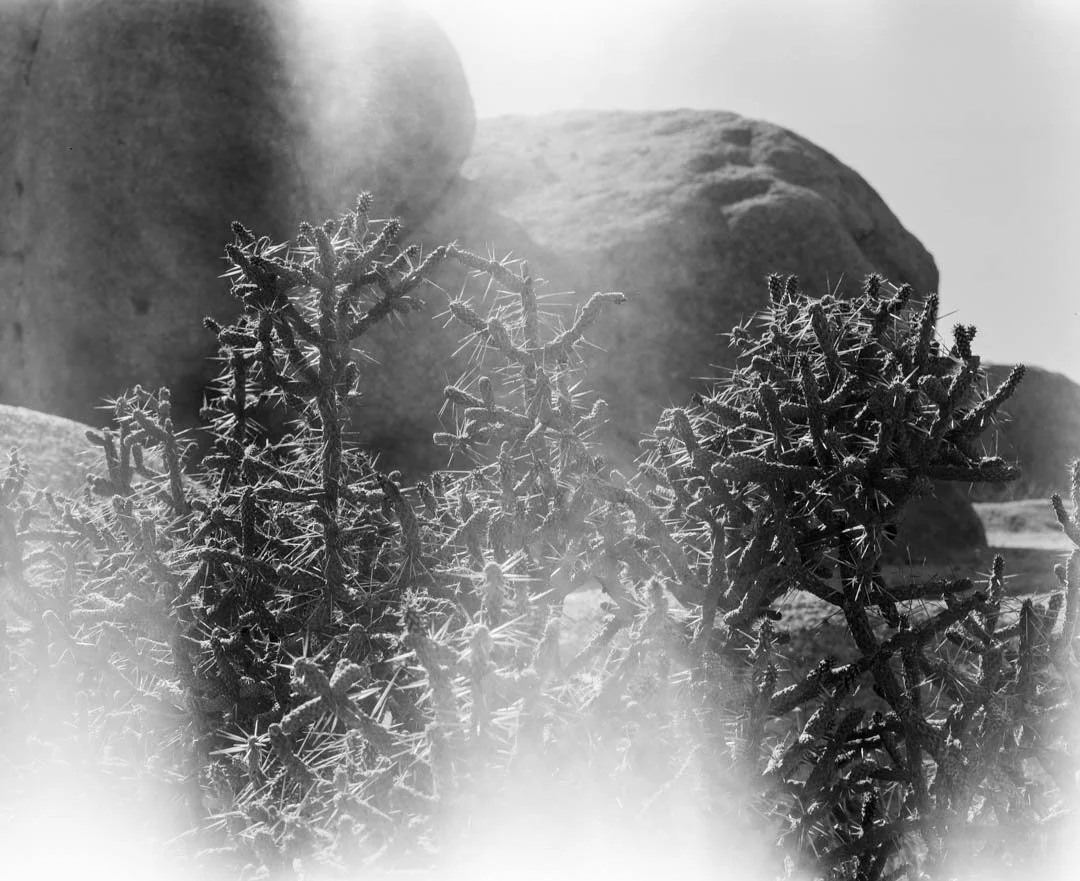
Pencil Cholla (f/32 @ 1/15s) | © 2025 Jon Norris
I was simultaneously annoyed with myself but also happy to have shot my first roll of 120 film. In the end, I just chalked it up to experience, and hoped that I hadn’t ruined the whole roll.
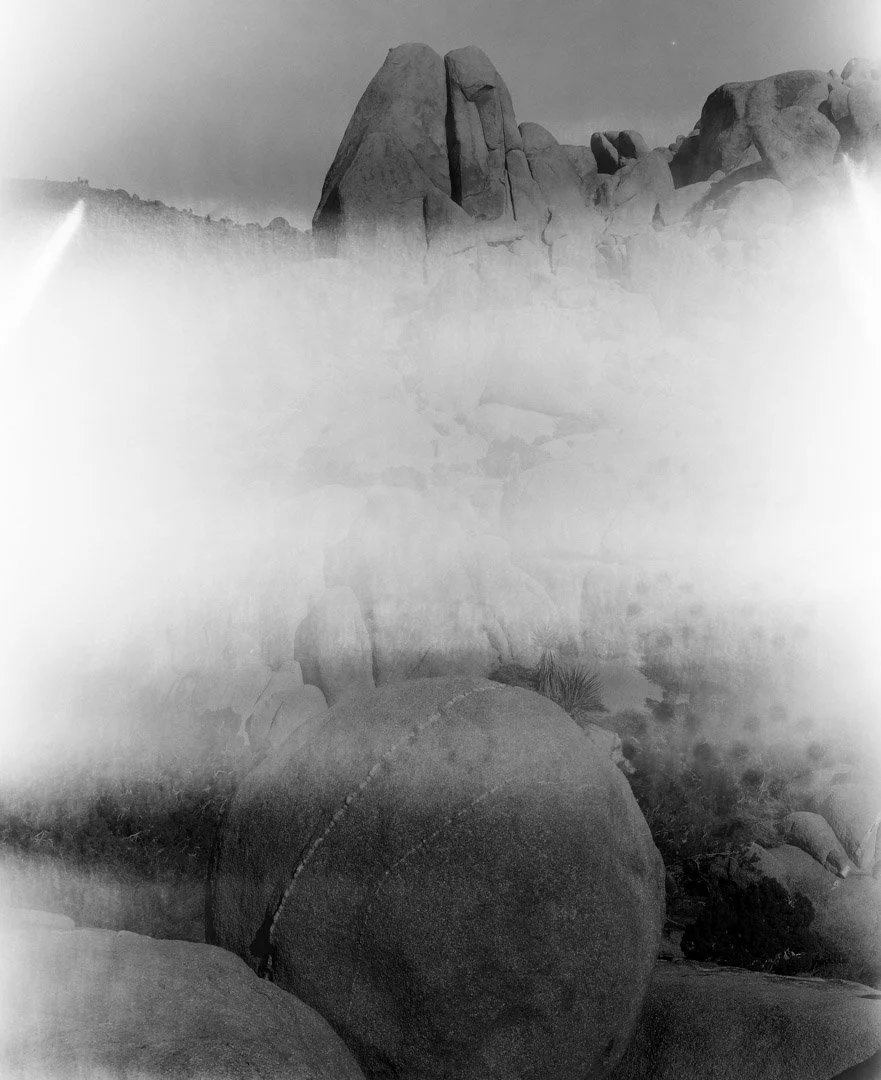
Split Rock Marble (f/32 @ 1/23) | © 2025 Jon Norris
So many lessons learnt on that first day of shooting. So many more lessons to learn. But so much fun had doing it. I’m well and truly back into film photography.
I’m looking forward to my next foray with the RZ67 and seeing what I can come up with. I’ll keep you in the loop when I decide what my personal project(s) are going to be.