Explore Landscapes #133
At first, shooting in manual mode can feel clumsy (or risky) as you change all three exposure settings at once. Make it one decision at a time with the three-dial workflow.
I started taking photos at 14 (40+ plus years ago now) with my trusty Zenit 10 SLR camera, teaching myself the fundamentals of photography via countless rolls of poorly exposed 35mm film. There always seemed to be so much to consider when taking a picture.
When I started getting a satisfactory composition and an image in focus, I felt that I’d taken a step forward. However, exposure seemed so complex that I never felt I could master it. Much of what I read stated (or at least how I interpreted it) that ‘real photographers’ shoot in Manual. The thought of shooting a photograph in Manual mode terrified me.
I read anything and everything about photography that I could find. Back then, there was no Internet. Monthly photography magazines and how-to-photograph self-help books were my go-to fix. I had to try to figure out metering and exposure. But the more I read, the more confused I became. So much of the information I encountered was confusing and overly complicated.
Sometimes, the meter in my camera gave me a good exposure; sometimes, it didn’t. Then I started learning about exposure compensation, how bright and dark elements in a photo needed more or less exposure, the zone system, and different exposure modes. To be honest, I was more confused than ever.
Camera Exposure (or Shooting) Modes
Let’s recap the main shooting modes that every DSLR or Mirrorless camera will have (see also my article on Essential Photography Terms).
Program mode (P) is an automatic mode in which the camera determines the aperture, shutter speed, and ISO, such that you get what the camera believes to be a well-exposed image. Just pick up at your camera, point and click the shutter.
When you start out on your photographic journey, after shooting in Program mode for a while, you’ll likely start experimenting with one of the semi-automatic modes. If you’re into landscapes or macro photography, that’s likely to be Aperture Priority (A or Av). If you’re into wildlife or sports photography, that’s likely to be Shutter Speed Priority (S or Tv).
Aperture priority mode (A or Av) is a ‘semi-automatic’ exposure mode in which you control the aperture and ISO settings (if ISO is not set to Auto-ISO), and the camera selects a shutter speed to match, such that you get what the camera believes to be a well-exposed image.
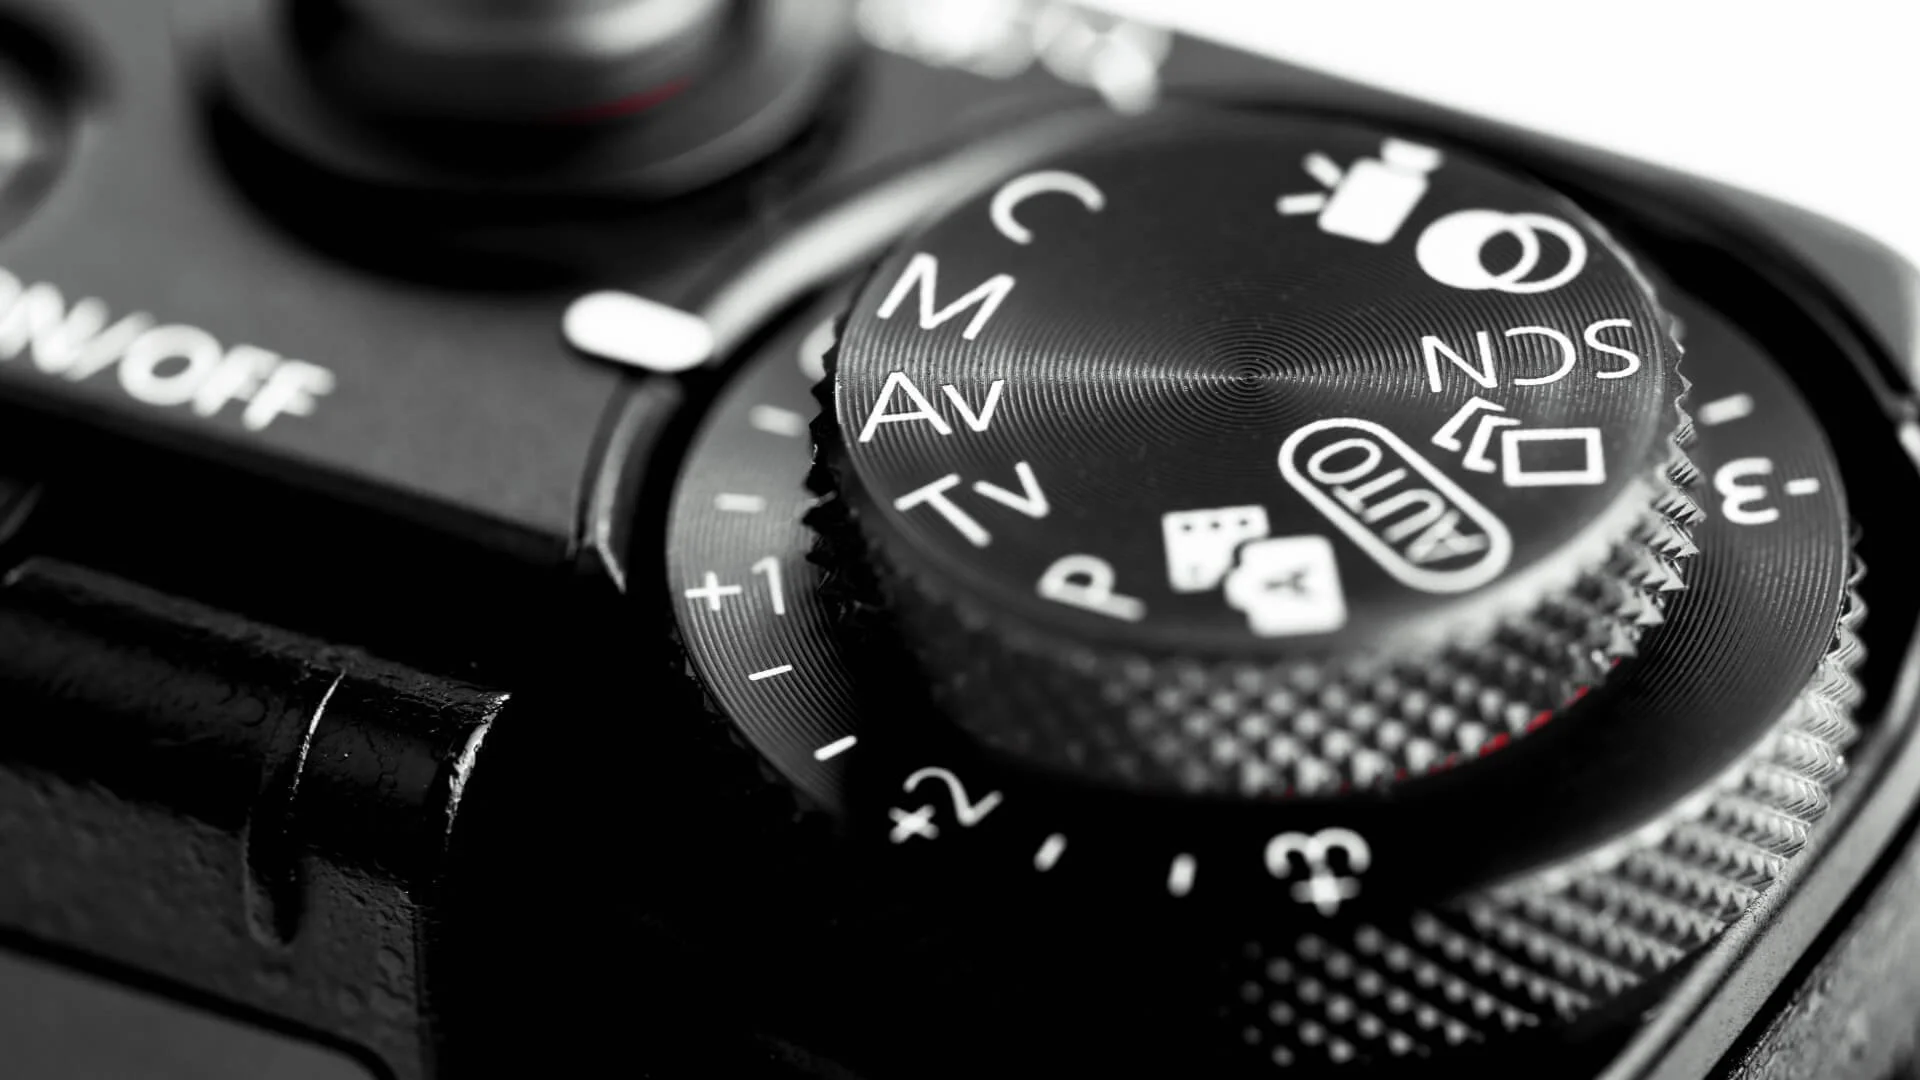
Exposure mode dial: Program (P), Shutter Priority (Tv), Aperture Priority (Av), Manual (M) | Stock Photo
Shutter priority mode (S or Tv) allows you to determine the shutter speed and the ISO (if ISO is not set to Auto-ISO) and the camera will select an aperture to match such that you get what the camera believes to be a well-exposed image.
The challenge/issue with these 3 modes, Program, Aperture priority, and Shutter priority, is that you’re trusting the camera to get a well-exposed image. In many cases it will do an OK job at that, but sometimes it will not, or the final image will not match your artistic intent.
Manual mode (M) gives you complete creative control over the exposure settings of your images. You choose the aperture, shutter speed, and ISO and determine the balance between them to get the correct exposure.
My progression through the Camera Exposure Modes
After a few years of shooting in Program, I transitioned to using Aperture priority. I think this was because I’d read an article in a magazine that said this is what I ‘should’ be doing when taking landscape photographs. I got obsessed with wide-angle shots and shallow depth-of-field, and throwing my backgrounds out of focus. I stuck with using Aperture priority for many years.
However, the overall exposure was still off at times. I was still getting clipped highlights, or the shot was too dark. Back to the ‘dreaded’ topic of exposure.
What cured my dread of exposure was learning how to use and trust the histogram. It helped me (finally) understand exposure. In turn, this allowed me to shoot in any mode and ensure that I always got a correctly exposed image.
Once you understand how to use the histogram, you can shoot confidently in Manual, Aperture, or Shutter Speed Priority, depending on your scene and artistic intent.
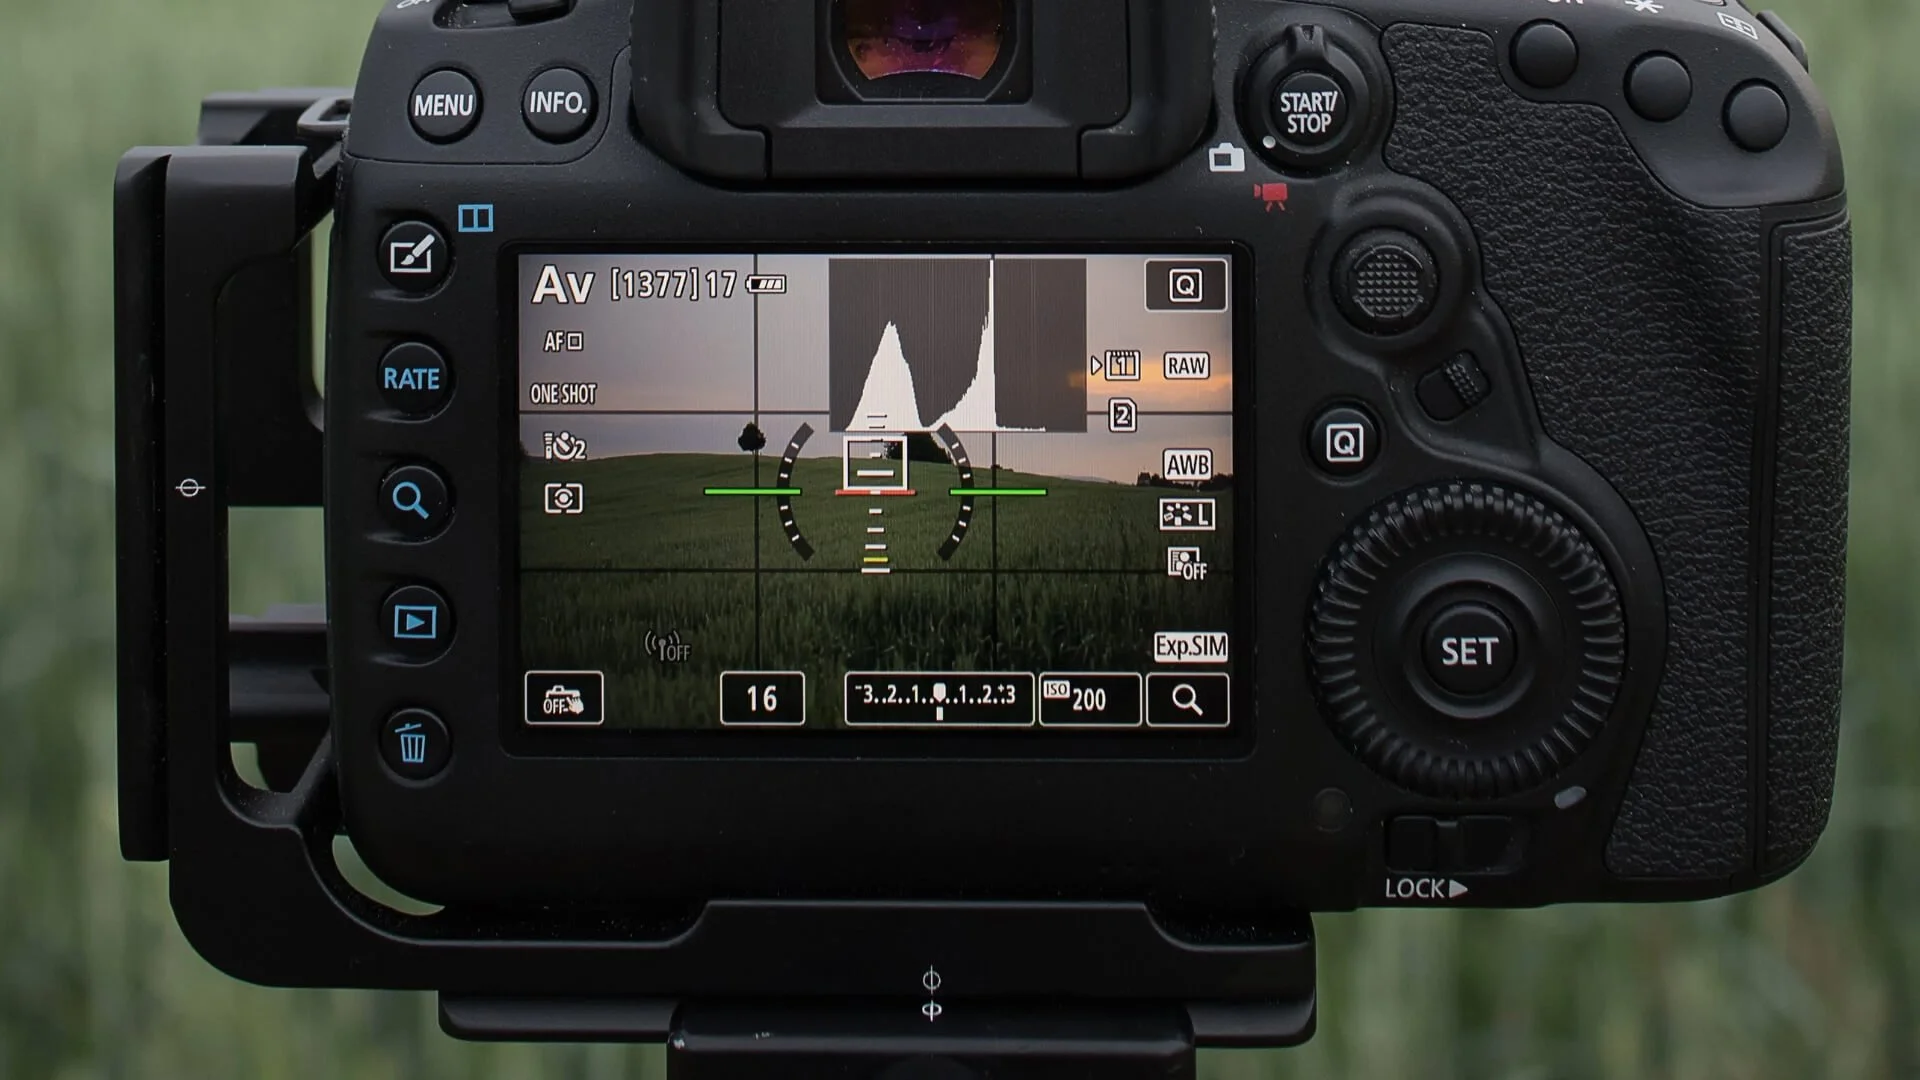
Histogram shown on a Canon DSLR (with Live View activated) | Stock Photo
To learn more about using the Histogram take a look at one (or more) of these posts:
When to use what Camera Exposure Mode
I would suggest that you try to avoid using Program, as far as you possibly can, as it removes you, the photographer, from the conscious decision-making workflow of creating an image. If you’re not ready to shoot in manual mode as yet, then I’d suggest using either Aperture or Shutter priority.
Aperture priority is typically used when you want to control the image’s depth of field. This is one of the exposure modes used for landscape photography. However, it should be used with exposure compensation to get the ideal exposure for the scene you’re shooting. You should use the histogram to verify the exposure and not rely on any of the camera’s metering modes.
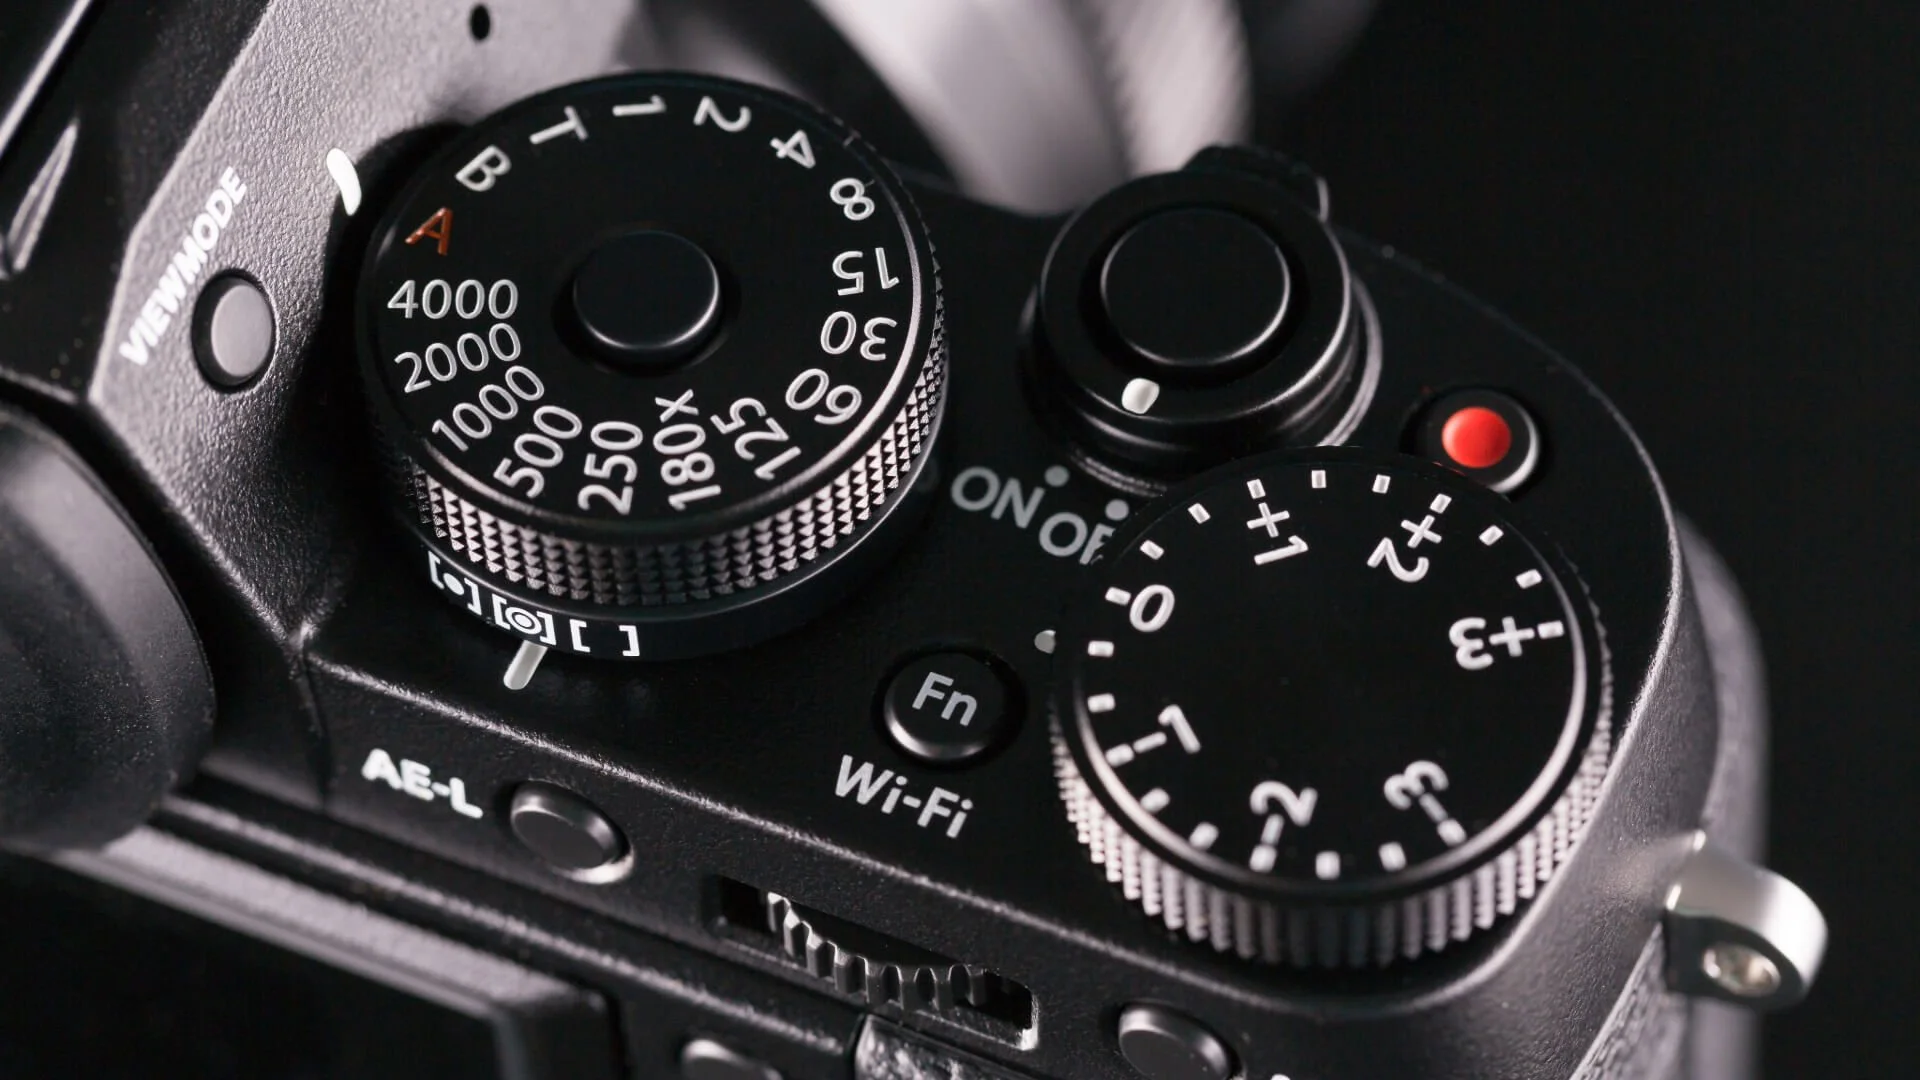
Exposure compensation dial (RH dial) showing compensation in 1/3 stops | Stock Photo
Shutter priority is advantageous for situations in which you want to control the appearance of motion in an image, such as blurring the movement of a river or waterfall or freezing the movement of an animal. This is not one of the exposure modes typically used for landscape photography (but may be required depending on the scene). If you want to shoot in shutter priority mode, use the histogram to verify the exposure, and don’t rely on any of the camera’s metering modes.
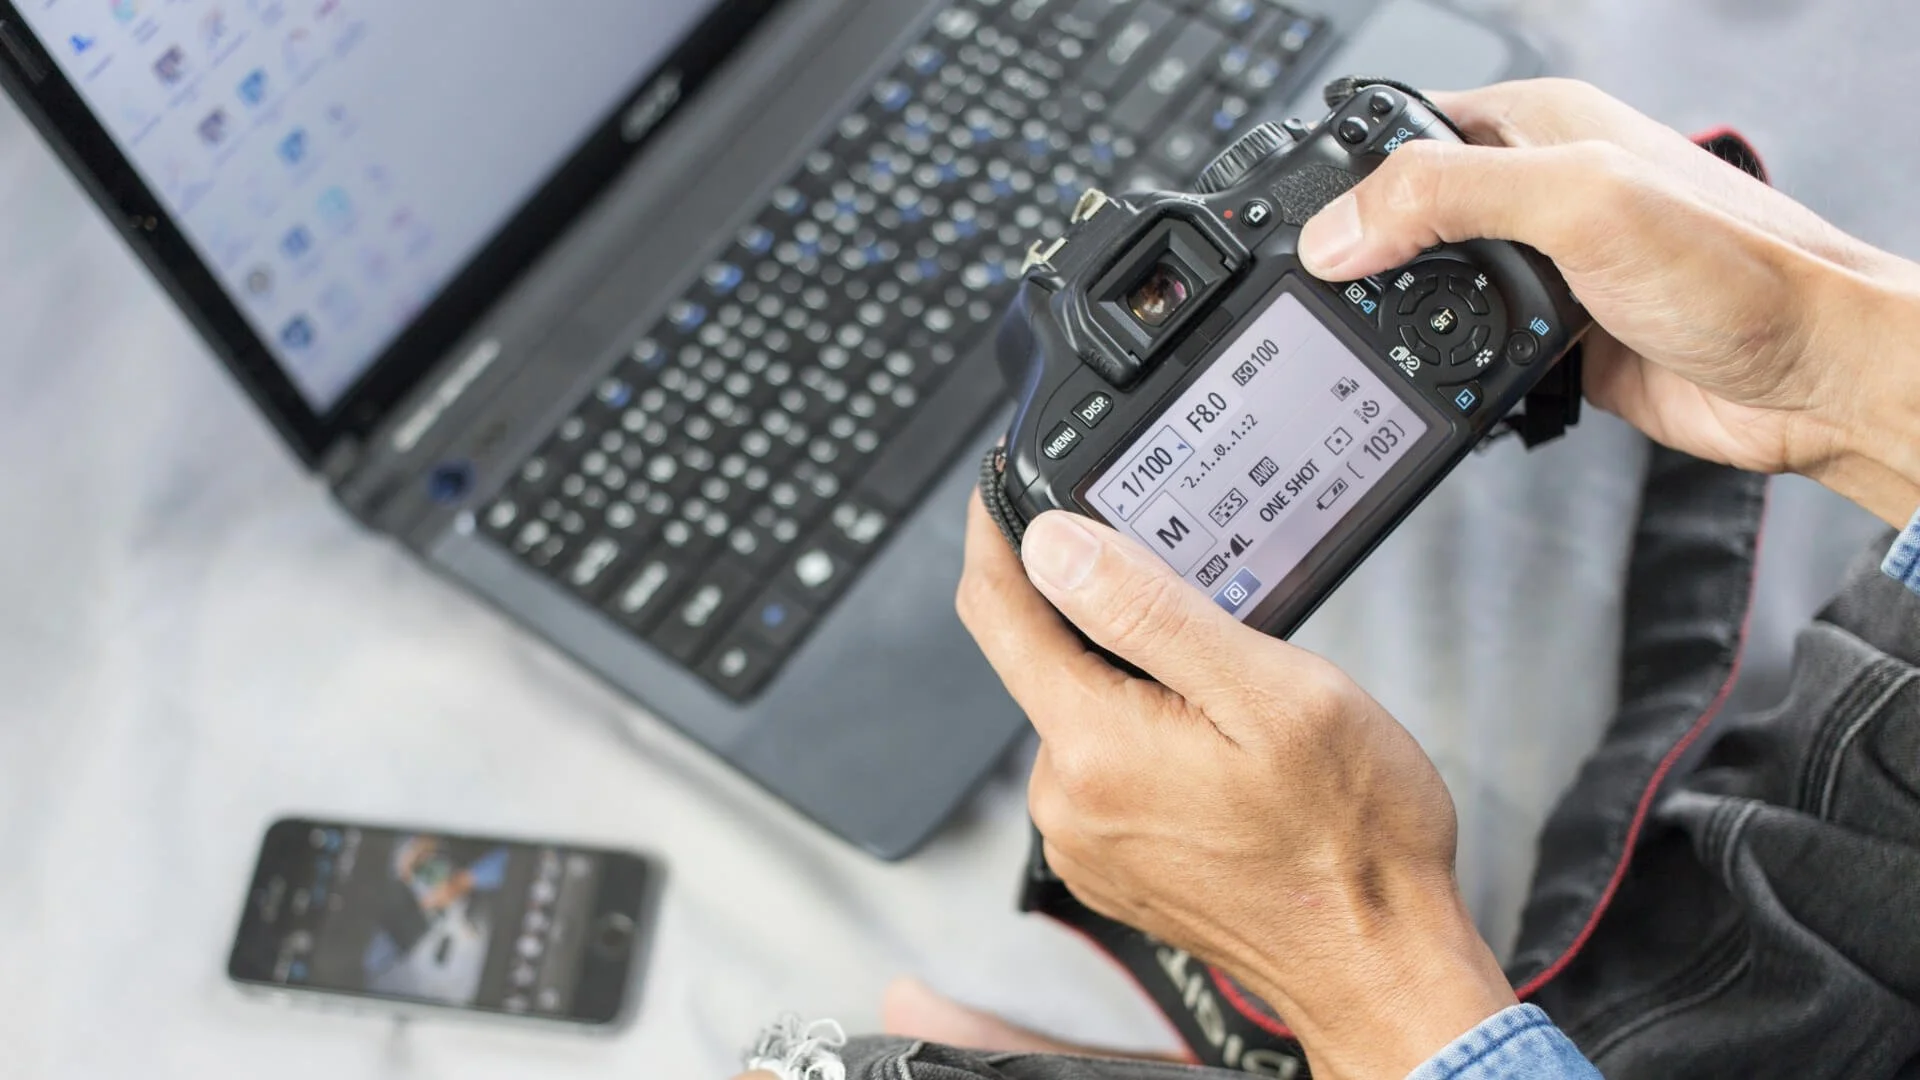
Making manual mode setting changes on the camera screen | Stock Photo
In Manual, you can choose your composition, depth of field, sharpness, and the amount of digital noise. For me, manual mode is the ideal exposure mode for landscape photography.
The Exposure Triangle
A quick recap on exposure. To make a photograph that we can see, we have to adjust the amount of light that the sensor is exposed to. An image that is too bright is overexposed; an image that is too dark is underexposed. Exposure is controlled by aperture, shutter speed, and ISO (commonly known as the exposure triangle).
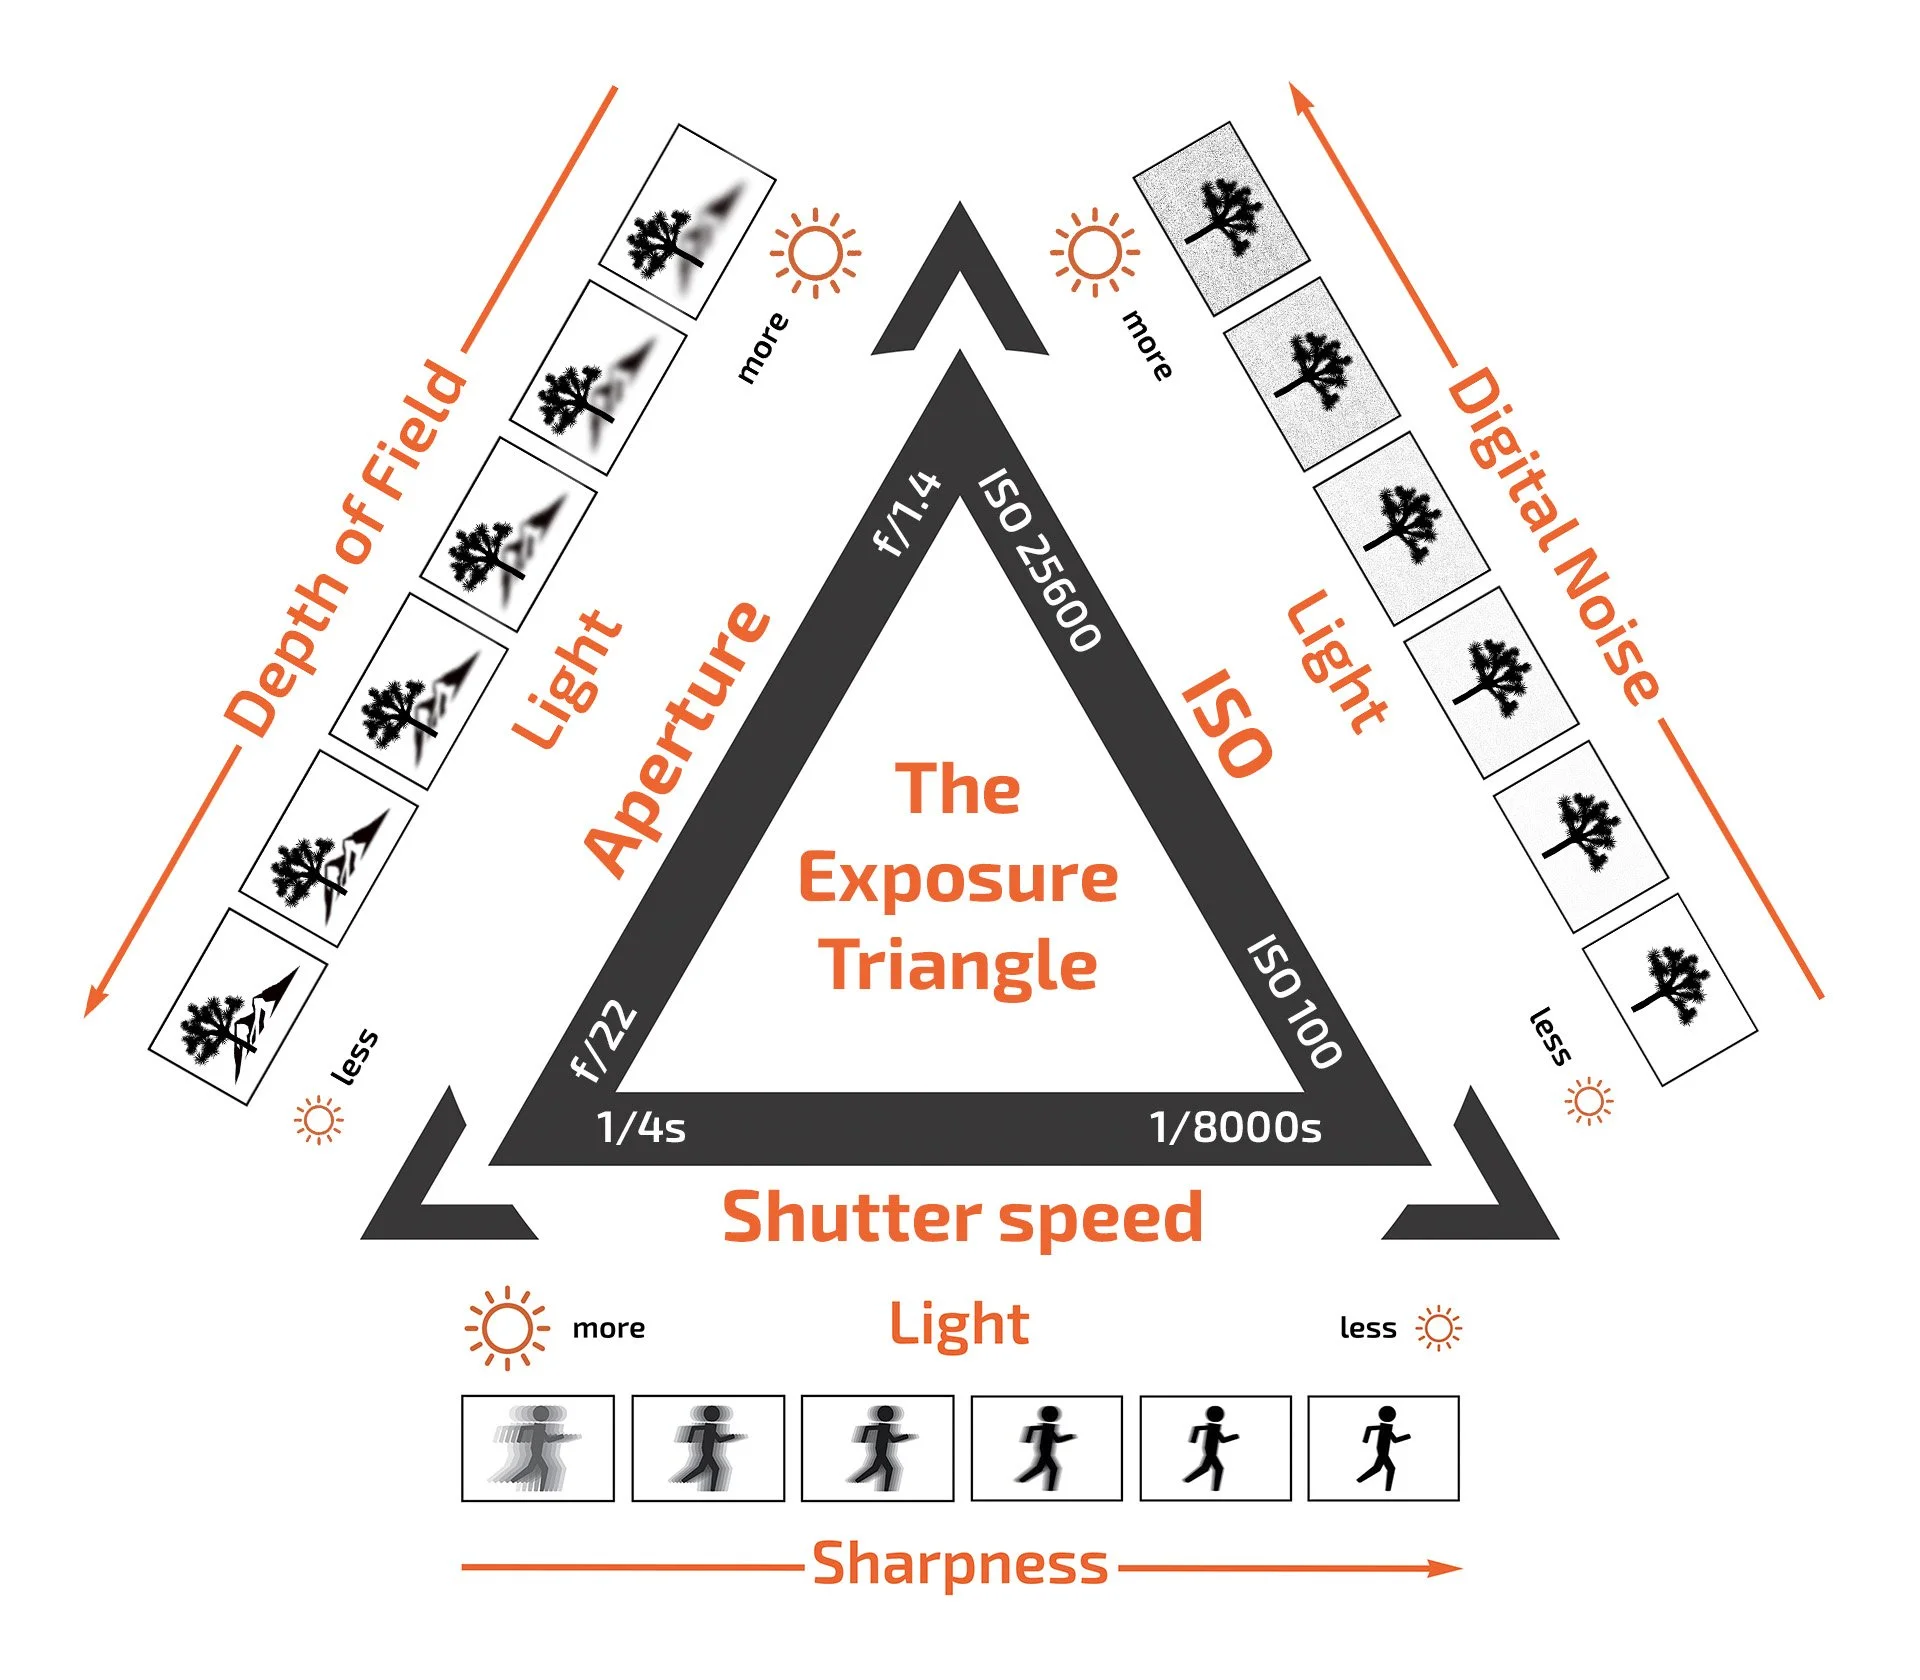
The Exposure Triangle | © 2024 Jon Norris
These three camera/lens settings work together to regulate the amount of light that reaches the sensor. Aperture and Shutter speed regulate the amount of light reaching the sensor, and ISO amplifies the light signal that reaches the sensor.
An image is said to be ‘properly exposed’ when the image is neither overexposed (too bright with some areas pure white) nor underexposed (too dark with some areas pure black). Please note that there’s no such thing as ‘proper exposure’ - you can choose to expose an image as you see fit to suit your artistic vision.
For more information and background reading on light and exposure please take a look at this post.
The Three-Dial Workflow
When deciding on what Camera Exposure Mode to use for a particular scene I ask myself two key questions (in this order):
Is there movement in the scene that I want to capture, emphasize, or eliminate? What shutter speed would allow me to do that? If there’s no movement that I need to be concerned about in the scene (which is often the case as I primarily shoot desert landscapes), then I can use any shutter speed (assuming I’m shooting on a tripod to prevent camera movement). This is typically a very quick assessment and I immediately move to the next question, which for landscape photography is arguably more important.
Do I want to use depth of field to give focus front-to-back in my image or am I looking to emphasize depth of field in a particular area of the scene? What aperture would allow me to do that? For my landscape photography work I will pick the lens aperture to match my artistic intent for the scene, i.e. that gives me the depth if field that I’m looking for.
Based on the above two questions, my ISO setting is then whatever value I need to select to give me the correct exposure, which I judge by viewing the histogram.
Manual Mode Examples
Here are a few examples of images that I’ve taken using the three-dial workflow. I’ve shared the EXIF data from the image (so you can see what exposure settings I used) and the reason why I used the settings.
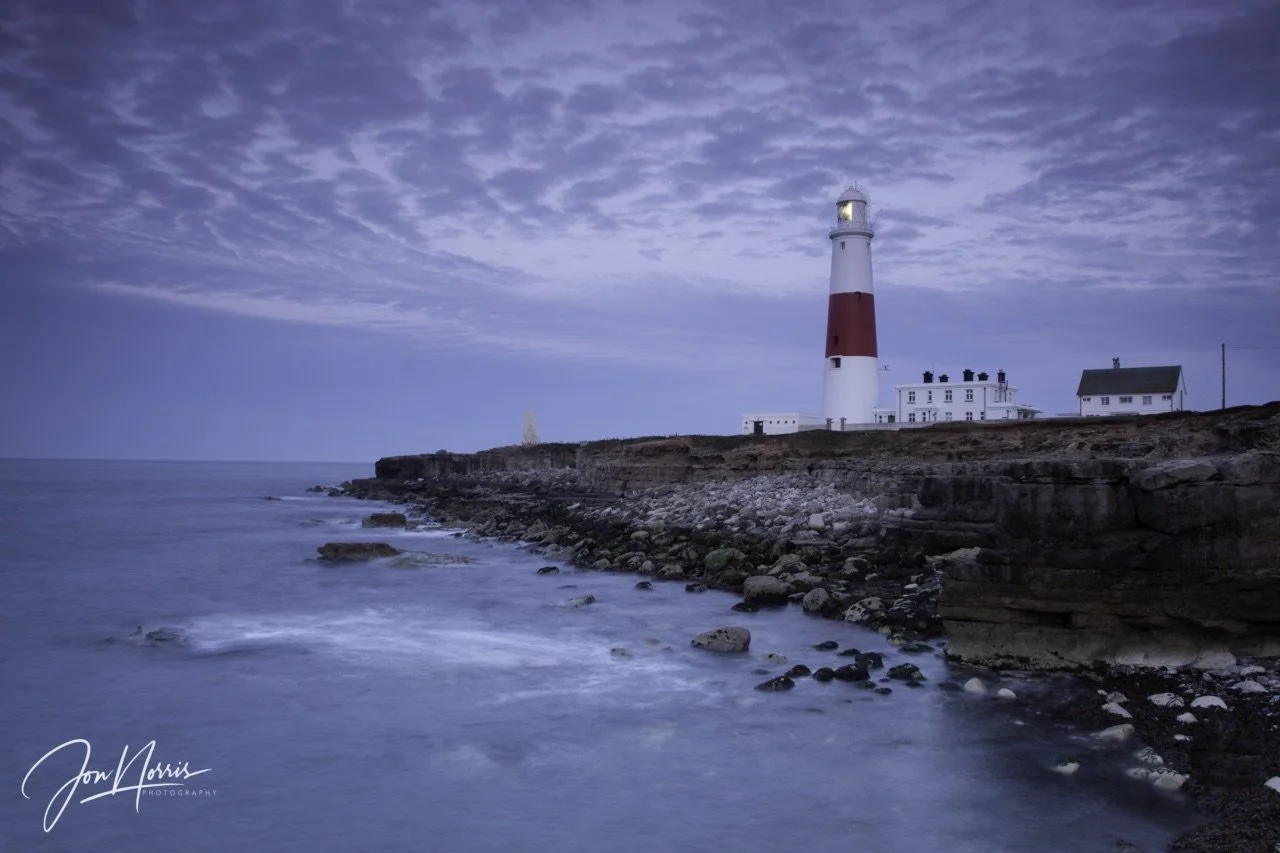
Portland Bill Lighthouse [Canon EOS 50D with 17-40mm @ 17mm, 5 secs, f9, ISO 100] | © 2011 Jon Norris
In this image of Portland Bill Lighthouse (on the UK’s South coast in Dorset) there was movement in the sea which I wanted to highlight. To accentuate the movement I choose a shutter speed of 5 seconds. Next, as I wanted good depth of field throughout the scene, I selected an aperture of f9. Finally, to get the correct exposure (I checked the histogram) and selected ISO 100.
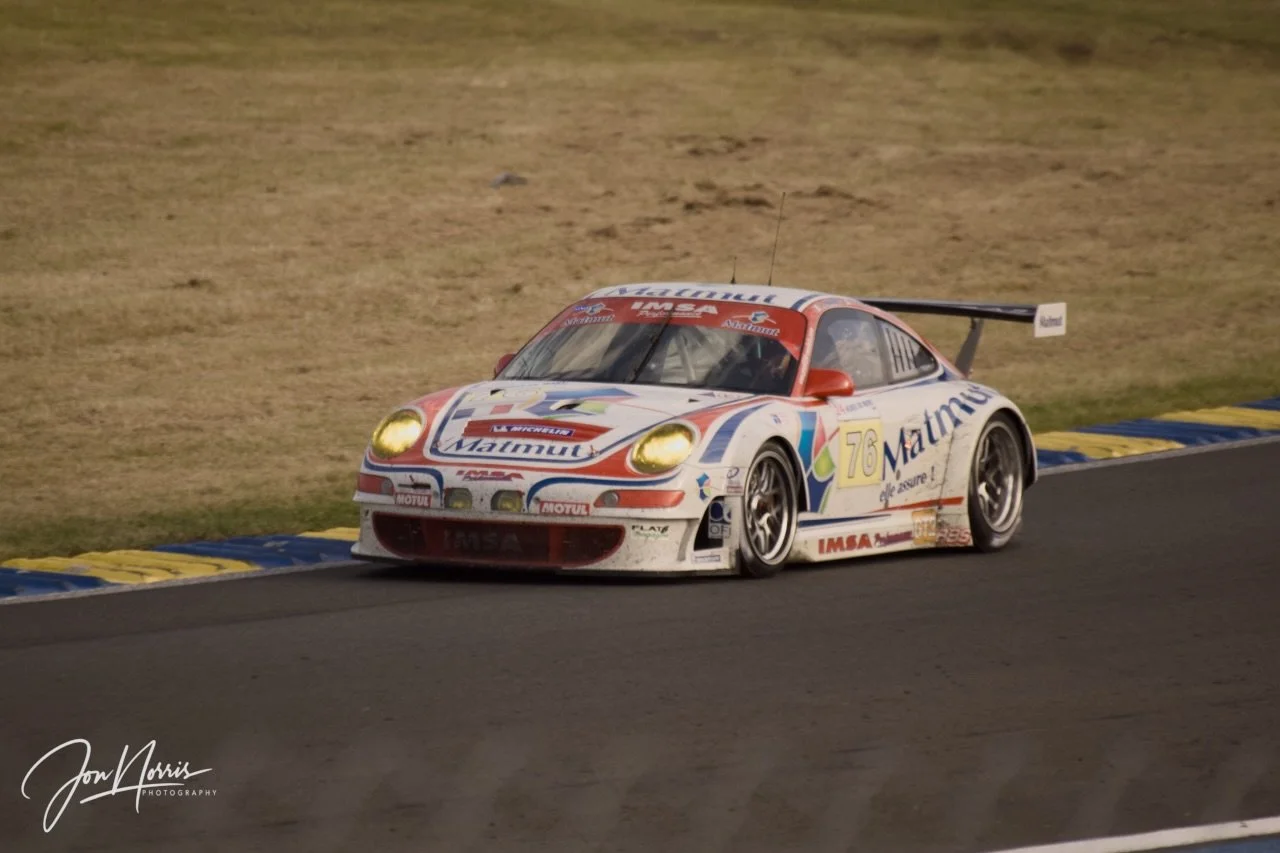
Le Mans 24-Hour Race [Canon EOS 50D with 70-300mm @ 300mm, 1/1000s, f5.6, ISO 400] | © 2009 Jon Norris
In this image of the Porsche 911 at the Le Mans 24-Hour race I wanted to freeze the car so selected a high shutter speed (1/1000s) and also panned the camera/lens to follow the 911 as it entered the curve. Depth of field wasn’t that important—just needed enough to have the car in focus, so opted for an aperture of f5.6 to let more light into the lens as it was early evening. Finally, to get a good exposure I set the ISO to 400, to make sure that I could expose the scene towards the left of the histogram.
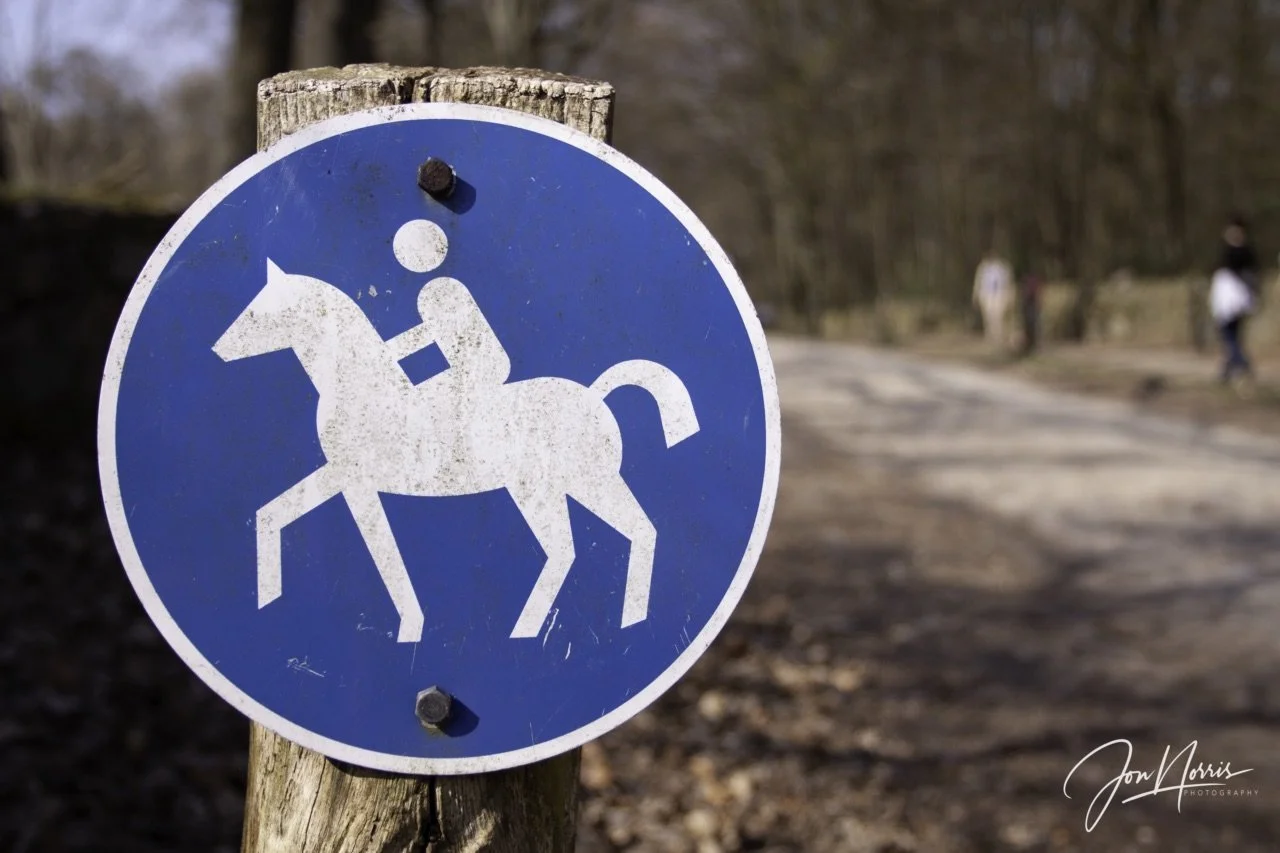
Lüneburger Heide [Canon EOS 50D with 17-40mm @ 26mm, 1/800s / f4 / ISO 100] | © 2009 Jon Norris
At Lüneburger Heide (near Hamburg in Germany) I wanted to draw the viewer’s eye to the horse riding sign and throw the background out of focus. In this case the shutter speed wasn’t important, but the aperture was. By focusing on the sign at an aperture of f4 the background was thrown out of focus. The shutter speed of 1/800s and ISO 100 were required to reduce the exposure appropriately so as not to overexpose the image as I was shooting during the day.
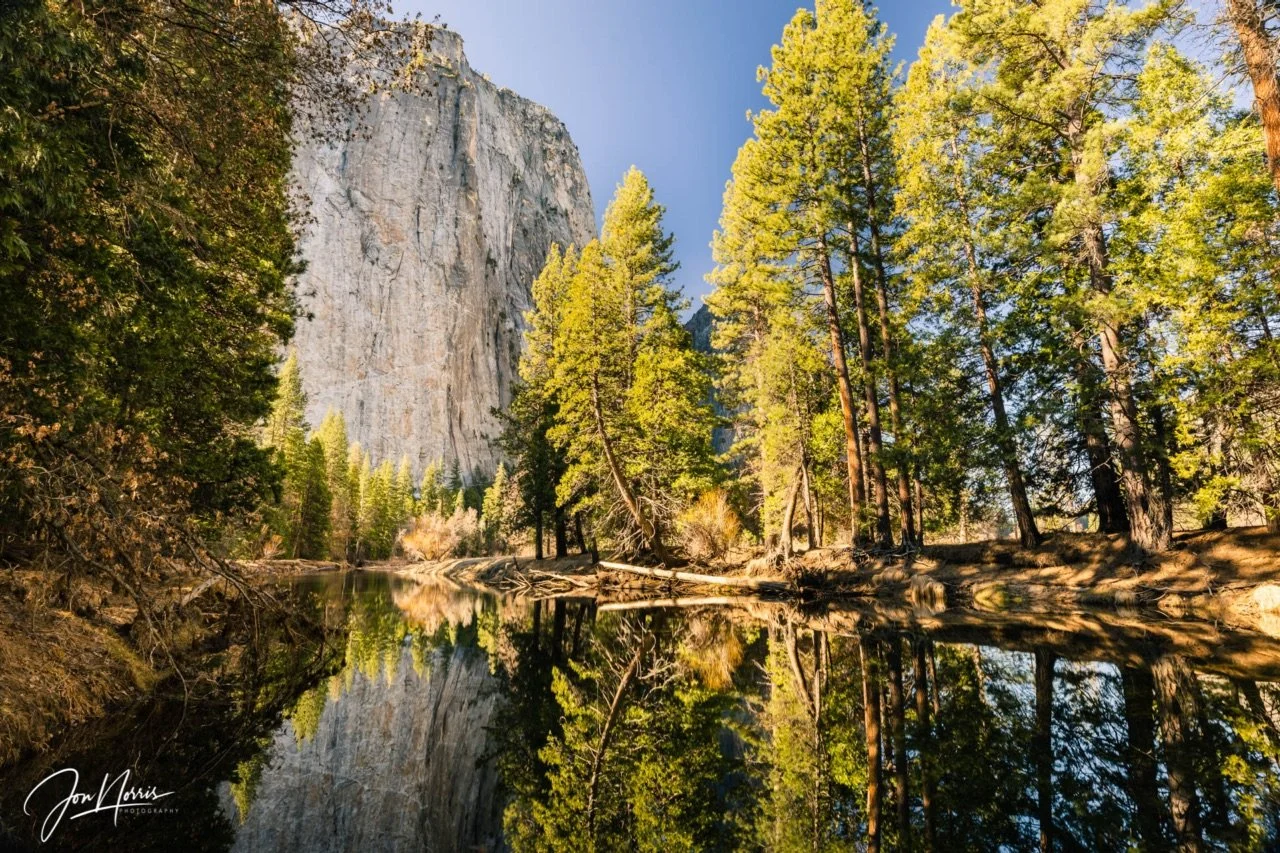
Yosemite National Park [Canon EOS R with 16-35mm @ 20mm, 1/20s, f11, ISO 100 | © 2020 Jon Norris
In this final example from Yosemite National Park I was shooting early morning and there wasn’t a breath of wind—so there was absolutely no movement on the river or in the trees. This meant that any shutter speed would be OK. I selected f11 as I wanted front to back focus, ISO 100 (the base ISO setting for my EOS R camera) and the shutter speed was 1/20s to position the histogram for a correct exposure.
Homework
I encourage you to try out all four shooting modes on your camera. Program (P), Shutter Priority (S or Tv), Aperture Priority (Av), and Manual (M).
Use the histogram to judge the correct exposure and compare your images. Keep practicing until each shooting mode becomes second nature to you. As you become more familiar with the shooting modes, you’ll learn when to use one of the modes over another.
Let me know how you get on.
