Leaving Adobe ...
Explore Landscapes #113
Is there life after Adobe Lightroom and Photoshop? Putting photography first and editing second, and making my workflow simpler and more enjoyable.
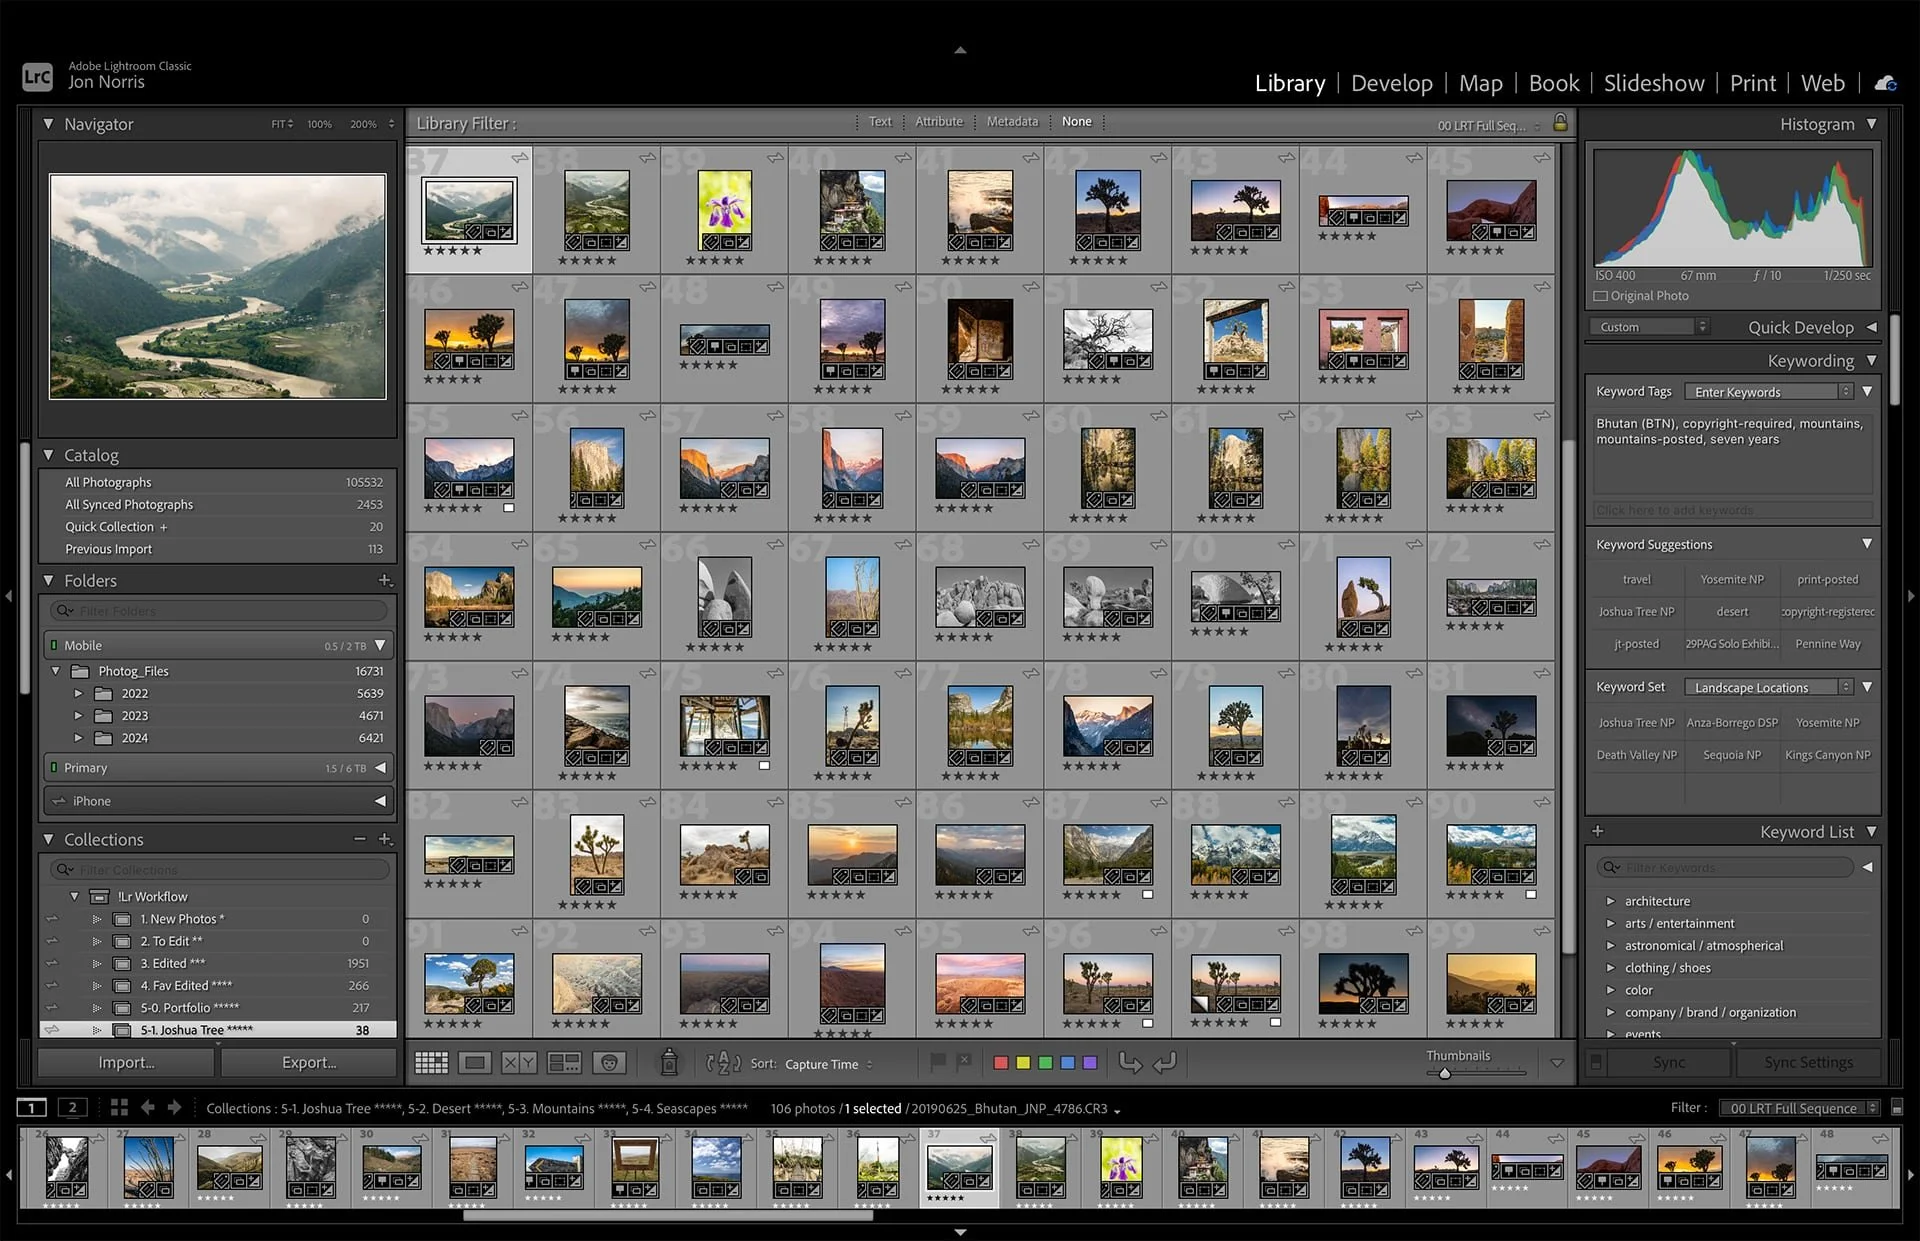
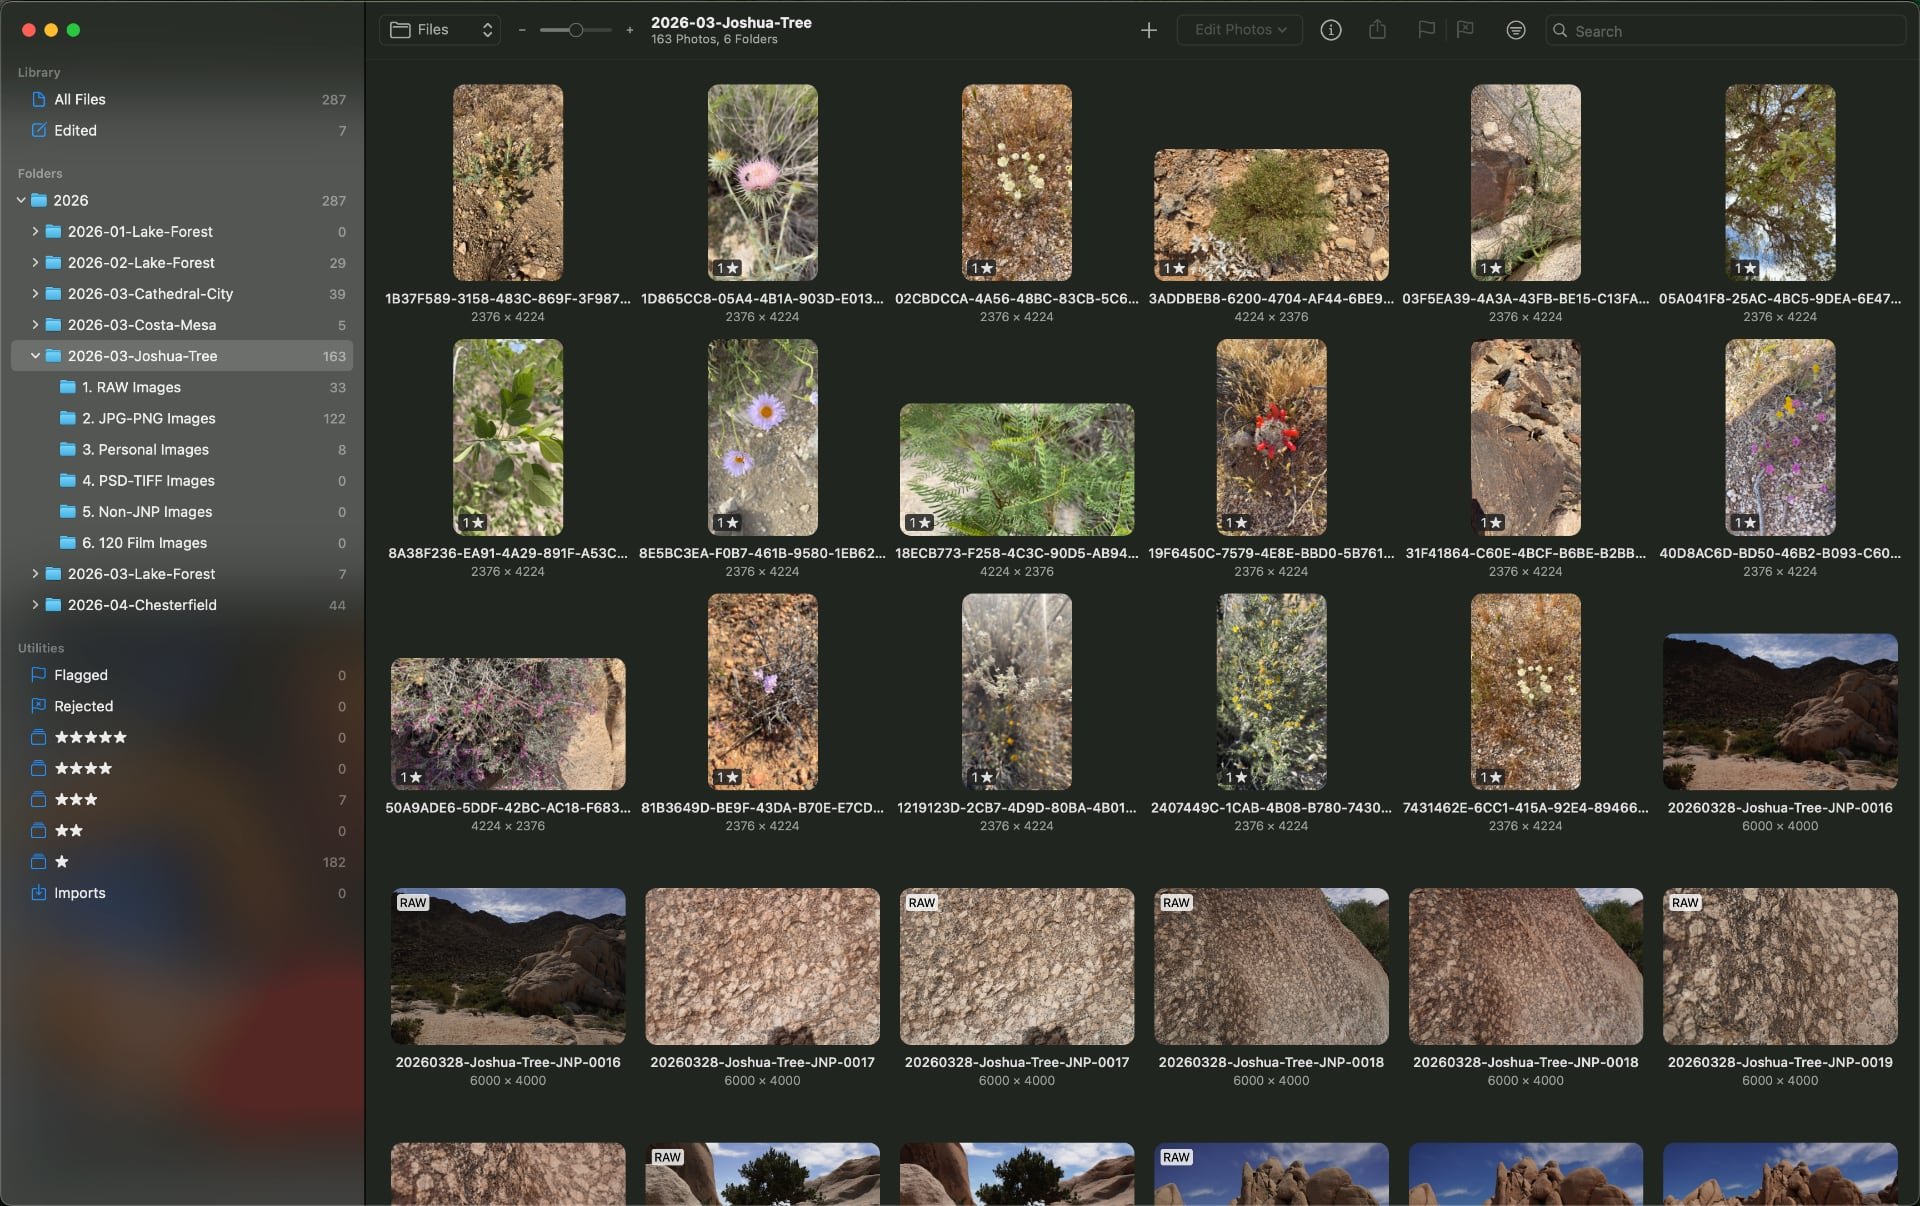
My Lightroom Catalog - Library View | © 2025 Jon Norris
I have been using Adobe software for photo editing, namely Lightroom and Photoshop for a long time. I started with Lightroom 1.0 (in about mid-2007), and then started dabbling with Photoshop a few years after that. That was back in the days when you purchased a license outright - with no monthly fee - and once every year or so you bought the next version of the software.
It’s been in vogue to hate on Adobe and their pricing structure and escalation for the last few years. To be clear though, my motivation to leave Adobe has not been due to their pricing - although it is a consideration.
It seems somewhat at odds that photographers spend thousands on cameras and lenses (often multiple cameras and lenses), but then grumble about the cost of software. But I get it. For many people starting out in photography the monthly costs for software can be off-putting or even out of reach.
In parallel to my photography, I’ve also used other Adobe software for years in my day job (B2B marketing): Adobe InDesign, Adobe Acrobat, and Adobe Express became staple applications used on a daily basis. Interestingly enough, I never use Adobe Premiere Pro for video editing, and have been using Apple’s Final Cut Pro X since it came out in 2011.
For me the rot started to set in about a year or so after the launch of Adobe’s Creative Cloud, the rapid proliferation of other applications, and the burgeoning complexity of using all these apps. Being old-school (or more accurately, just old) I never liked Lightroom Cc (as it used to be called) and always preferred to use Lightroom Classic. I like to have a very specific folder structure, file naming convention, and drive backup process that I just couldn’t ‘fit’ into the apparent randomness of Lightroom’s cloud backend.
The final straw was the ridiculous amount of AI-slop that was forced into what once was a robust and easy to use application, Adobe Acrobat. I find the AI-stuffed current version unusable - and frankly horrible to use.
It was this AI-slop that finally tipped me towards looking for an alternative to Adobe Creative Cloud.
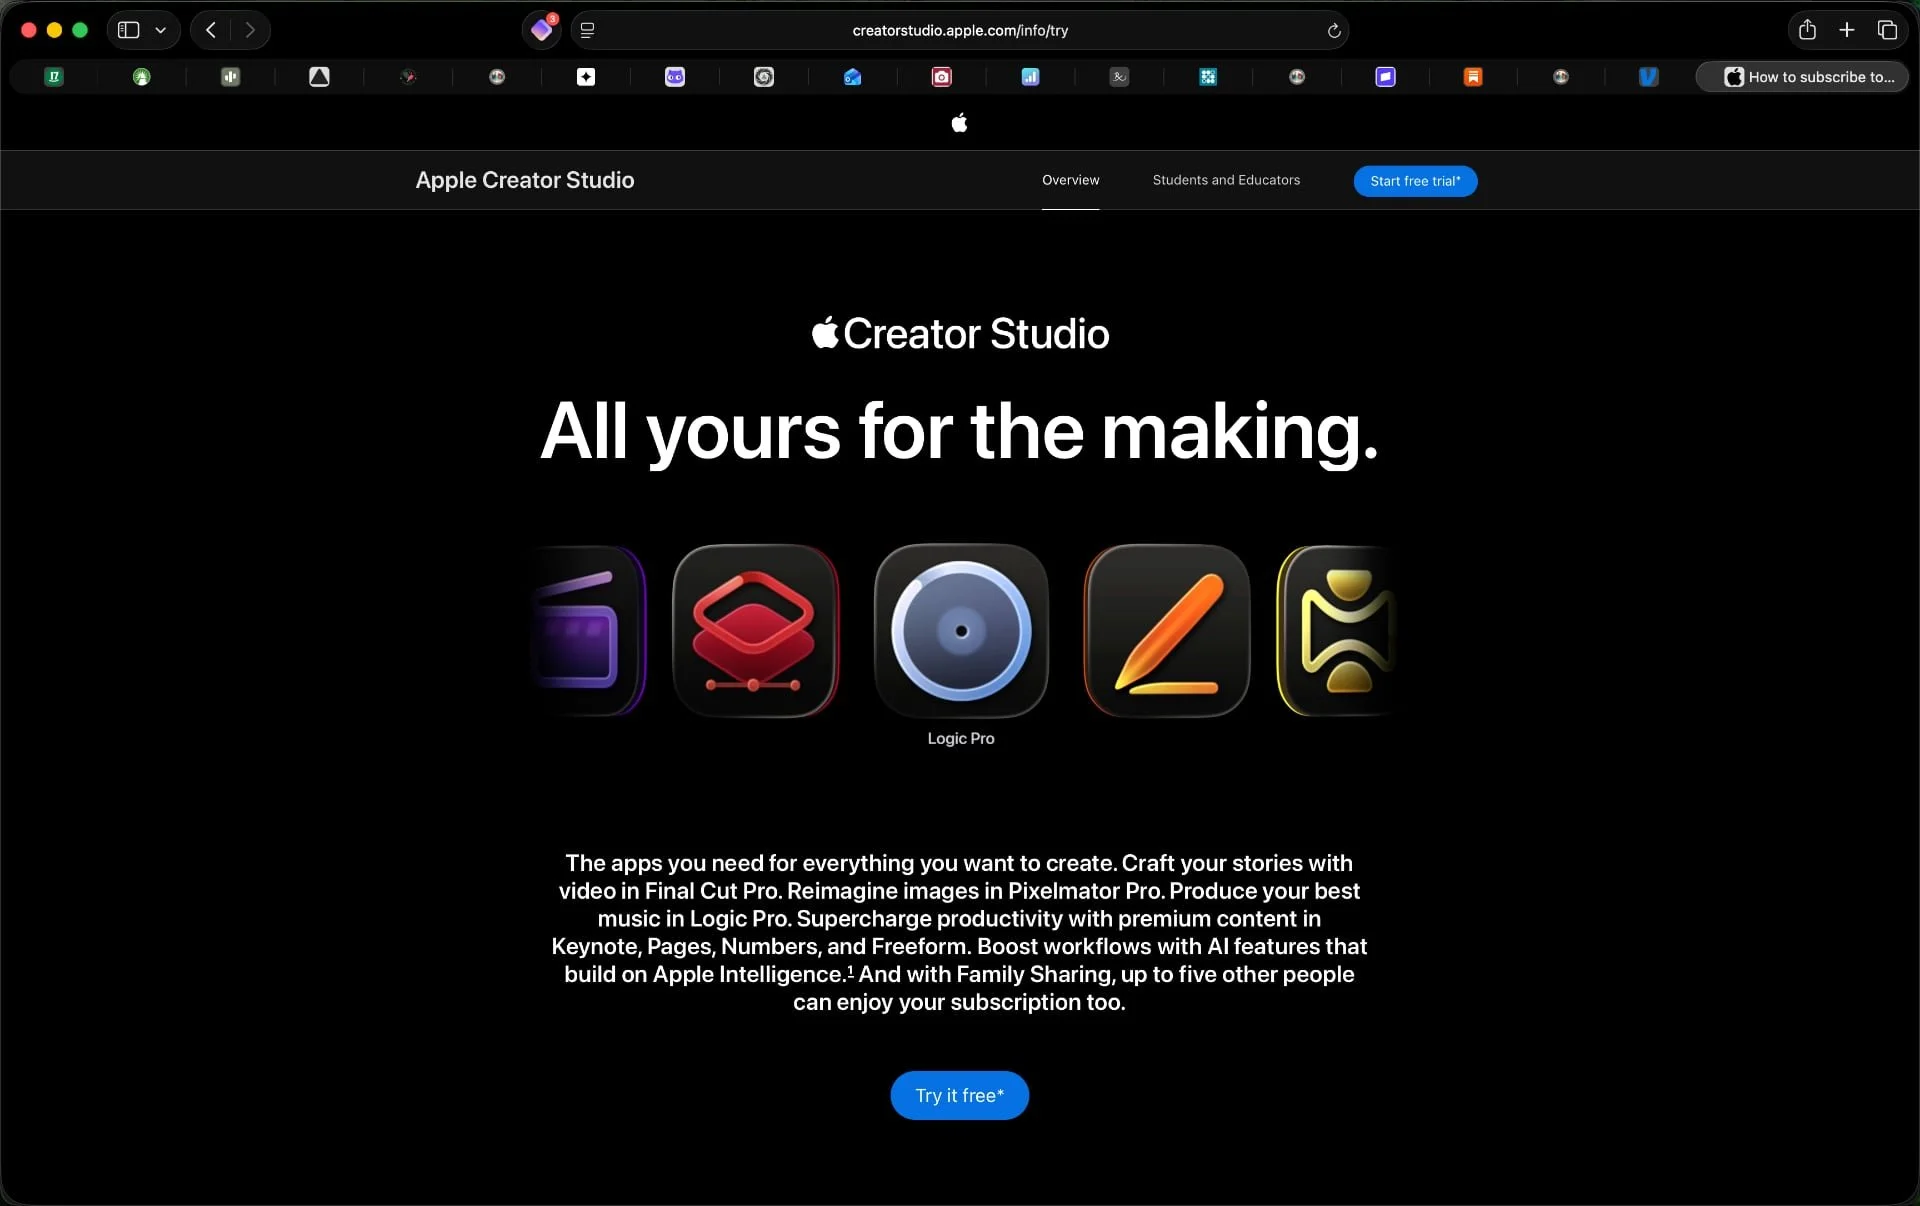
And then, Apple released the Creator Studio on January 28, 2026. Bolstered by my confidence in using Final Cut Pro X, I decided it was time for a change.
If you’re not familiar with the Creator Studio it includes access to pro-level applications, Final Cut Pro, Motion, Compressor, Pixelmator Pro, LogicPro, Keynote, Numbers, Pages, and Freeform across Mac and iPad, for just $12.99 per month (or $129 per year).
I’m well and truly embedded into the Apple ecosystem, as a MacBook Pro, iPad and iPhone user, so it was frictionless to add the Creator Studio into the mix.
Pixelmator Pro is Apple’s alternative to Photoshop. The Pixelmator team (the developers of Pixelmator and Photomator) was acquired by Apple in February 2025.
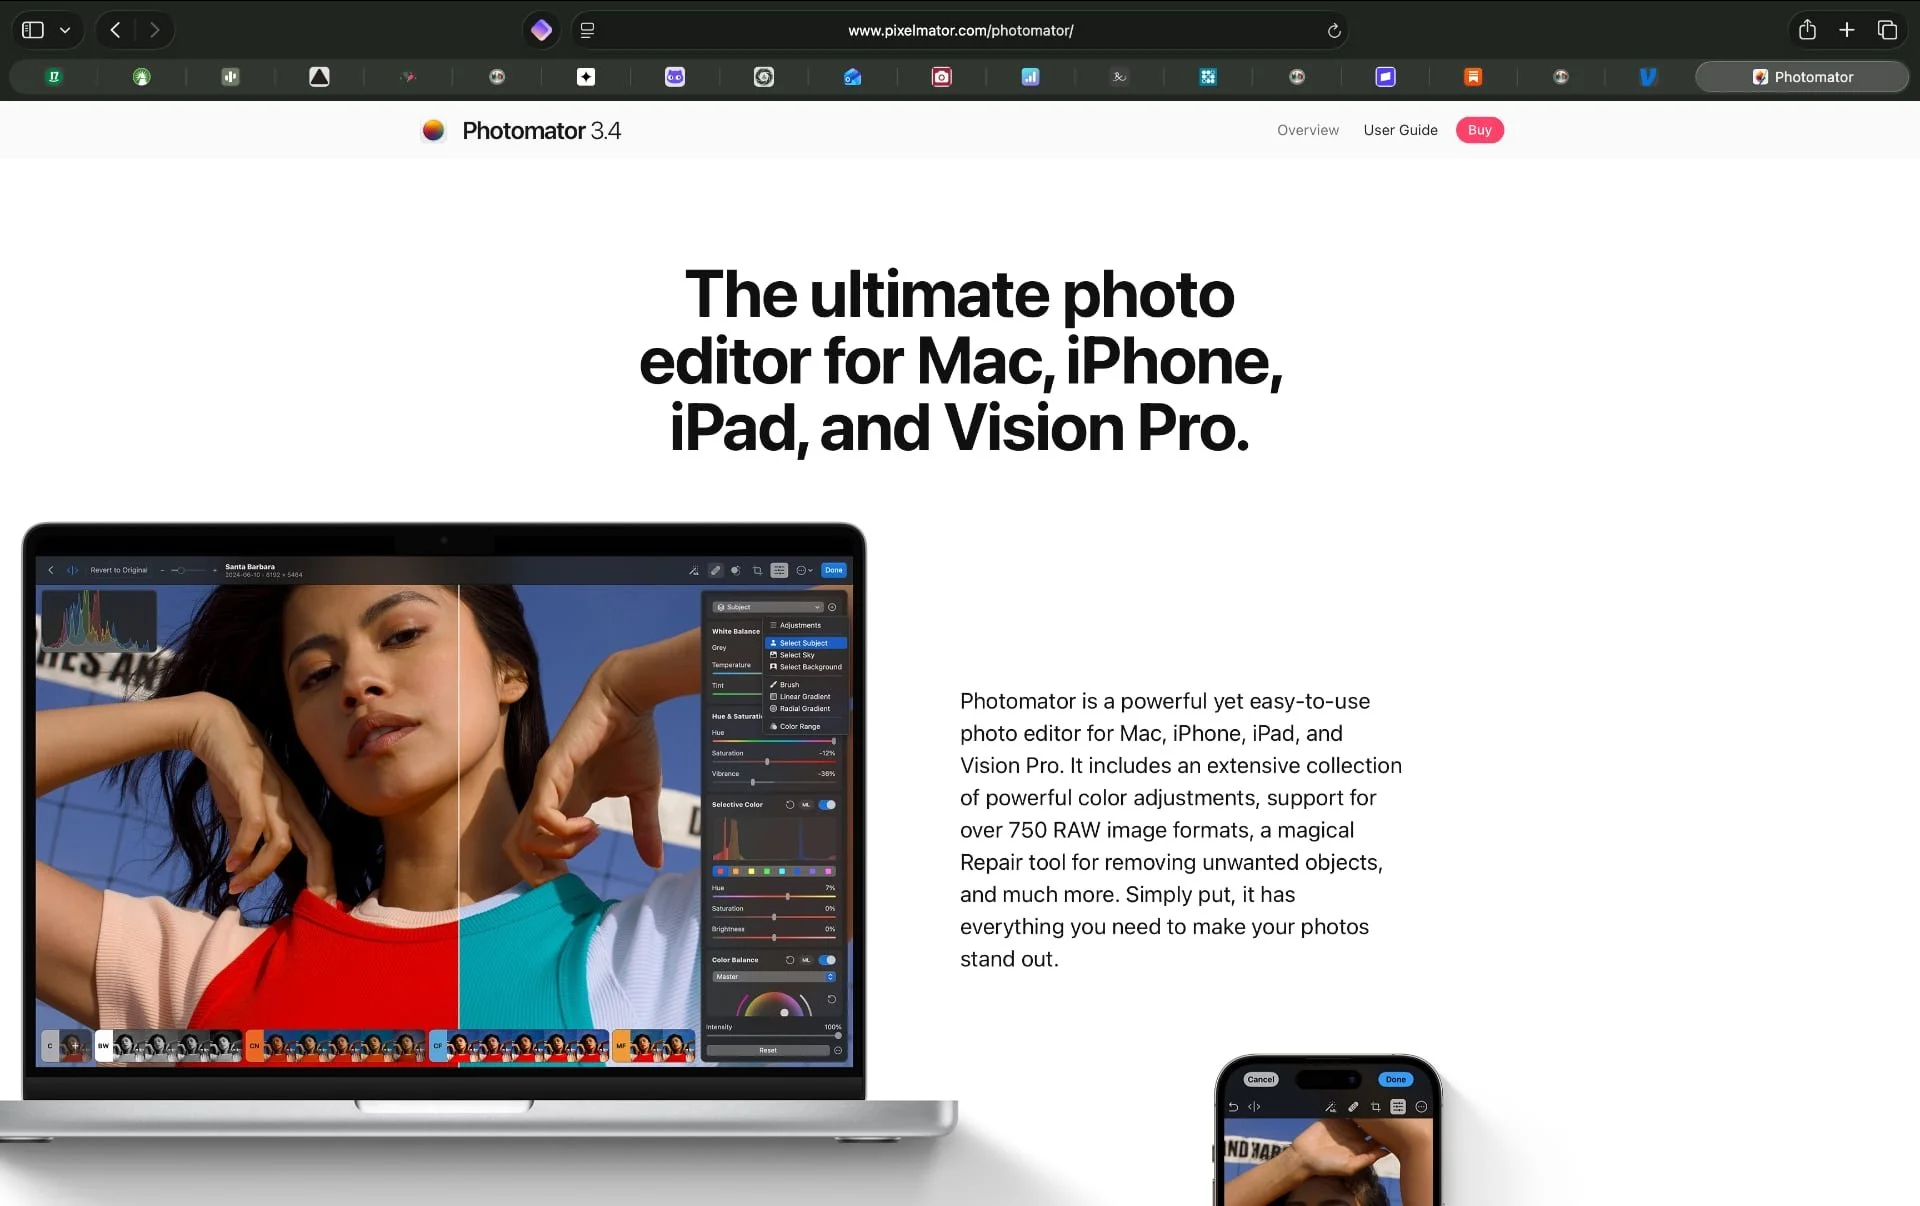
Photomator is Apple’s alternative to Lightroom, but for some curious reason was not included in the Creator Studio when it was launched. I purchased a Photomator license for $29.99 (per year) as I needed a Lightroom replacement.
It’s pure speculation on my part (but I’ve read others who have the same thought) but I’m hoping that Apple will update Photomator, rebrand it to Aperture (Apple’s professional-grade photo editing and management software for macOS, launched in 2005 and then discontinued in 2015) and then integrate it into the Creator Studio portfolio.
Let’s see what happens.
Using Photomator
So after all that preamble let’s get into what my initial thoughts are about using Photomator instead of Lightroom Classic.
Photomator gives you two options for importing and/or viewing image files: Photos or Files:
Photos shows you the images that you already have in your Apple Photos app. After selecting Photos you see the same folders, albums, media types, and utilities within Photomator that you’re used to seeing in the Photos app - and they’re displayed in the same menu order on both apps (which makes finding things easy). Typically I use Photos - and the Photos option in Photomator just for the images and screenshots that I take with my iPhone. The seamless integration and syncing of images between your iPhone and Photos (and now Photomator) is hard to beat. It just works.
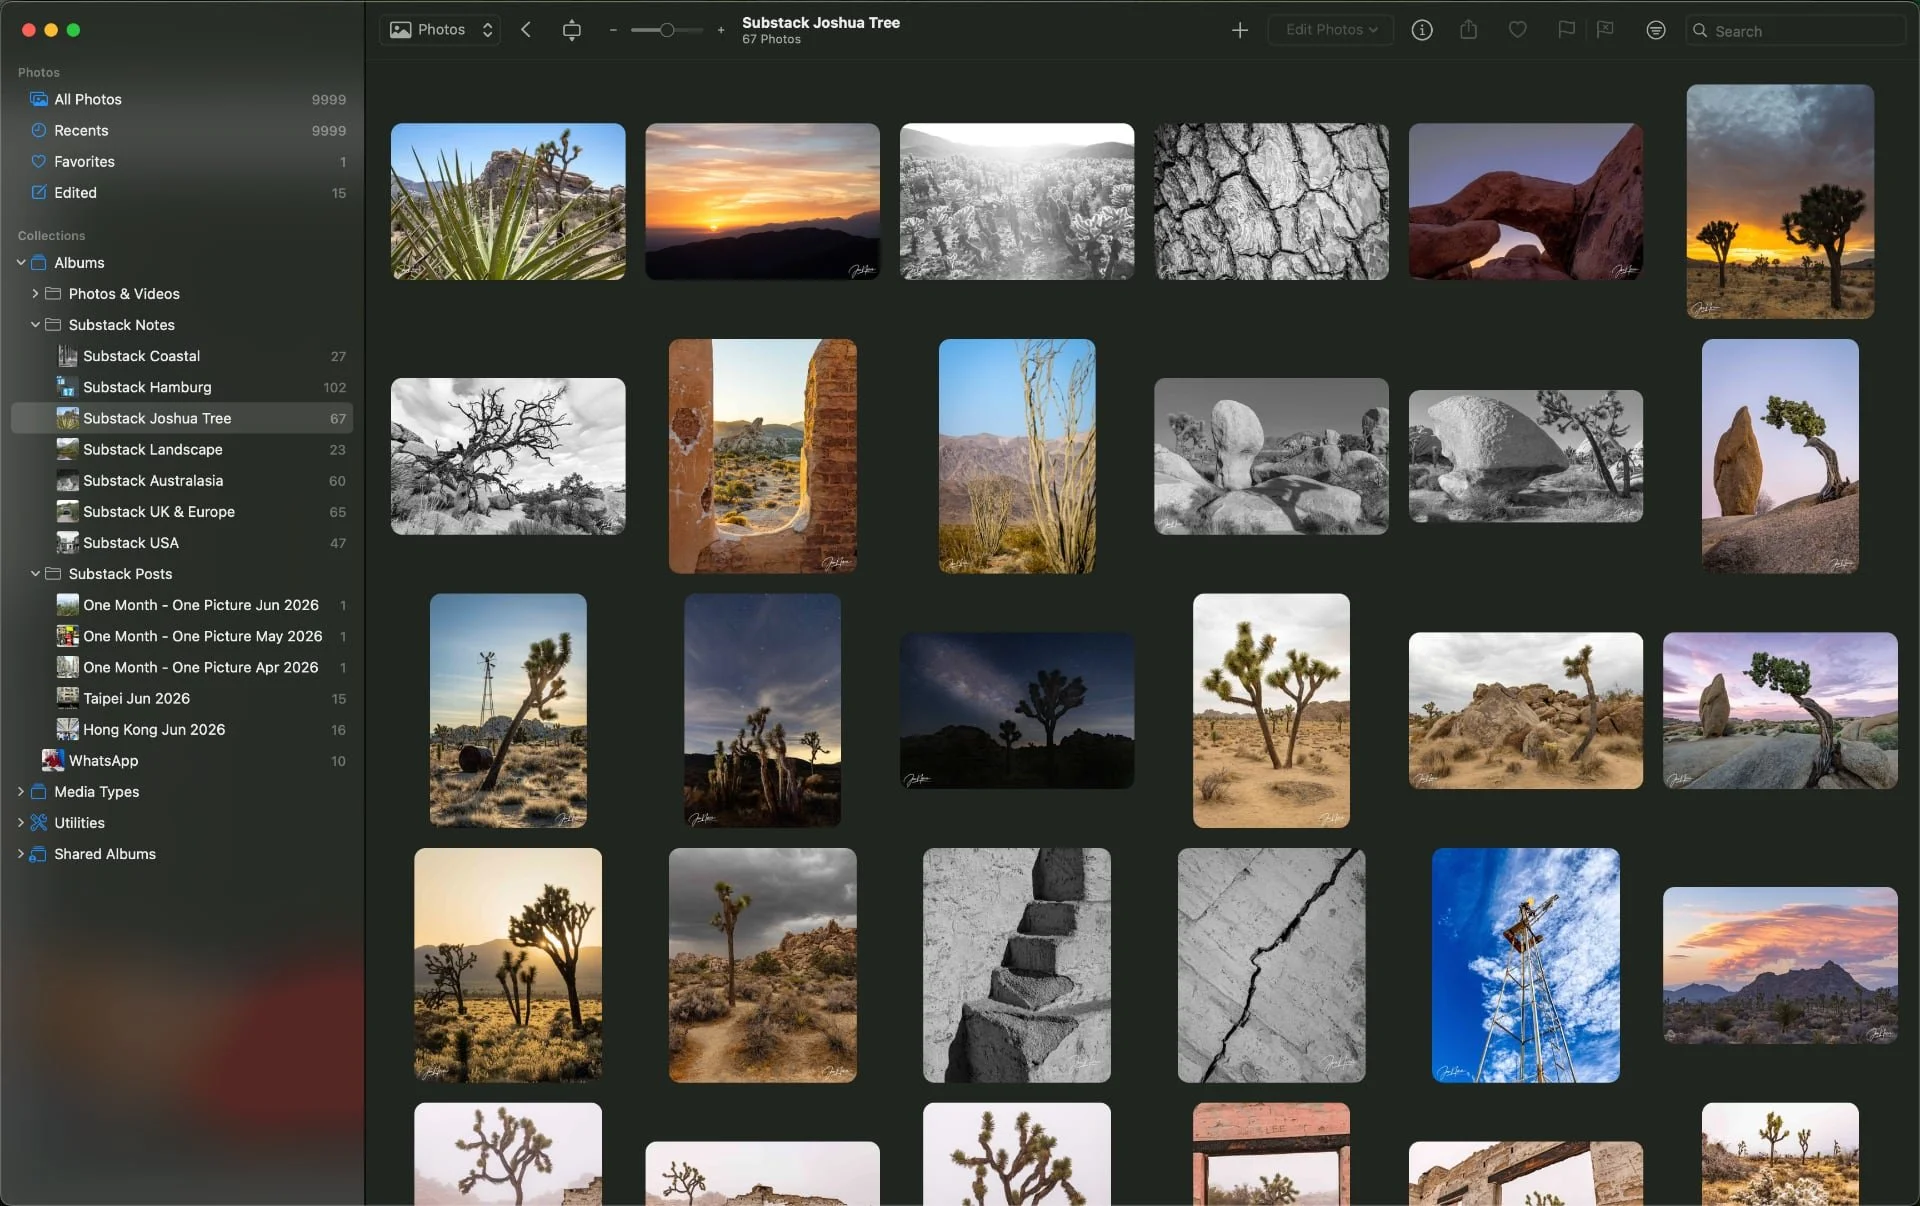
Photomator Photos view option | © 2026 Jon Norris
Files lets you import nested folders directly from your hard drive (or preferred cloud storage solution). One of my frustrations with Lightroom was how slowly nested folders loaded at times. With Photomator the imported images load fast. For example, I just loaded a nested folder with 6,500 images in it (468 GB) and the folder structure and thumbnails were all present within just a few seconds. I’m using Files for all images that I shoot on my mirrorless cameras (Canon EOS R and R5) and my scans from my Mamiya RZ67 medium format film camera.
I mentioned earlier that I have a very specific folder structure, file naming convention, and drive backup process. As Photomator has the ability to import my existing file structure, I didn’t need to move files anywhere, or follow an arduous upload process. I haven’t had to change my backup process at all.
The image library interface and layout is the same whether you’re looking at Photos or Files. It’s very responsive and double-clicking on an image opens it up full-width or full-height (depending on image orientation). You can then choose (and set) what metadata you’d like displayed (edited, file type, flag, star rating), whether you want to display a filmstrip of all the images in that specific folder, and whether you’d like to display the histogram (RGM or Luminance).
Photomator Files view option | © 2026 Jon Norris
Within the library options the only features that may be missing for some photographers (which I used in the past with Lightroom) are color labels, keywording (life’s too short for keywording IMHO), and collections.
Depending on how you use Lightroom these may be deal breakers for you. For me I can live without those features.
Now onto editing.
Editing Images with Photomator
I find the simple menu layout of Photomator very intuitive and easy to use. In the top right hand corner of the page are 6 menu options. From left to right: Auto Enhance, Repair Tool, Clone Tool, Crop Tool, Color Adjustments, and More Tasks.
Photomator editing is non-destructive (as-is Lightroom) so you can always reverse any editing choices that you make. Photomator handles RAW image editing by applying adjustments as parametric instructions rather than altering the original file. Instead of burying edits in a proprietary catalog, it uses external sidecar files (stored in the same folder as the RAW file) to save your history, layers, and masks.
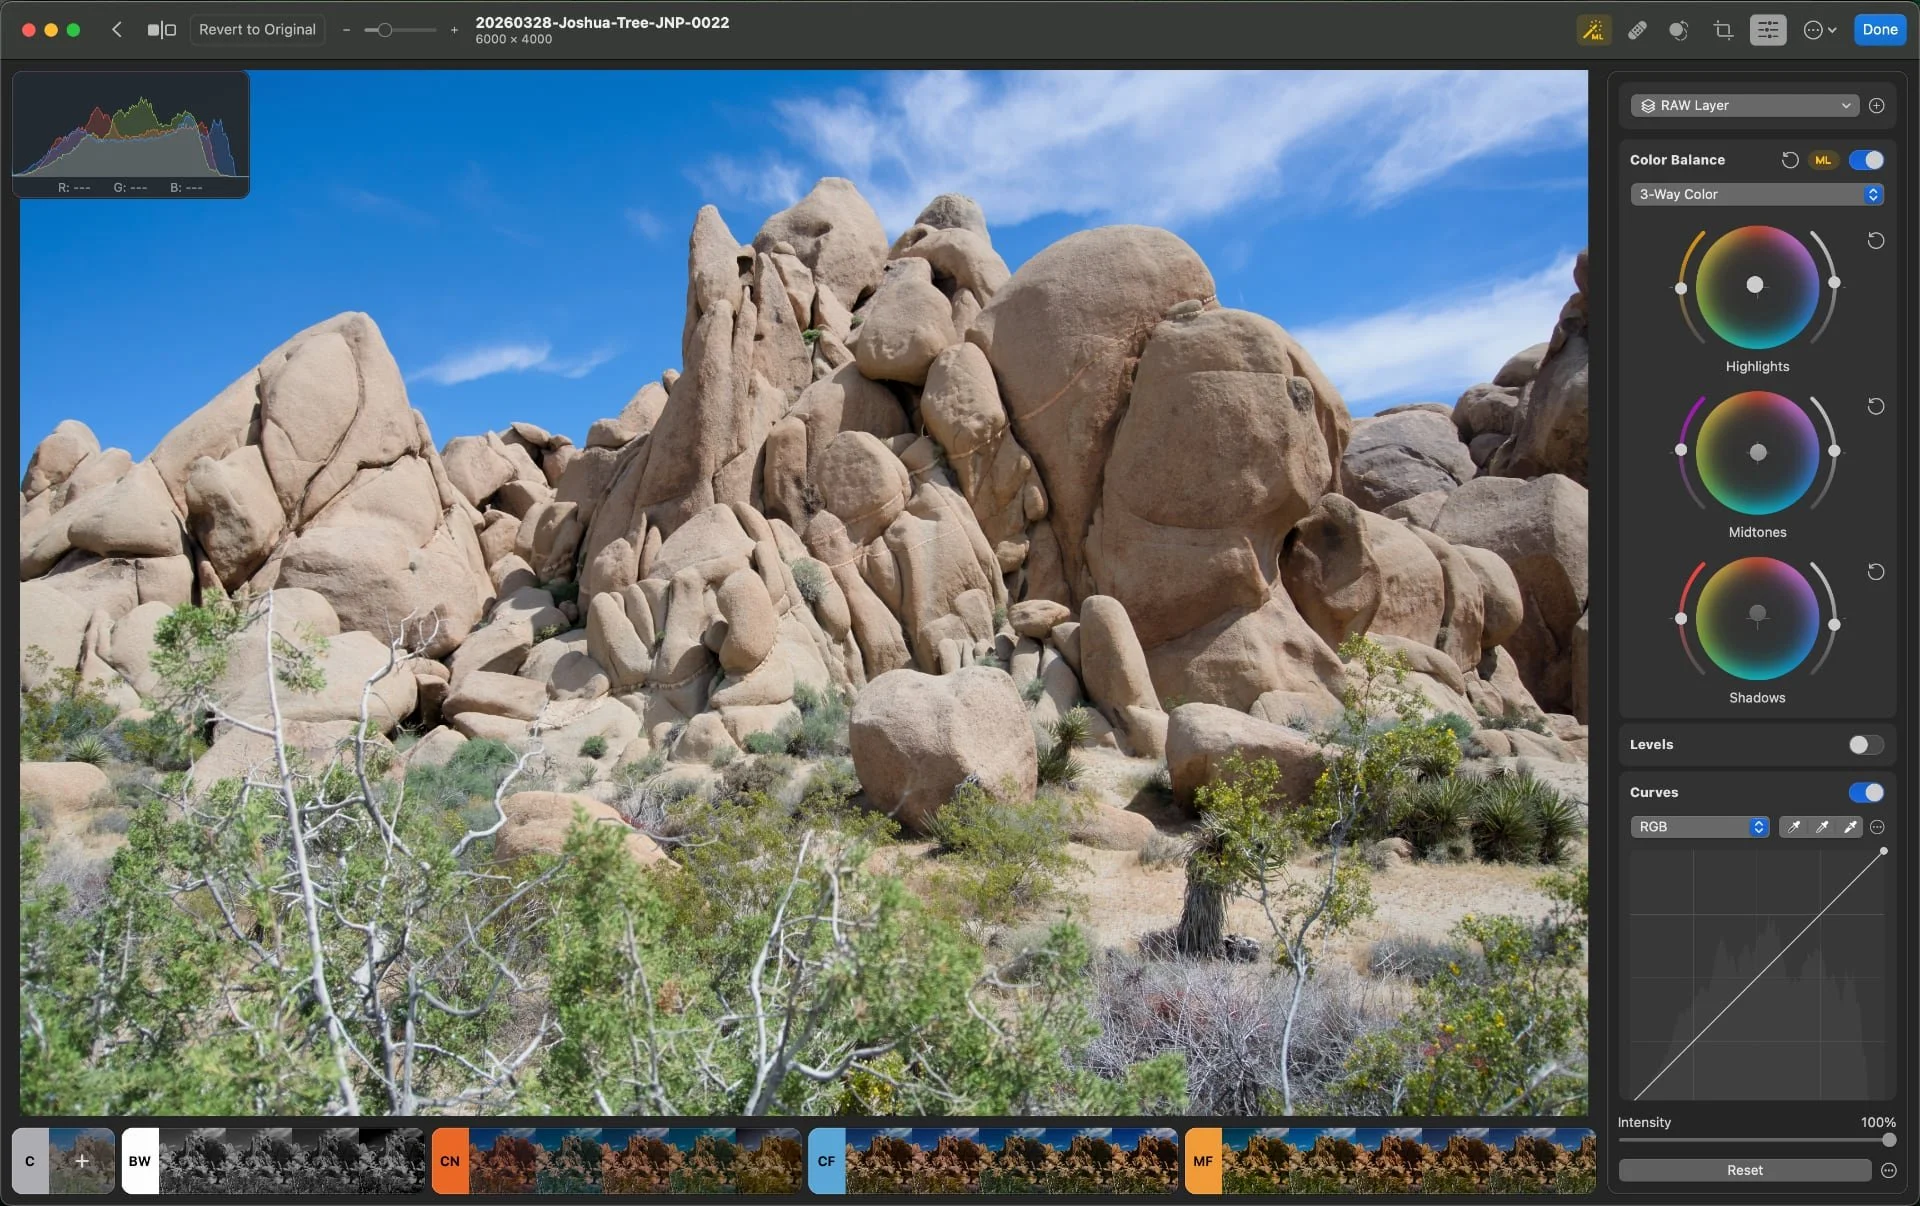
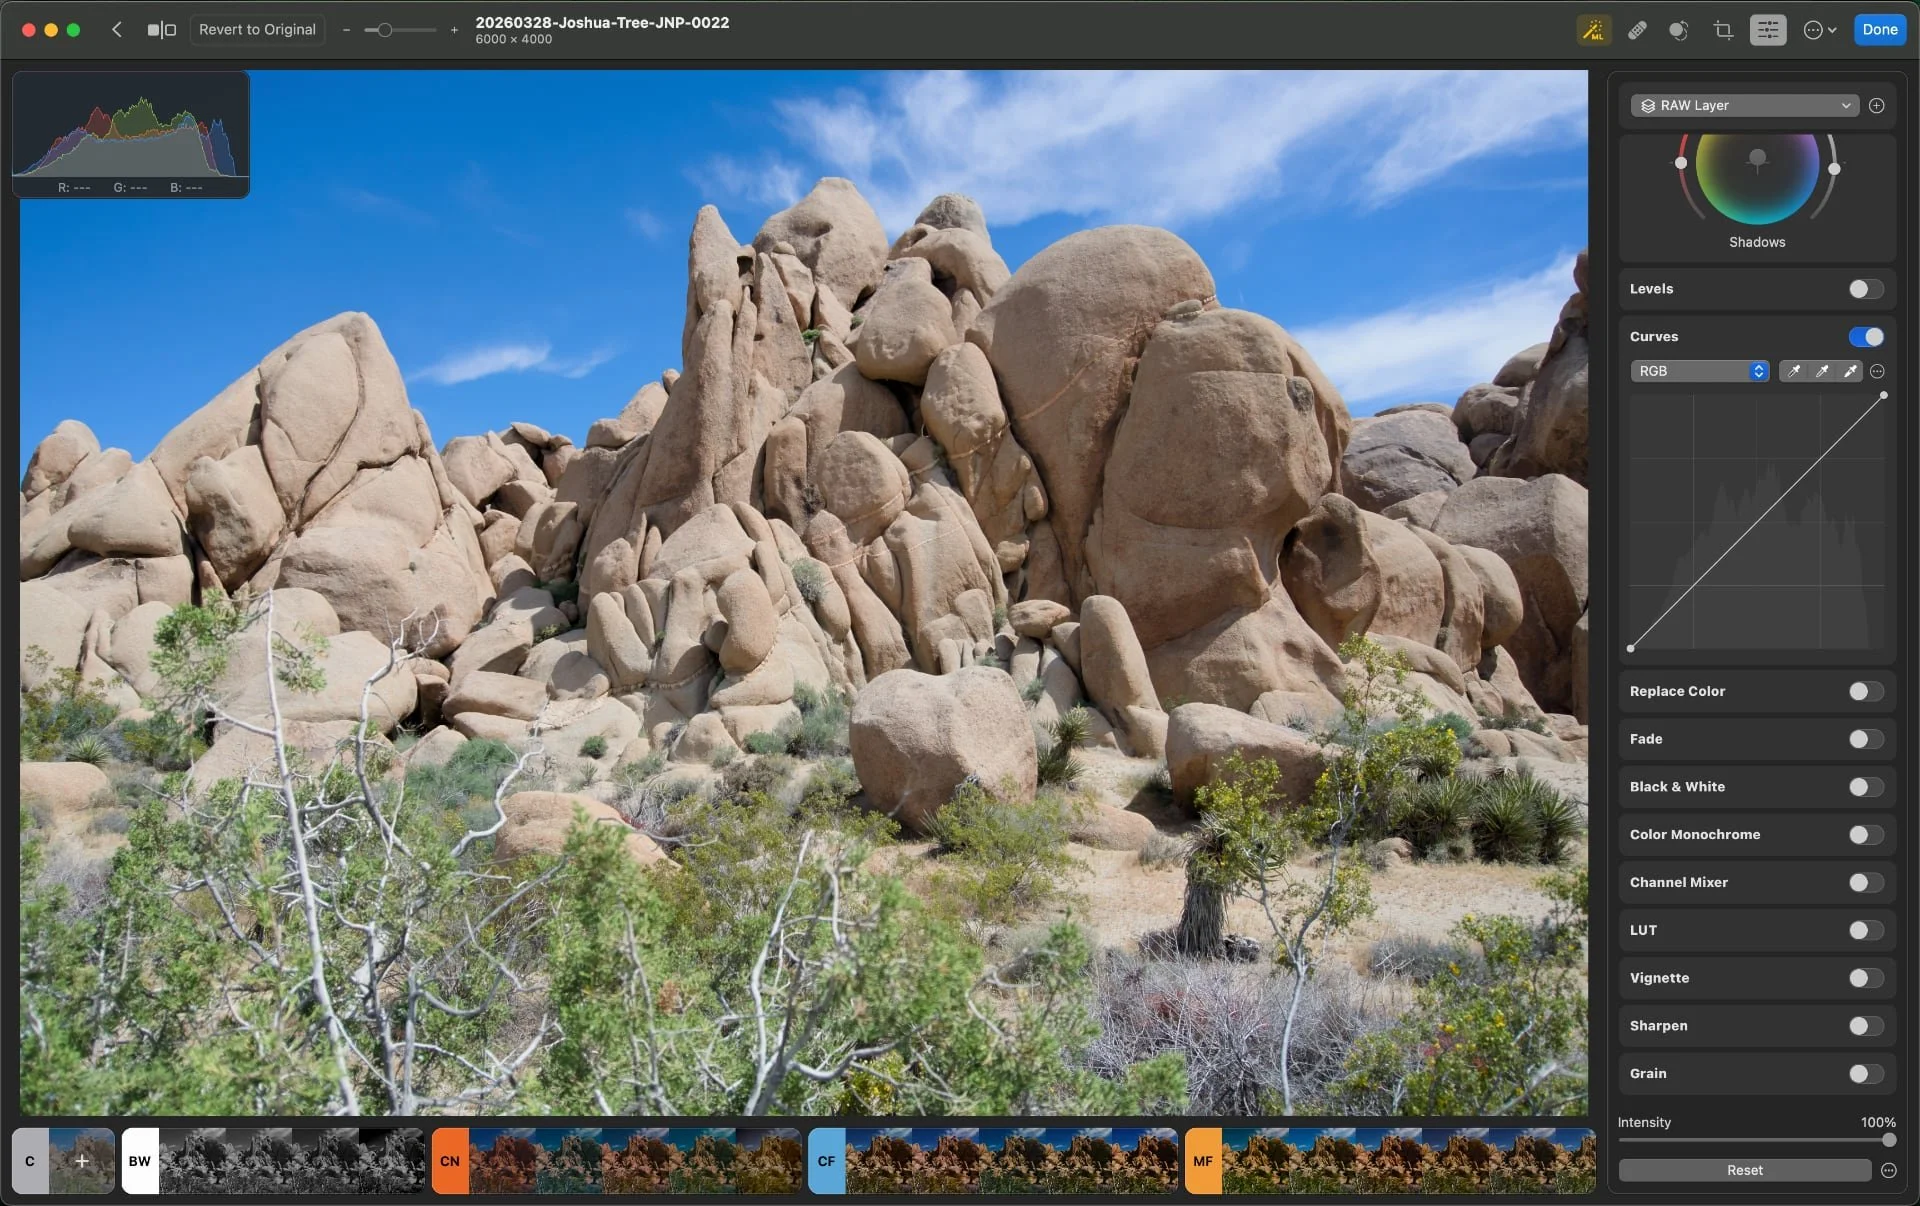
I like to start with the Color Adjustments. Clicking on the sliders button opens a panel on the right hand side of the screen - which will look very familiar if you’re a previous Lightroom user.
The tools are laid out top to bottom as follows: Adjustment Layers (Select Subject, Select Sky, Select Background, Brush, Linear Gradient, Radial Gradient, and Color Range), White Balance, Basic, Selective Clarity, Hue & Saturation, Selective Color, Color Balance, Levels, Curves, Replace Color, Fade, Black & White, Color Monochrome, Channel Mixer, LUT, Vignette, Sharpen and Grain.
Anywhere you see a button that says ML (Machine Learning) this is an Auto button for that particular feature.
Depending on how many of this menu items you have open/expanded you may need to scroll 3 screens to see everything.

Photomator Editing menu options 1 | © 2026 Jon Norris
Along the bottom of the screen you have editing presets which are arranged into groups: C (Custom), BW (Black & White), CN (Cinematic), CF (Classic Films), MF (Modern Films), LS (Landscape), VN (Vintage), UR (Urban), NX (Night), and PX (Pixelmator Pro). That should be more than enough to start playing with if you’re into presets - or you can create your own custom presets.
Photomator Editing menu options 2 | © 2026 Jon Norris
The only sliders that I used (semi-frequently) in Lightroom and are missing in Photomator are the following:
Dehaze: Lightroom uses this slider to boost contrast and pull detail out of hazy, foggy, or backlit scenes. In Photomator you have to rely on the contrast and clarity adjustments.
Camera Calibration: Advanced color-shifting primary sliders (Red, Green, Blue hues) used to fine-tune base colors or create cinematic looks.
Vibrance: Unlike standard saturation, vibrance protects skin tones and prevents already-saturated colors from clipping.
Texture: A slider dedicated to smoothing out or accentuating micro-contrast without affecting larger edges.
Photomator Editing menu options 3 | © 2026 Jon Norris
It’s early days, but so far I’m pleased with Photomator and am enjoying a simpler workflow that lets me minimize editing time and gets me to where I want to be to export a ‘finished’ image.
While I’m not actively using Lightroom or Photoshop any more on my photography laptop I’ve kept my Lightroom catalog as a backup in case I want to revert in the future. And, as I’ve maintained the folder structure and naming convention of all of my images, I can easily add new photos and edits into the Lightroom catalog at a later time.
I’m keen to hear from anyone who’s also been experimenting with Photomator. Let me know what you think and whether you have any tips for landscape photographers making the move away from Adobe.