Color Spaces and RAW
Explore Landscapes #14
When you start to explore the world of digital photography, image editing, and printing, it doesn't take long before you come across the confusing topic of color management.
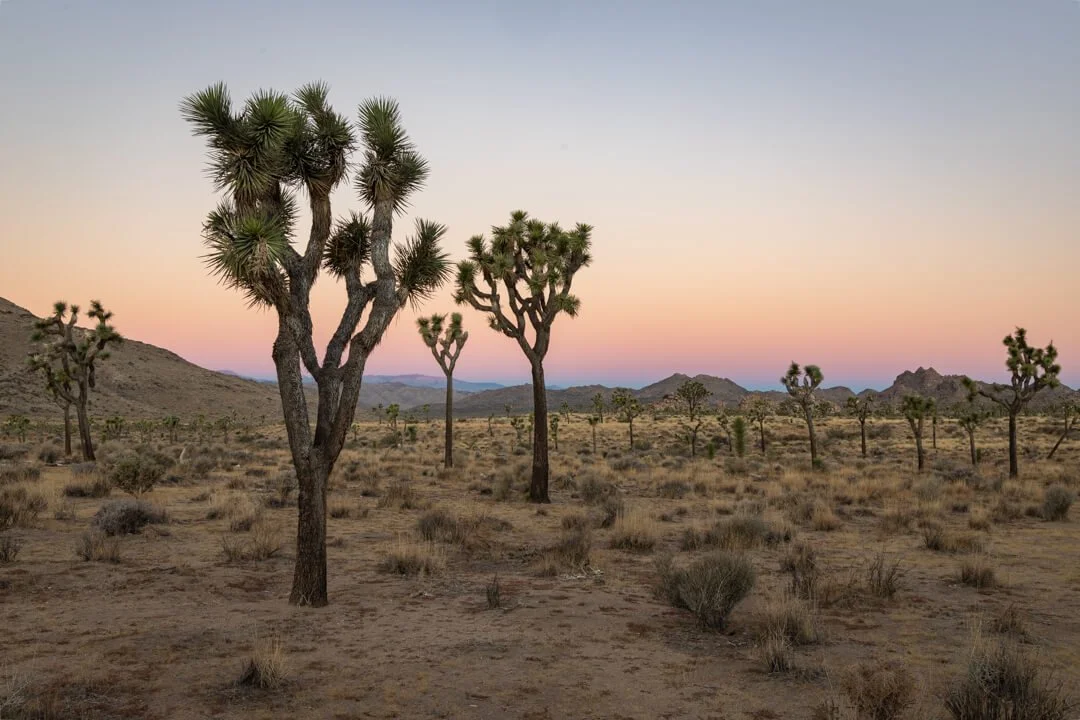
First Light © 2021 Jon Norris Photography, LLC. All Rights Reserved.
In this post, I’d like to clarify one aspect of color management - whether or not you need to set a specific color space in your camera settings when shooting in RAW. Spoiler alert - you don’t!
I feel that this clarification is needed as I often hear confusion about this topic while at camera club meetings, in workshops, or during mentoring sessions.
To give myself the broadest possibility of creative options when post-processing an image after a photo shoot, I always shoot in RAW.
I will try to keep this post at a high level and not get into the weeds on this topic - but there are plenty of weeds to get into. For those of you who’d like to explore this topic more deeply, I suggest you start by reading Adobe’s A Color Managed RAW Workflow - from Camera to Final Print.
Assuming you are saving your digital images to your camera’s memory card in RAW, rather than JPG, format (and I would highly encourage you to do so), the choice of color space you select on your camera has no effect on that RAW file. Typically, your camera will allow you to choose either sRGB or Adobe RGB - it doesn’t matter which you choose if you’re saving your file in RAW format.
In fact, the RAW file captured by the camera is not an image file at all. A RAW file contains all the uncompressed and unprocessed image data your camera’s sensor collected when you took the image. By starting with a RAW file, you can create the highest-quality image, but you must import the RAW file into image processing software such as Lightroom or Photoshop before you can visualize that image.
With this in mind, the color space you set on your camera only has relevance because that color space will be applied to the RAW file you captured so that the camera can display the JPG image you see on the camera screen (or through the viewfinder).
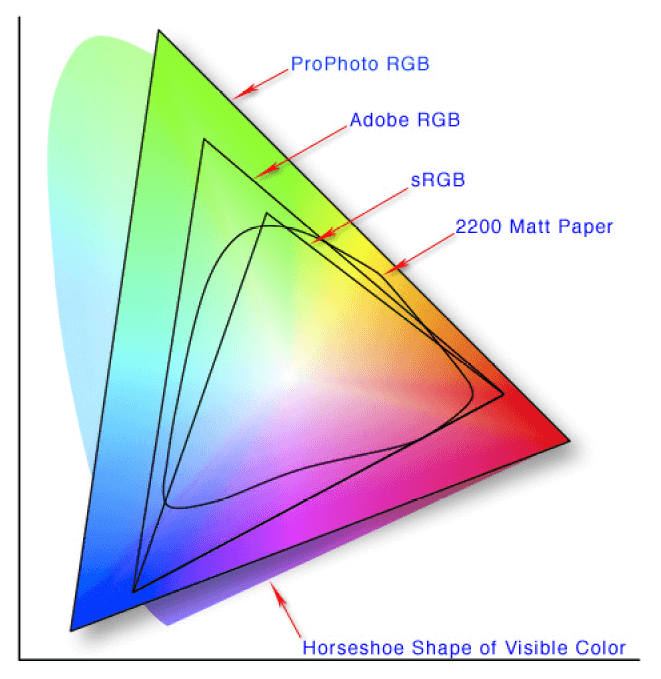
As you can see from the color space gamut chart (above), there are different color spaces that can be associated with an image. Each of these color spaces has a different range of colors that can be included in an image. The most common color spaces are sRGB and Adobe RGB, but you may also come across ProPhoto RGB. sRGB has the least number of colors - while ProPhoto RGB has the most colors - with Adobe RGB falling in the middle.
Assuming that you are shooting in RAW, you only need to consider color space when it comes to the working space that you want to edit your photos in and then what the final output is - e.g., is it a physical print or an image to be uploaded to your website or social media.
While you don’t need to set a specific color space when shooting in RAW format, you must set a specific color space in post-processing - often referred to as your working color space.
You should set your working color space in your preferred editing software, for example, Lightroom or Photoshop, to the color space that has the widest color gamut and, therefore, the total number of colors it can realize. This is so that the colors in your edited image most closely resemble the colors that you saw with your eyes when composing the image. I use ProPhoto RGB as my working color space (the largest color space in the chart above) and edit my photos in that color space.
Once my edit is completed, I keep the image in the same color space (ProPhoto RGB) if I’m going to print it. If I’m going to use the final image on my website or post it to social media, then I would export it in the sRGB color space. A computer screen or mobile phone screen can only display the sRGB colors. If you display an Adobe RGB or ProPhoto RGB image on a screen, you may see some strange colors appearing if the edited colors fall outside the sRGB color gamut.
I hope this quick overview helps resolve at least one small part of color management.
Here’s a new section that I’m going to add to each of my newsletters to share some of what I’ve read or listened to during the past week.
Three things that I read/listened to this week:
Death Valley National Park. Roadside camping and backpacking is now available along Echo Canyon Road, Hole in the Wall Road, Cottonwood Canyon Road, Marble Canyon Road, and Greenwater Valley Road (aka Furnace Creek Wash Road). The free, mandatory camping permits are available at Furnace Creek Visitor Center, same day only. Read more.
Crank It Up! (Or How I Stopped Fearing The Noise Monster) by David duChemin. My first “real” digital camera was a Canon EOS Digital Rebel. All black, with a vertical battery grip and an impressive 6.3-megapixel sensor, it felt like a tiny miracle. But take that ISO up to 800 and the resulting images were less than miraculous; they were so noisy you’d need earplugs. That was 20 years ago, and while so much has changed in that time, my reluctance to crank up my ISO when the light gets low has been slow to catch up. Read more.
Making the Mundane Fun in Landscape Photography - A Conversation with Chris Saunders on the F-Stop Collaborate and Listen Podcast. For many photographers, planning our photography trips can be a chore or can feel like a waste of time. That resonates with me, and I rarely spend a lot of time planning my adventures because I personally have not found it to be very helpful in my success as a photographer; however, I see great value in the process and appreciate those who dedicate themselves to doing it well. Listen to the podcast.
Until next time, explore, experience, and enjoy our wildlands responsibly. Think before you geotag. Adopt the 7 Principles of Leave No Trace and practice Responsible Nature Photography.
Bye for now,
Jon